We use cookies to make your experience better. To comply with the new e-Privacy directive, we need to ask for your consent to set the cookies. Learn more.
Photolab
0
My Cart


Camera lenses require maintenance to keep them performing at their best, and you'll eventually have to clean your camera lens to remove any grime, dust, particles or debris that are hindering your view. However, since overcleaning increases the risk of damage, you want to be careful about when to clean your lens.
digiDirect has put together a step-by-step guide on how to clean your camera lenses. Read on to gather all the information about knowing when it's time to clean your lenses, general rules to bear in mind and step-by-step cleaning instructions. We've also added some do's and don'ts so you can be confident that your camera's condition will be improved, not worsened.
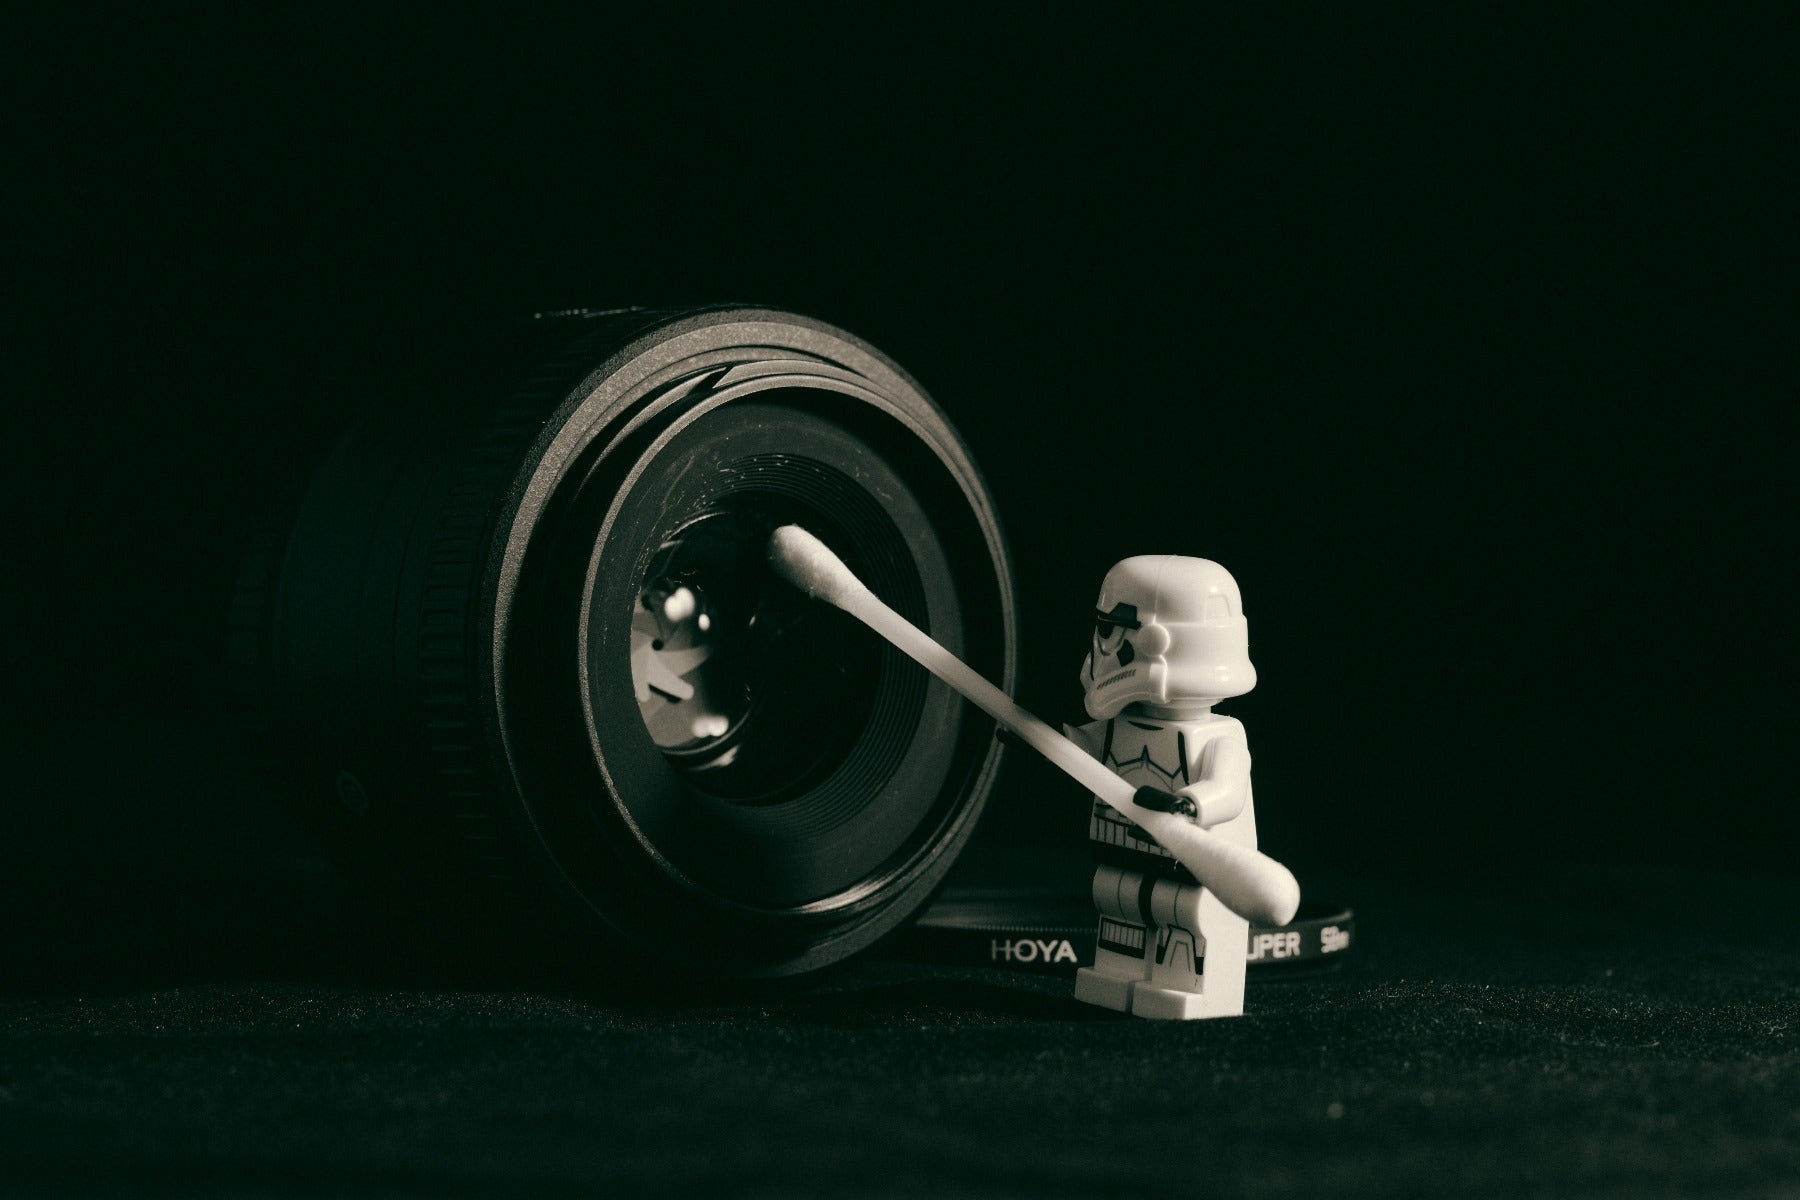
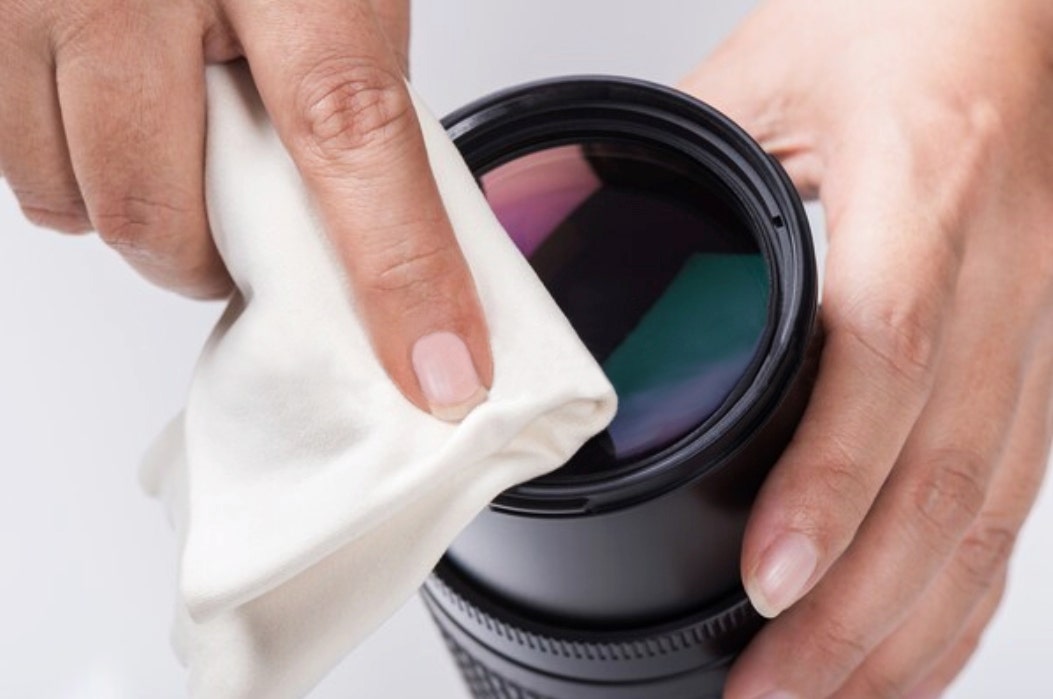
Maintaining your lenses by cleaning when required will extend your gear's life
When you first get your camera, it's easy to become a little obsessed with keeping it clean. Most camera lenses are durable, and obsessive cleaning can actually cause more harm than good. The last thing you want to do is damage your camera or your lens because you were too zealous. These three simple rules ensure that you'll be able to clean your camera when it really needs it, and not get into the habit of overcleaning.
Generally, glass is very hard and durable. However, when you start to add layers of chemicals and other advanced coatings to the lens, you're adding things that can scratch relatively easily. The goal is to keep your filters and lenses free of dirt, oil and debris, which you can do by restricting your cleaning routine.
When you store your camera gear in your bag or on a shelf, using the front and rear lens caps at all times will keep dust and grime away. However, your gear will still get dirty once you take it out and start using it. You should occasionally clean your camera bag itself, otherwise dust and grime can accumulate and transfer to your camera's lens. Keeping on top of this can cut down the number of times you need to clean the lens itself.
Dust is everywhere, and it will eventually work its way inside your camera lens. Camera lens manufacturers go to great lengths to have a dust-free environment, but they can't help it slipping through the barriers from time-to-time. If you set your lens on a shelf for a few months, it'll eventually collect a thick layer of dust. In turn, this can produce quality issues with your photographs. However, just a few specs of dust on or inside your camera's lens will have no impact on your image quality.
Keep this in mind when you're tempted to overclean your lens to remove small specs of dust, as you could end up scratching the lens itself.
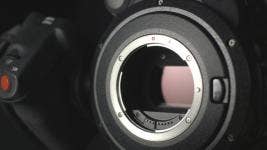
It's easy to focus on the front element of your lens (the glass section that you cover with your lens cap), but don't forget about the rear element. The rear element is not visible when you're using your camera so it's easy to forget about, but dirt and dust there can affect your image quality and even transfer dust to your sensor.
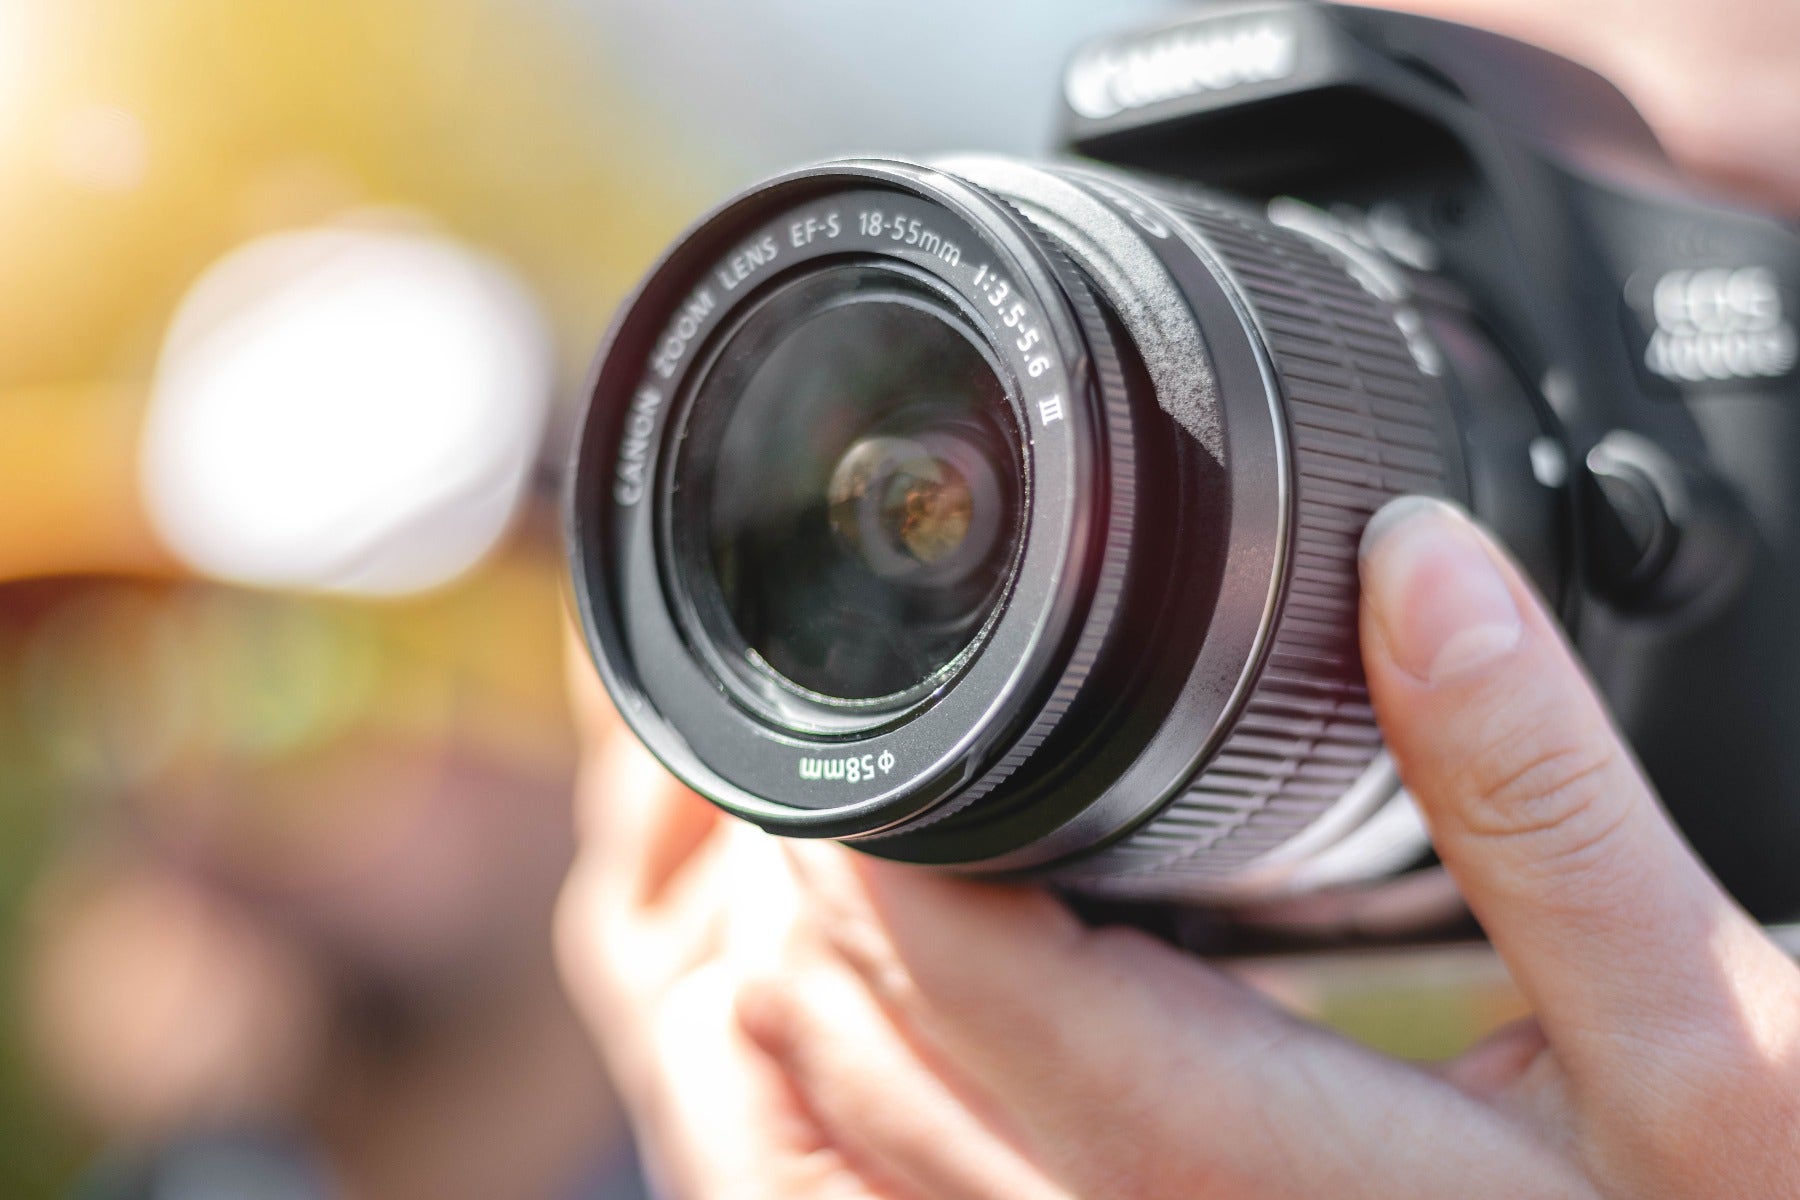
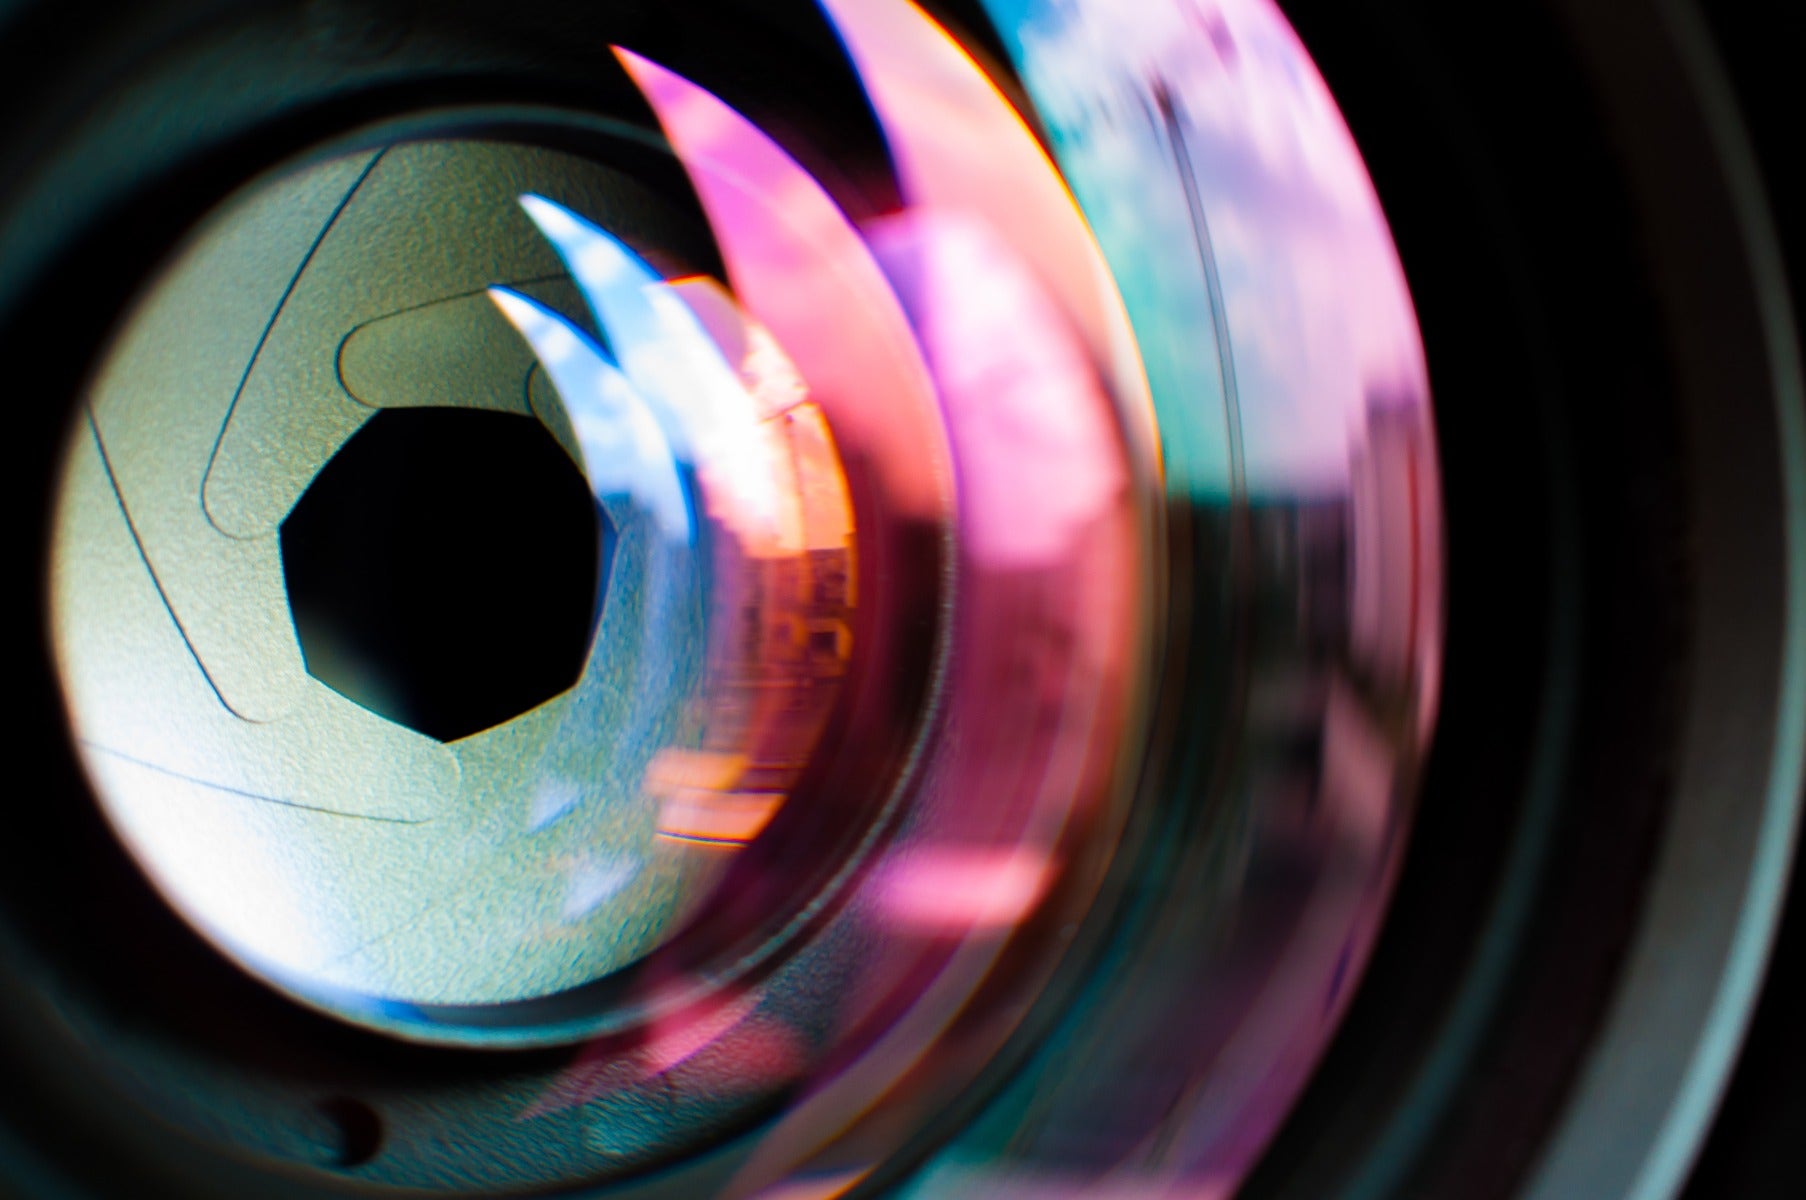
The front element, seen here, often gets a lot of love, but don't forget the rear element!
If you think your lens might need a clean but you're not totally sure, you can perform a quick dirt test. In just four easy steps, you'll know whether you need to clean your lens or if you can leave it alone a little longer.
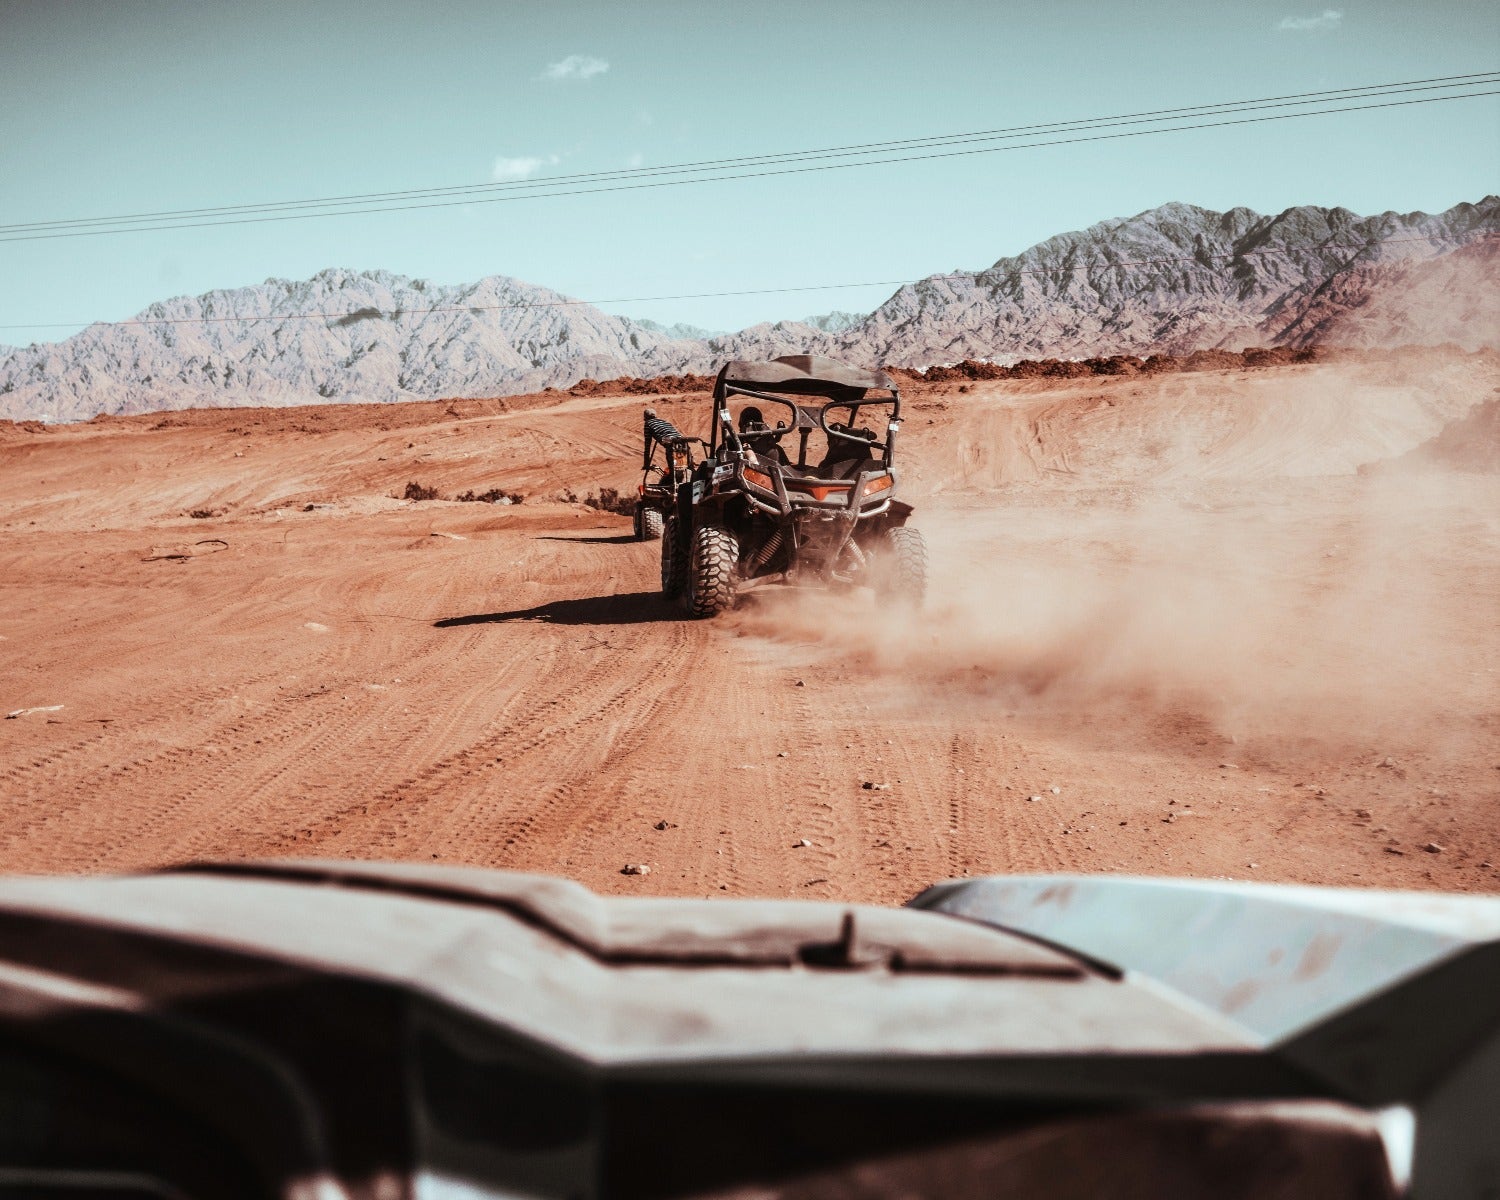
Using your camera in dusty environments means you'll need to clean your gear more regularly
Once you're sure that your camera lens needs a clean, it's time to get started. Buying a full lens cleaning kit is the first step (here are some recommendations). Don't worry, they are quite inexpensive. Make sure your kit includes the following products:
Once you have these items out, you're ready to start cleaning your lens. The goal is to remove the grime without imparting any damage to the glass. This process can take time and patience to do correctly, but we've laid out a step-by-step guide to make it easy.
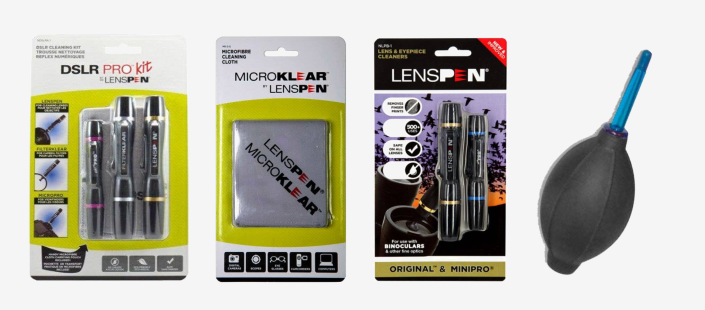
Lenspen is the main manufacturer of lens cleaning equipment
Using a lens blower should always be the first step in removing any dust, dirt or debris from the lens. This is the safest method as it's highly unlikely to cause any additional damage. You may find that this is the only step you need to follow.
Gently blow on and around the lens using the blower.
DO:
DON'T:

The first step is always to use a lens blower to remove surface dust and grit
If there are things that won't come off with your lens blower, it's time to move on and use your lens brush. You can get lens brushes in several different materials, but camel hair is popular because it's thick but soft to prevent damage. Make sure you don't touch the bristles before you use the brush because oils can transfer to your lens and be difficult to get off.
DO:
DON'T:
There are two ways you can clean your camera's lens. You can use a carbon sponge, though you should ensure you only clean the lens crystal with it. The more common option is to use a spray bottle of cleaning fluid and a microfibre cloth or cleaning tissue. You'll find alcohol-based cleaners work well; simply get rid of streaks by applying a second coating of cleaning fluid and gently wiping.
DO:
DON'T:
The final step is to wipe down your camera lens to get rid of any excess moisture or grime. You have a few options for this step and the one you choose really depends on personal preference. You could opt for single-use lens cleaning tissues, a microfibre cloth or pre-moistened lens cleaning wipes.
DO:
DON'T:
Many photographers keep a microfibre cloth in their camera bag for quick cleaning on the fly
It doesn't make sense to go through the entire process of cleaning your camera lens only to put a dirty lens cap back on. You want to double check around the lip of the lens cap for any stuck debris and gently blow it out with your lens blower. Once you remove the larger debris, take a wipe and clean down the sides, centre and outer layer of the lens cap before putting it back on your front element.
DO:
DON'T:
The rear element is the small glass portion at the back of the lens that is set inside the camera when the lens is attached. Although it generally doesn't get too dirty, dust can fall on it when you change your lenses. This grime most likely won't show up on your pictures, but it can get into your sensor, so it's best to take care of it if necessary. Holding the rear element with the bottom of the lens facing down, give it a quick once-over with your blower. Finish with a quick wipe with your microfibre cloth or wipe.
DO:
DON'T
Now that you have cleaned the camera's front and rear elements and lens mounts, it's time to give the outside of your camera a quick check-up. You can give it a brush with your soft-bristled brush to get rid of any obvious debris. Then, apply a thorough wipe down with your microfibre cloth or damp towel. During this process, don't forget to inspect your camera for any loose parts.
DO:
DON'T:
Follow these steps to keep your glass looking fabulous!
Contact digiDirect Today!
Do you think it's time to clean your camera lens but still have questions? Maybe you'd like advice from our experts, or you'd like to see the lens cleaning kits we have available. Either way, reach out today with any enquiries! We're standing by and ready to help you find the best cleaning kits available to suit your needs quickly and easily!


Comments
No Comments yet. Be the first to comment.