
Written by digiDirect
Landscape photography is one of the most popular photography styles around, but if you're looking to make your photos truly stand out, make sure you have the right gear. Whether you're capturing a cityscape, lake, the outback or a mountain range, typically wide angle lenses are the landscape photographer's go-to lens.
To help you truly capture the sublime beauty of your subject, digiDirect has put together a guide to using wide angle lenses for landscape photography. We'll break down why a wide angle lens is head and shoulders above the rest for landscape photography and show you some techniques and tips to get the most out of your new kit.
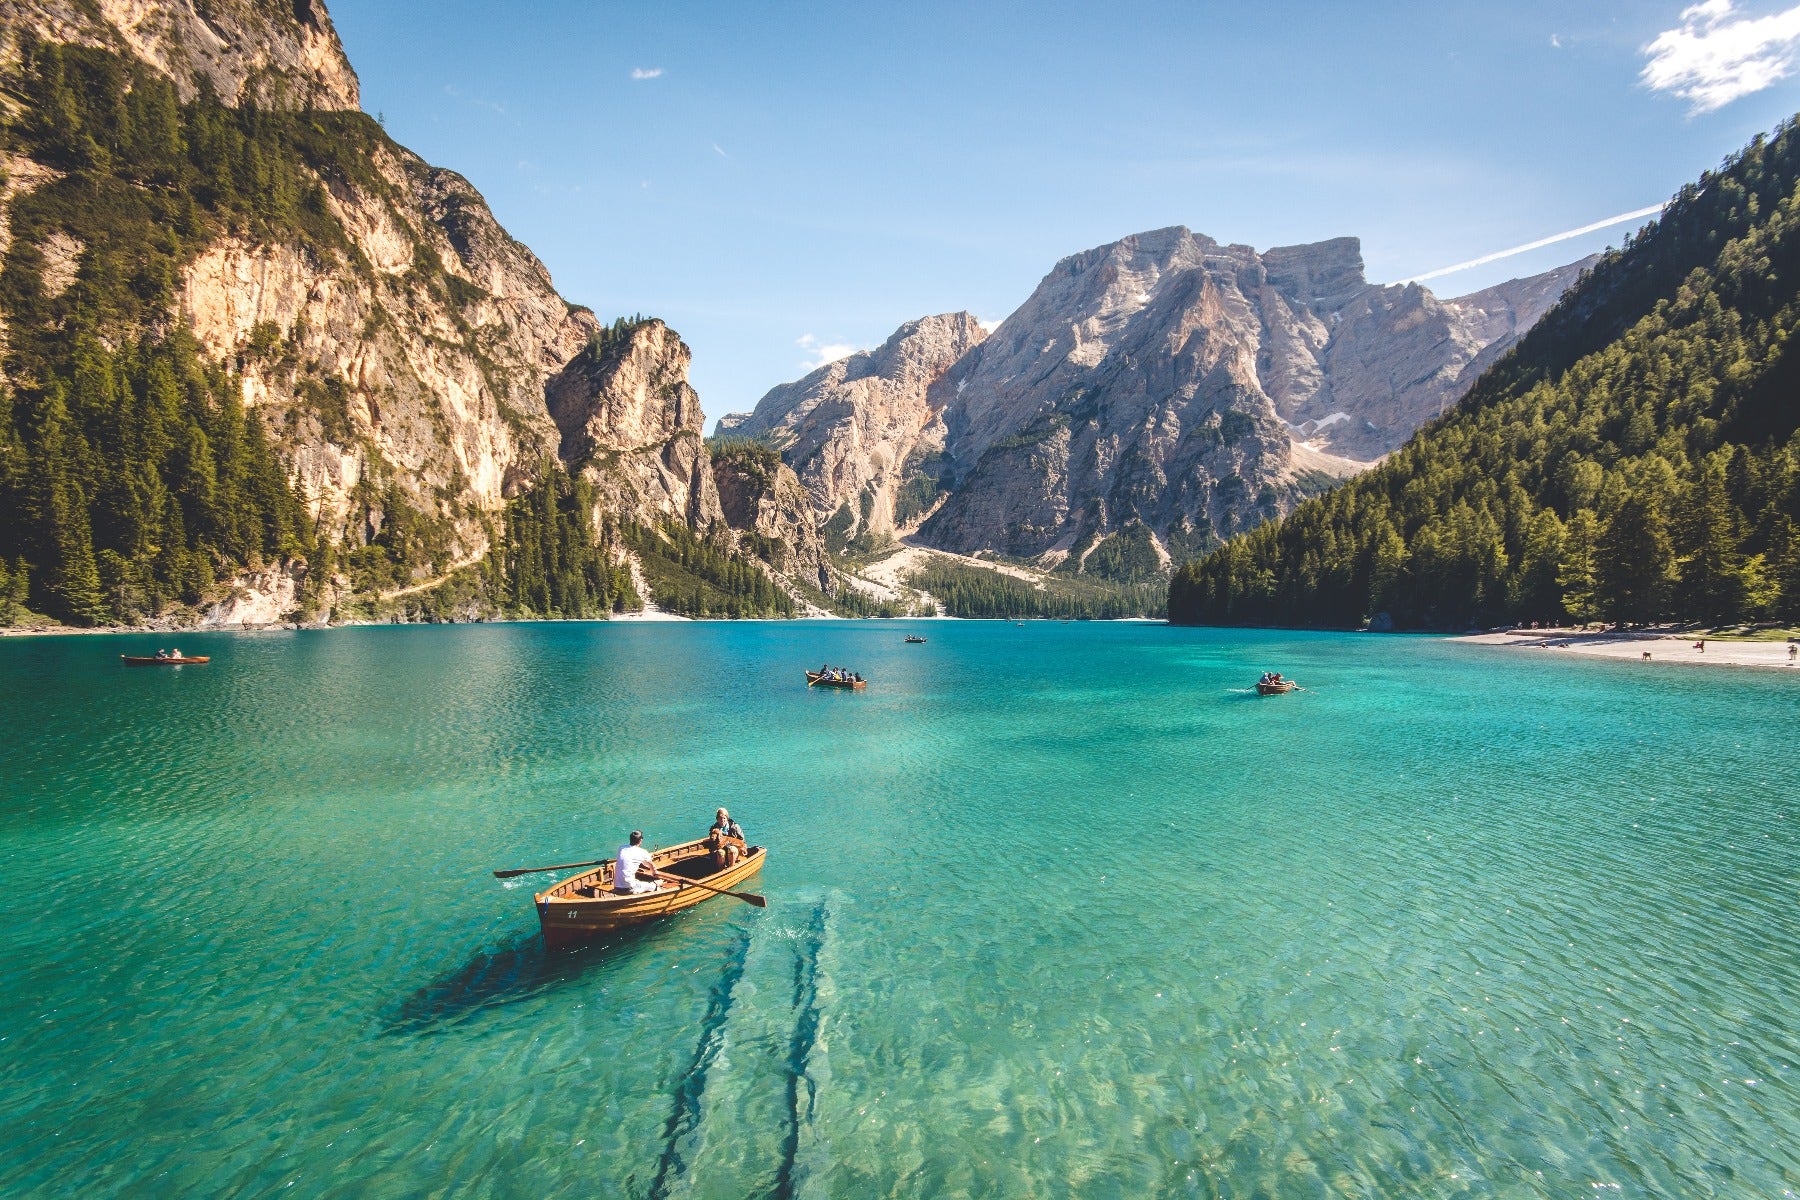
Wide-angle lenses are the most common type of lens used in landscape photographyWhy a Wide Angle Lens is the Best for Landscape Photography
Wide angle lenses traditionally have a focal length of up to 35mm or less, and they are the most popular type of lens for shooting landscape photos because it allows you to fit a lot into your frame. Landscape photographers are often shooting large vistas, beautiful views, mountains, waterfalls, or similar, all of which tend to be physically large objects. A wide angle lens means that you'll be able to fit that large subject into your frame.
By nature, wide angle lenses also have less shallow depth of field than longer focal length lenses - learn more about that in our Introduction to Shallow Depth of Field article. This is good, because unlike portrait photographers, landscape photographers typically want all of their image to be in focus so that the viewer can fully appreciate the beauty of the scene.
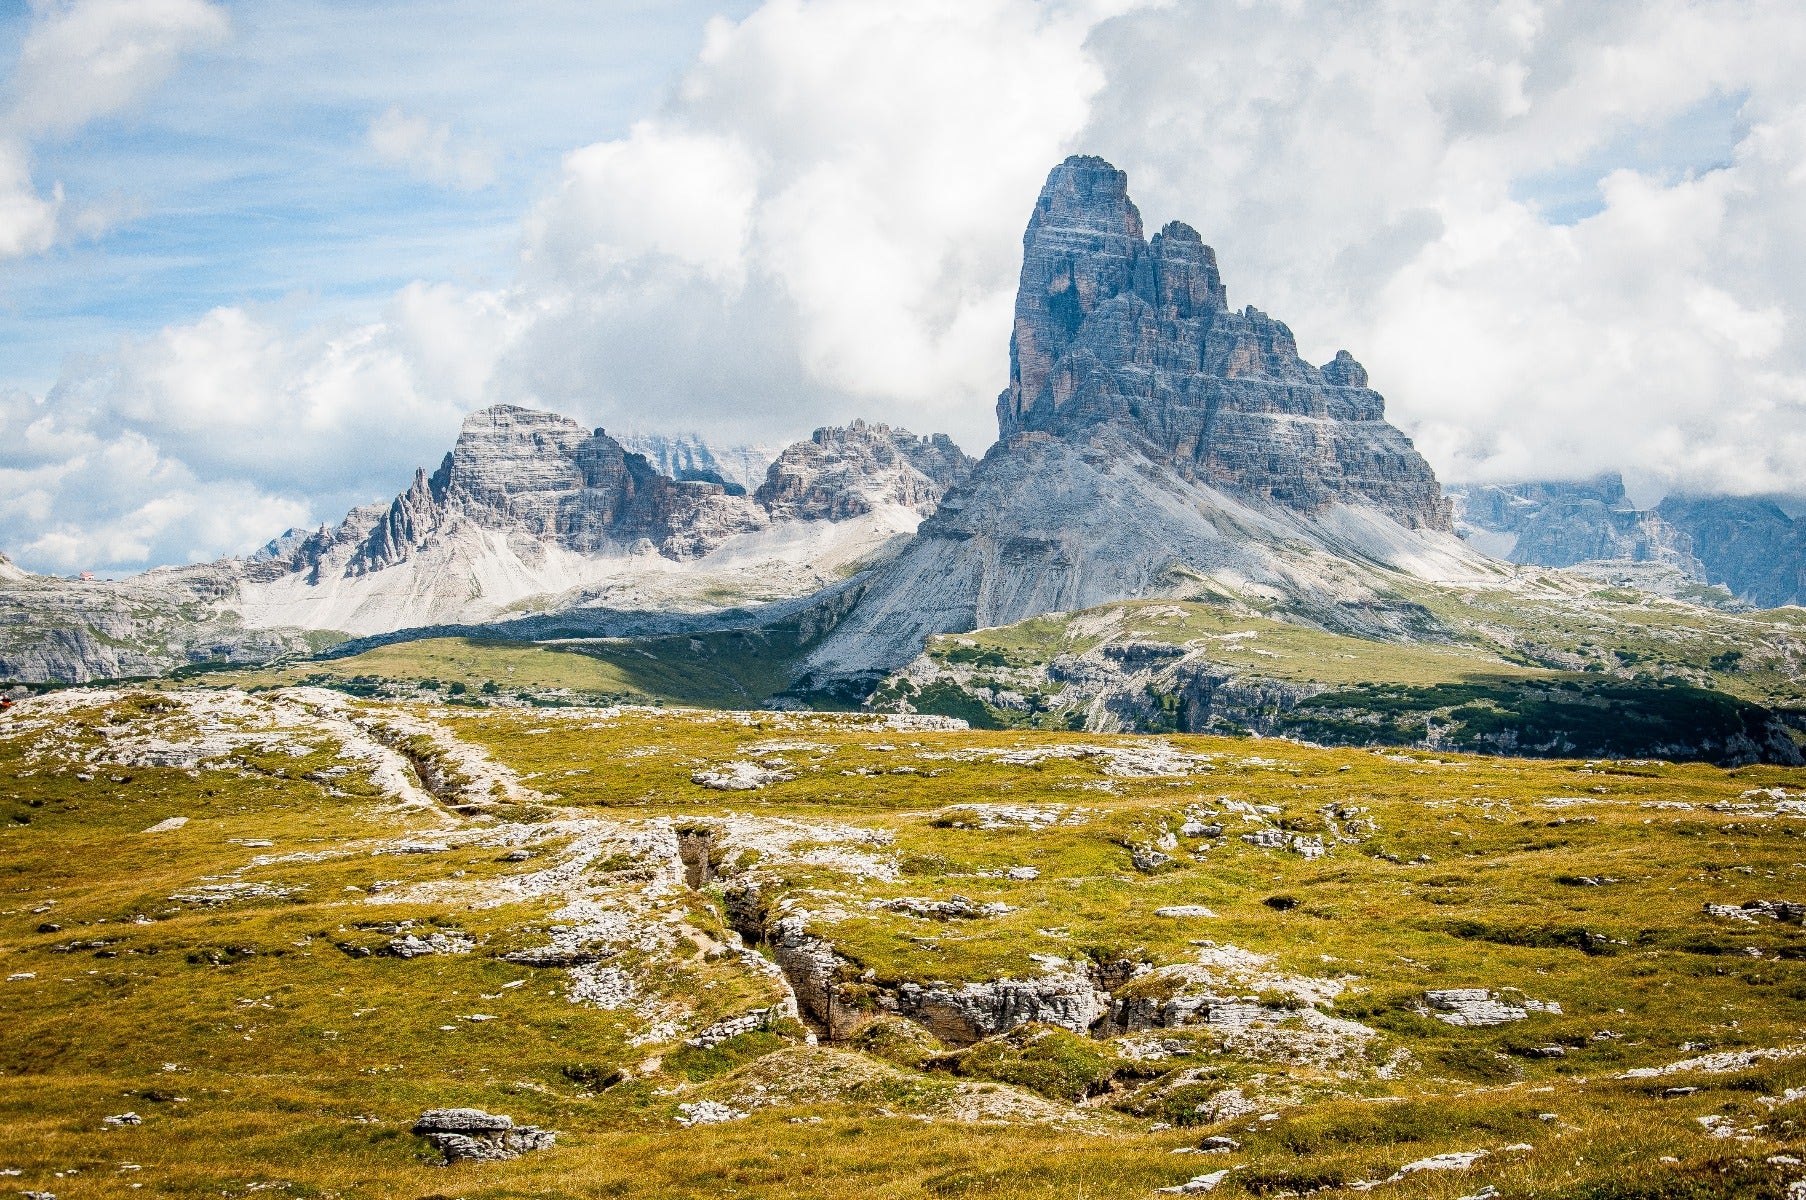
It's common for landscape photography to take in large vistas, which is why wide angle lenses excel
Choosing a Wide Angle Lens for Landscape Photography
The first decision you have to make when choosing a wide angle lens is whether you want a prime or zoom lens. Both have their advantages and disadvantages, and what's right for you will depend on your shooting style and preference.
Prime
The first option is a prime lens, and they're an excellent choice when you're on a budget or need a fast aperture. They're compact and frequently come in a more manageable size then a zoom lens, which can be important if you'll be hiking to get the shot.
Prime lenses come with fewer moving parts than other lenses, meaning a lower cost and a reduced chance of mechanical failure. For landscape photography, prime lenses allow you to shoot clear and crisp images without spending thousands of dollars on a lens.
The other main benefit of prime lenses is that they generally provide wider maximum apertures than zoom lenses. The main benefit of this is that they can offer shallower depth of field and better shooting in low light. However, both those benefits are minimised in landscape photography, where photos are typically shot with small apertures to avoid shallow depth of field, and from a tripod, which means longer exposures can typically negate lighting issues.
Zoom
If your lens isn't a prime lens, that means it's a zoom lens. Zoom lenses are all about flexibility. They offer you the opportunity to change your perspective without having to change your positioning. For this reason they are more flexible than prime lenses
As a trade-off though, zoom lenses tend to be larger and more expensive than prime lenses. This is because they require more complicated internal lens elements in order to facilitate the zoom.
How to Get the Best Landscape Shot with a Wide Angle Lens
When you use a wide angle lens for your landscape shots, there are several things you can do to get the best shot possible. It may take a little practice, but the following tips can help the process along.
Create a Sense of Movement - Depending on the landscape, strive to create a sense of movement within your shot. To do this, use leading lines and patterns to draw the viewer's eyes through the image. For example, if you have an island or structure in the background, look for something in the foreground that draws your eyes to the background, like rock structures.
Include Foreground Interest - The bottom third of your photo shouldn't simply be empty space. Instead, you want to capture something that gives your audience something to look at before they look at your landscape. This could be a lake, boat, people or even a building.
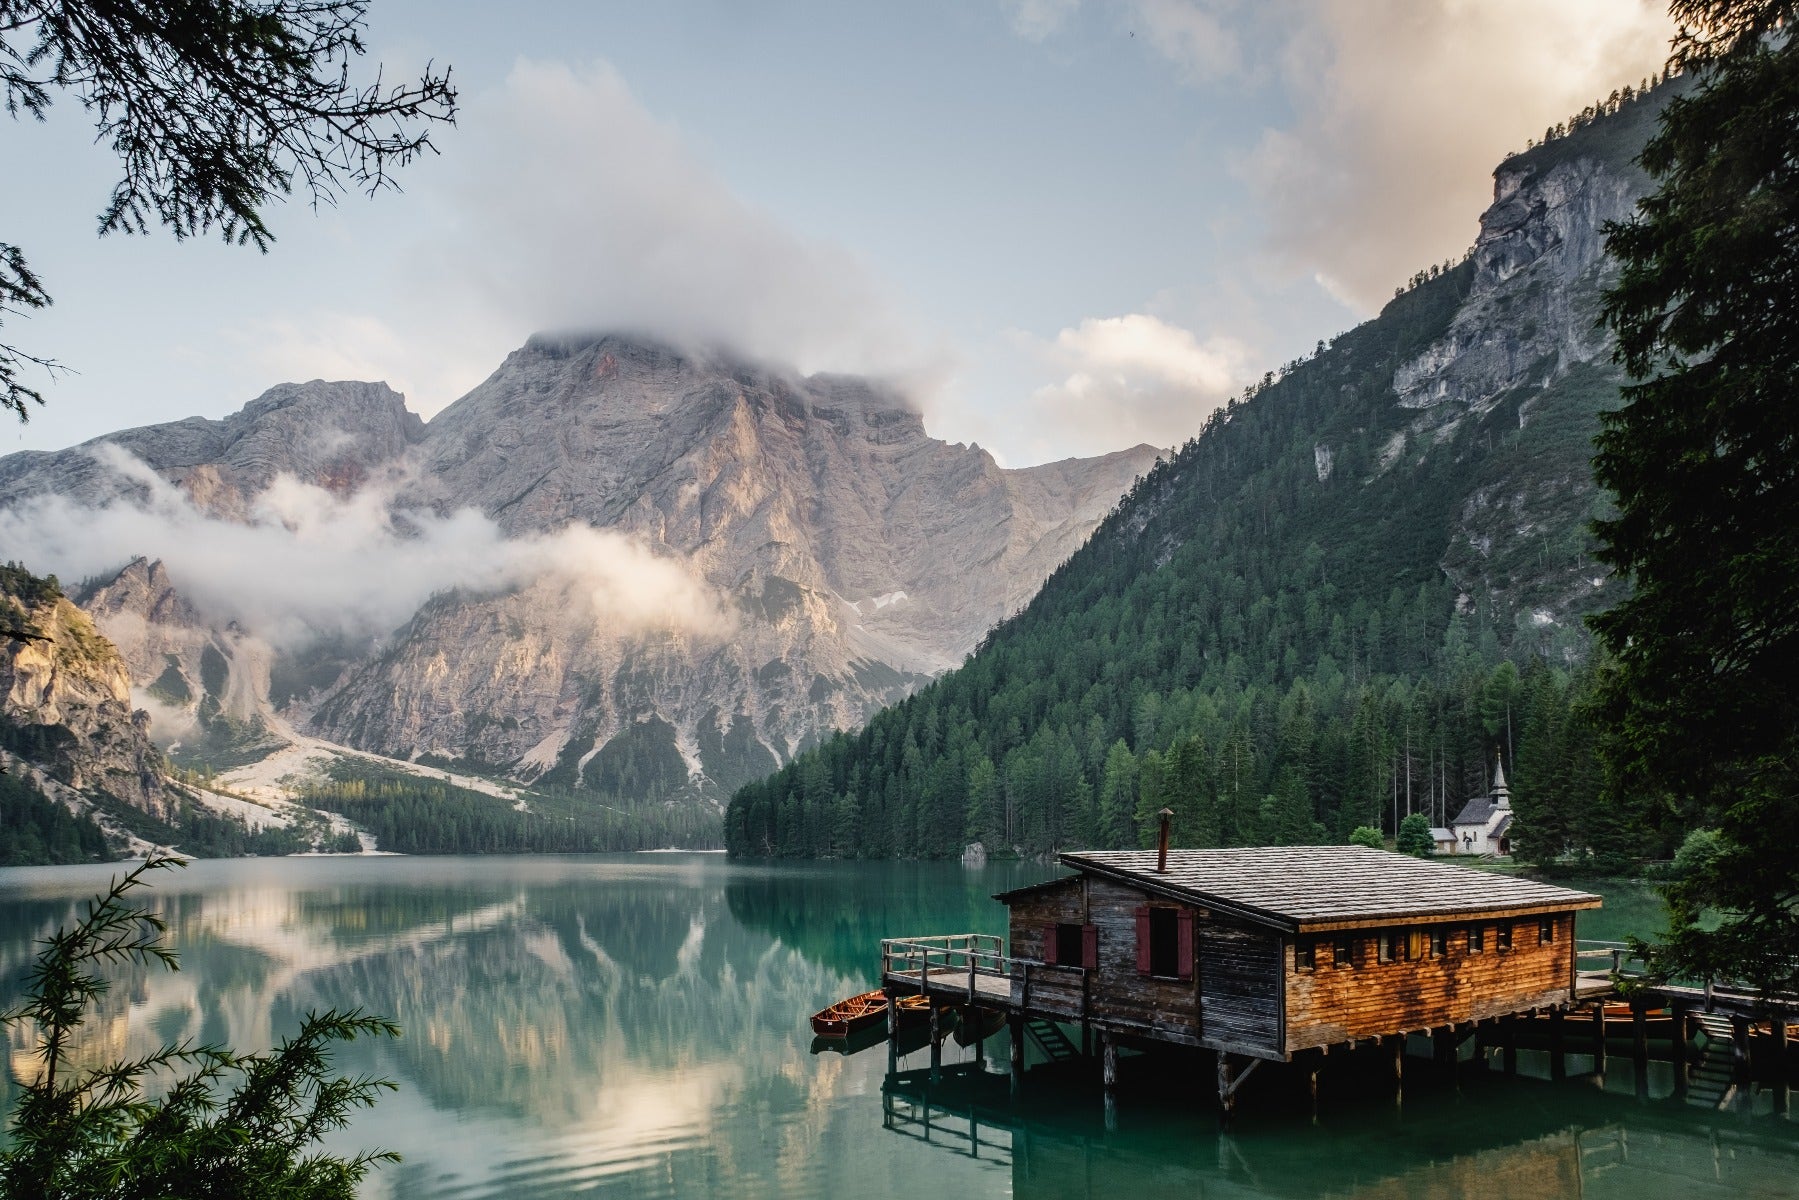
The lake house in this example provides a strong foreground subject to give the more distant mountains some scale
Have a Clear Focal Point - With this type of photography, it's essential that you have a clear focal point in your image. Deciding on a focal point will allow you to determine your photo's composition.
Observe Through Your Camera - When you first start out with this type of lens, look at your scene through the viewfinder or camera instead of with just your eyes. This allows you to see the effect you're creating with your lens, as it may be different to what you see with the naked eye. Pay attention to foreground objects because wide angle lenses exaggerate distance and can make foreground objects appear larger than there are in real life
Use a Small Aperture - The wider the aperture, the more light that gets through to your camera's sensor, and the deeper your depth of field, which is generally desirable as you want the whole view in focus. Setting an aperture somewhere between f/8 and f/16 will help you get as much focus as possible in your shot. However, avoid going to f/18 or f/22 or above because this can decrease your final image quality.
Use Different Heights - When you use a wide angle lens, height makes a big difference in your shots. Shoot a scene at different heights and look at your results. Just remember, the higher you have your camera, the more you have to tilt your device down to capture the foreground in your image.
Avoid Barrel Distortion - Barrel distortion is what happens when straight lines appear to bulge out, and is a common issue as you shoot with wider lenses. This may be somewhat unavoidable when using a wide angle lens, but you can minimise this by adjusting your framing to minimise how noticeable the distortion is. Moving back and zooming slightly in on your landscape, or using attempting to straighten lines using post production software are other options.
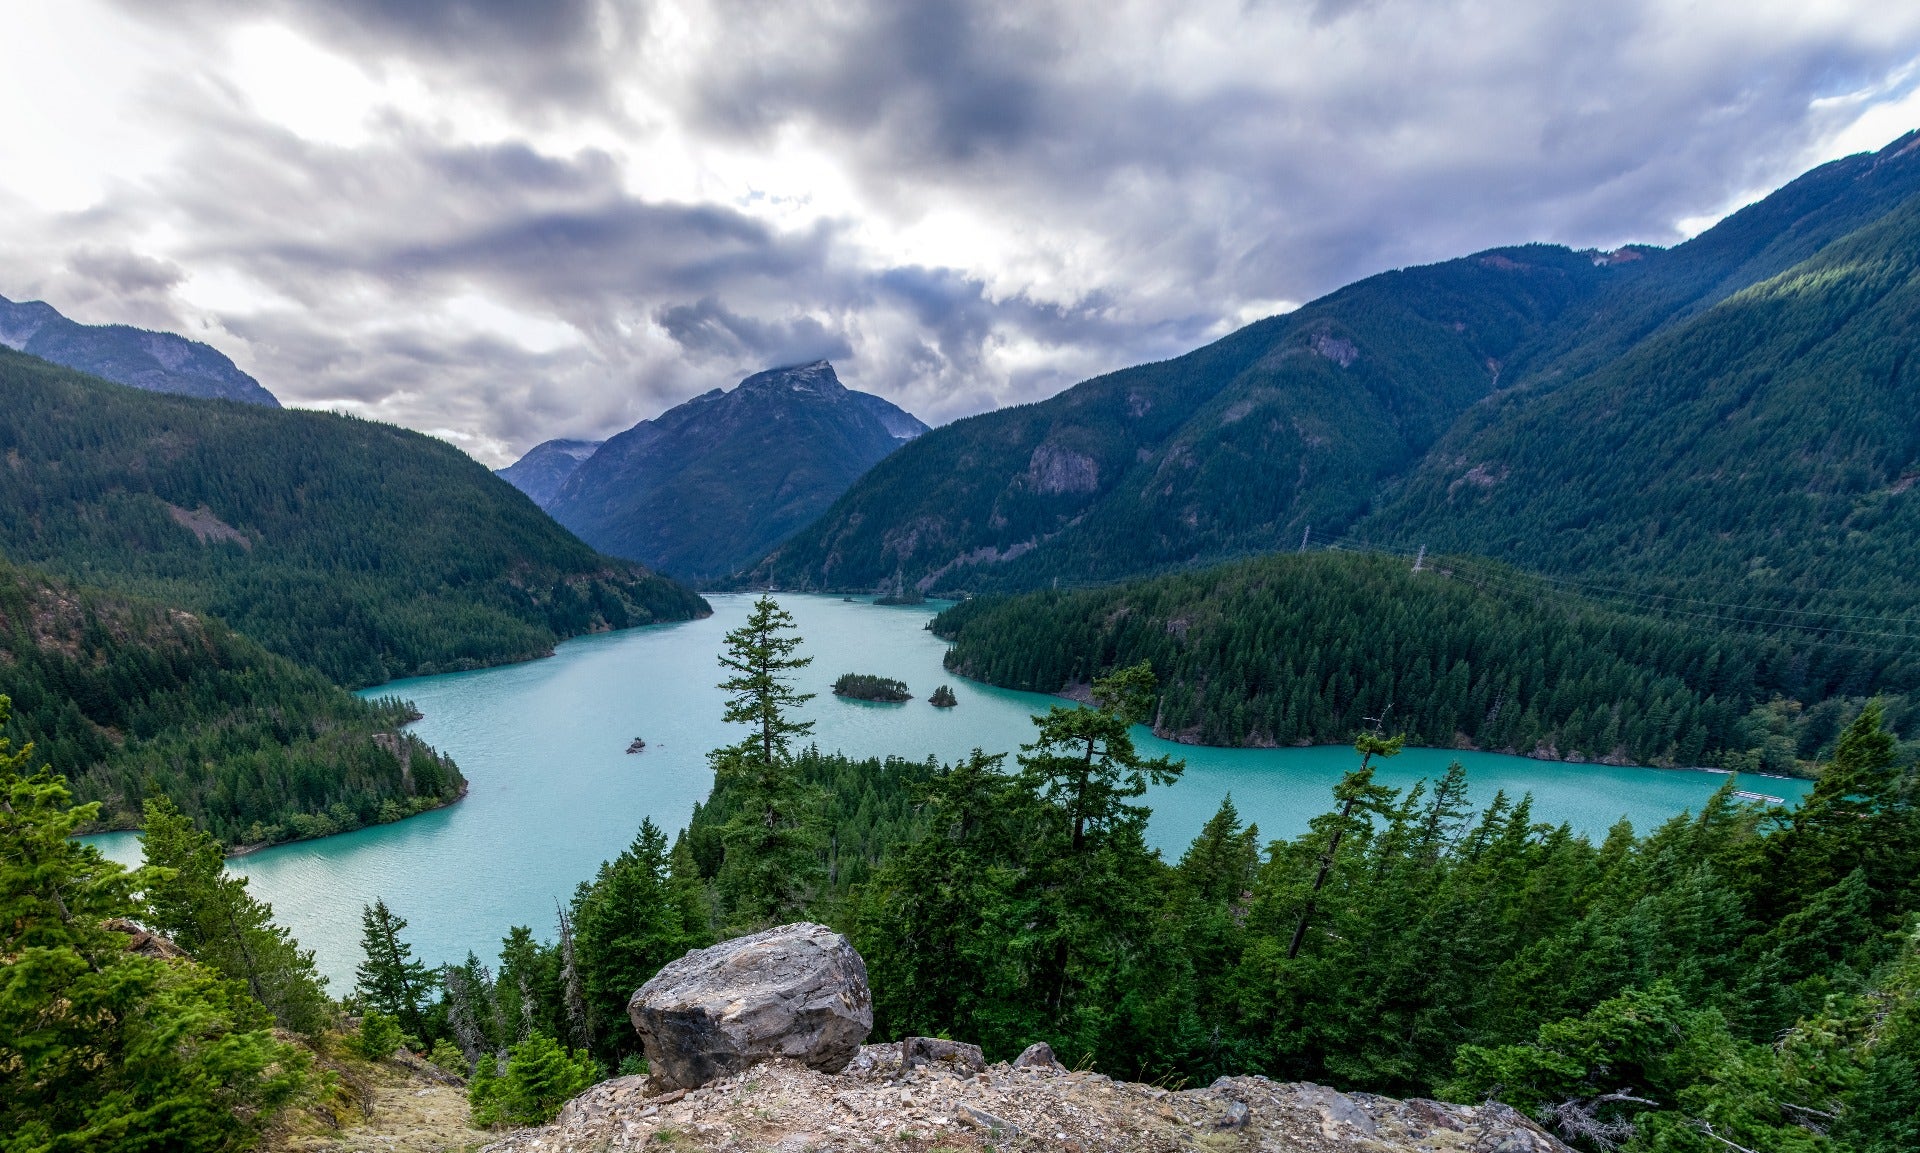
Barrel distortion is fairly noticeable in this photo. Be careful to try and frame your shots so that distortion does not detract from your images
Watch the Corners - Pay close attention to the bottom two corners of your image when you shoot with this type of lens. The goal is to try and take shots that have lines or subjects that lead into your image close to these bottom two corners to pull the image together.
Keep Your Elements to a Minimum - A wide angle lens lets you capture a lot more in a single shot, which is good. However, beginners with a wide angle lens often make the mistake of putting TOO much in their photo. Too many elements can make your scene seem chaotic, try to focus on two or three elements and keep it simple.
Frame Your Shot - You can use natural or man-made elements to frame in your shot before you take it. For example, you can frame your subject in a window or doorway to naturally box it in and draw the eye around the image.
Bring a Tripod - Since framing is often a very important aspect of landscape photography, consider using a tripod. This allows you to adjust your framing much more incrementally. Also, since you're like shooting at a small aperture, you'll be letting less light in, which means you may have to compensate with a slower shutter speed. Tripods allow you to slow your shutter speed below what you would be able to do handheld.
Take Advantage of Golden Hour - Shoot around the golden hours to take advantage of the light. The golden hours of the day are those directly before and after sunrise and sunset. You'll get a low angle for your light that can create patterns, textures and dimensions in your shot that just can't be found at other times of day. Shooting a scene with water reflections is particularly breathtaking at golden hour. Learn more about planning for golden hour in our Timing and Planning for Landscape Photography article.
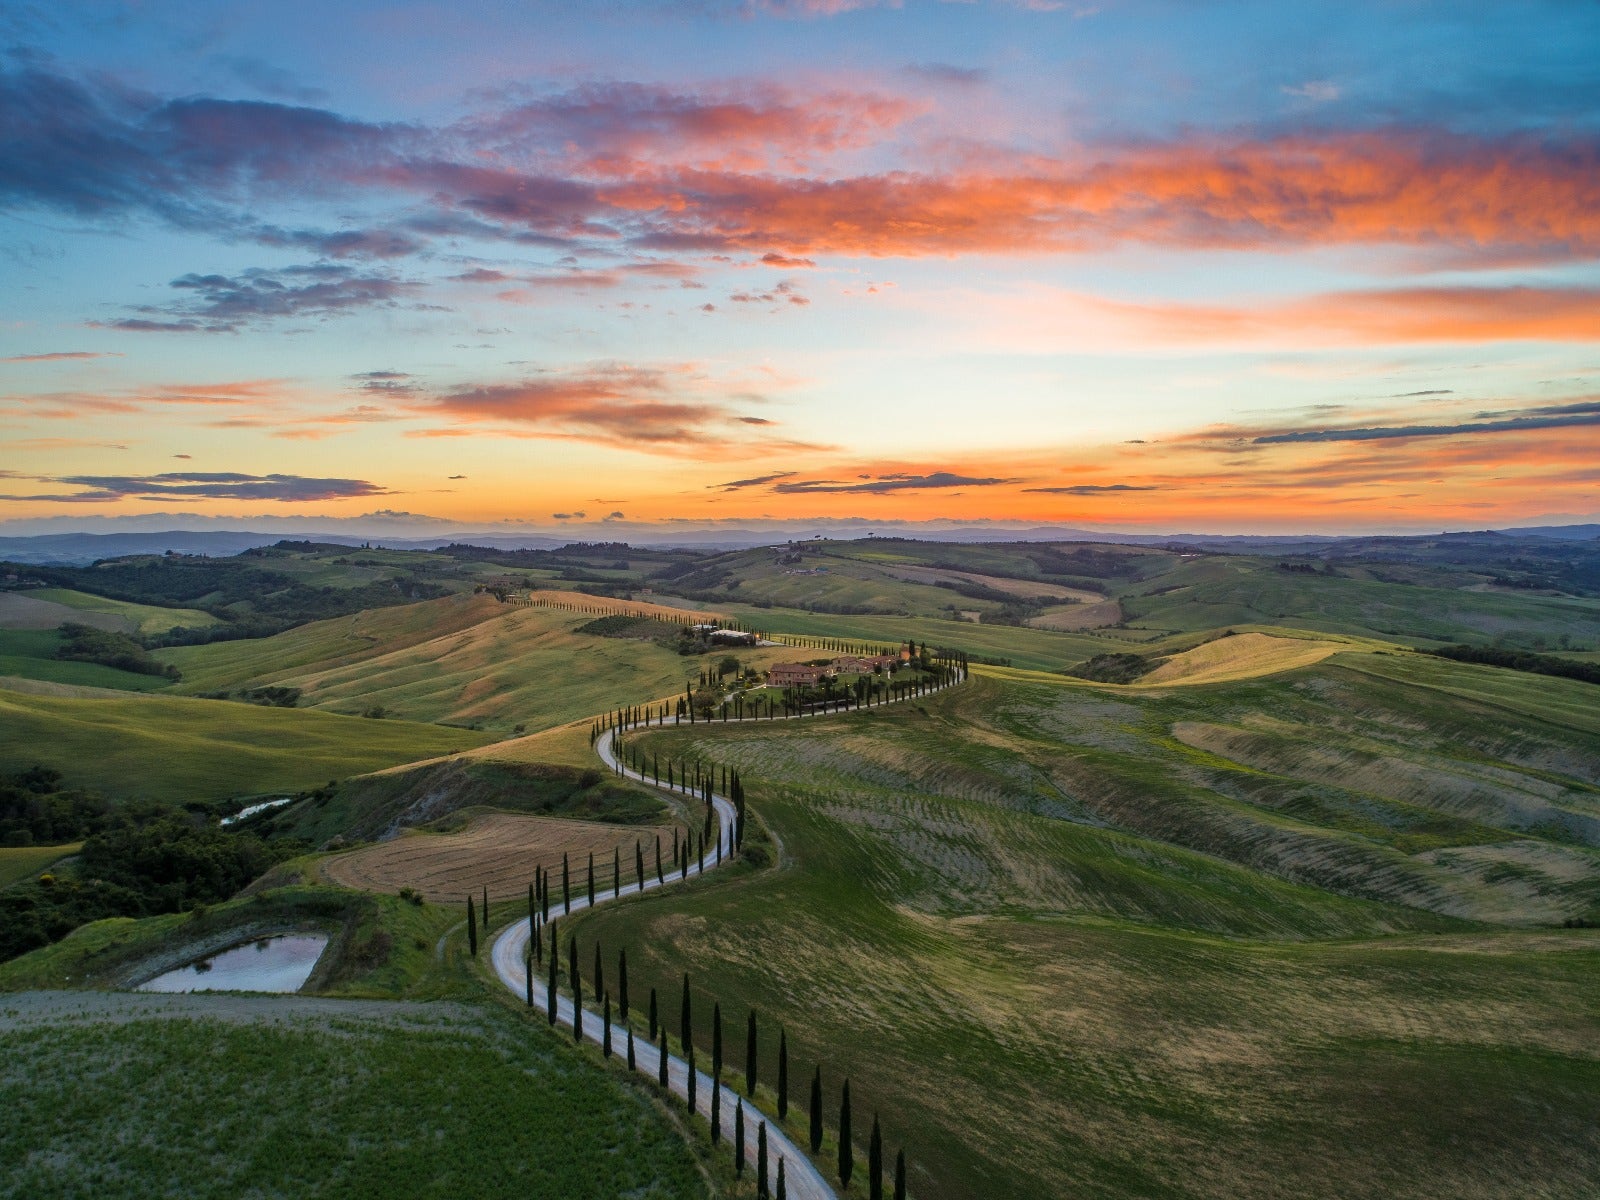
Shooting during golden hour and give your photos some nice colour that is not present at other times of the day
Consider using filters - Filters are a common accessory in landscape photography. ND filters will allow you to shoot long exposure shots in daytime, circular polarisers can reduce glare and enhance saturation, and graduated filters can darken the sky more than the land, helping to balance your exposures. Learn more about filters in our Why You Need a Filter For Your Lens article.
Shoot in RAW - Yes, RAW shooting means your photos will take up more space and will require dedicated software in order to edit, but it gives you so much more flexibility during post-production editing. You'll be able to edit your image without losing the image quality, which is often even more important because landscape photography tends to capture a wide dynamic range (dark land vs. a bright sky) that will be maximised by shooting in RAW.
Pay Attention to The Horizon - Is your horizon straight? Having a straight horizon is important to preserve a sense of symmetry and balance to your image and not make it feel off-kilter. While it is possible to straighten up a horizon during your editing session, it's easier to have a straight horizon to begin with when you shoot it. You'll also want to make sure your horizon is compositionally framed. To have a compositionally framed horizon, you'll want the horizon line to cut a line through either the bottom third or top third of your image. Although it may feel natural initially, generally you want to avoid having the horizon in the direct centre of a landscape shot because this is jarring to the eye. But this varies depending on the specifics of your shot.
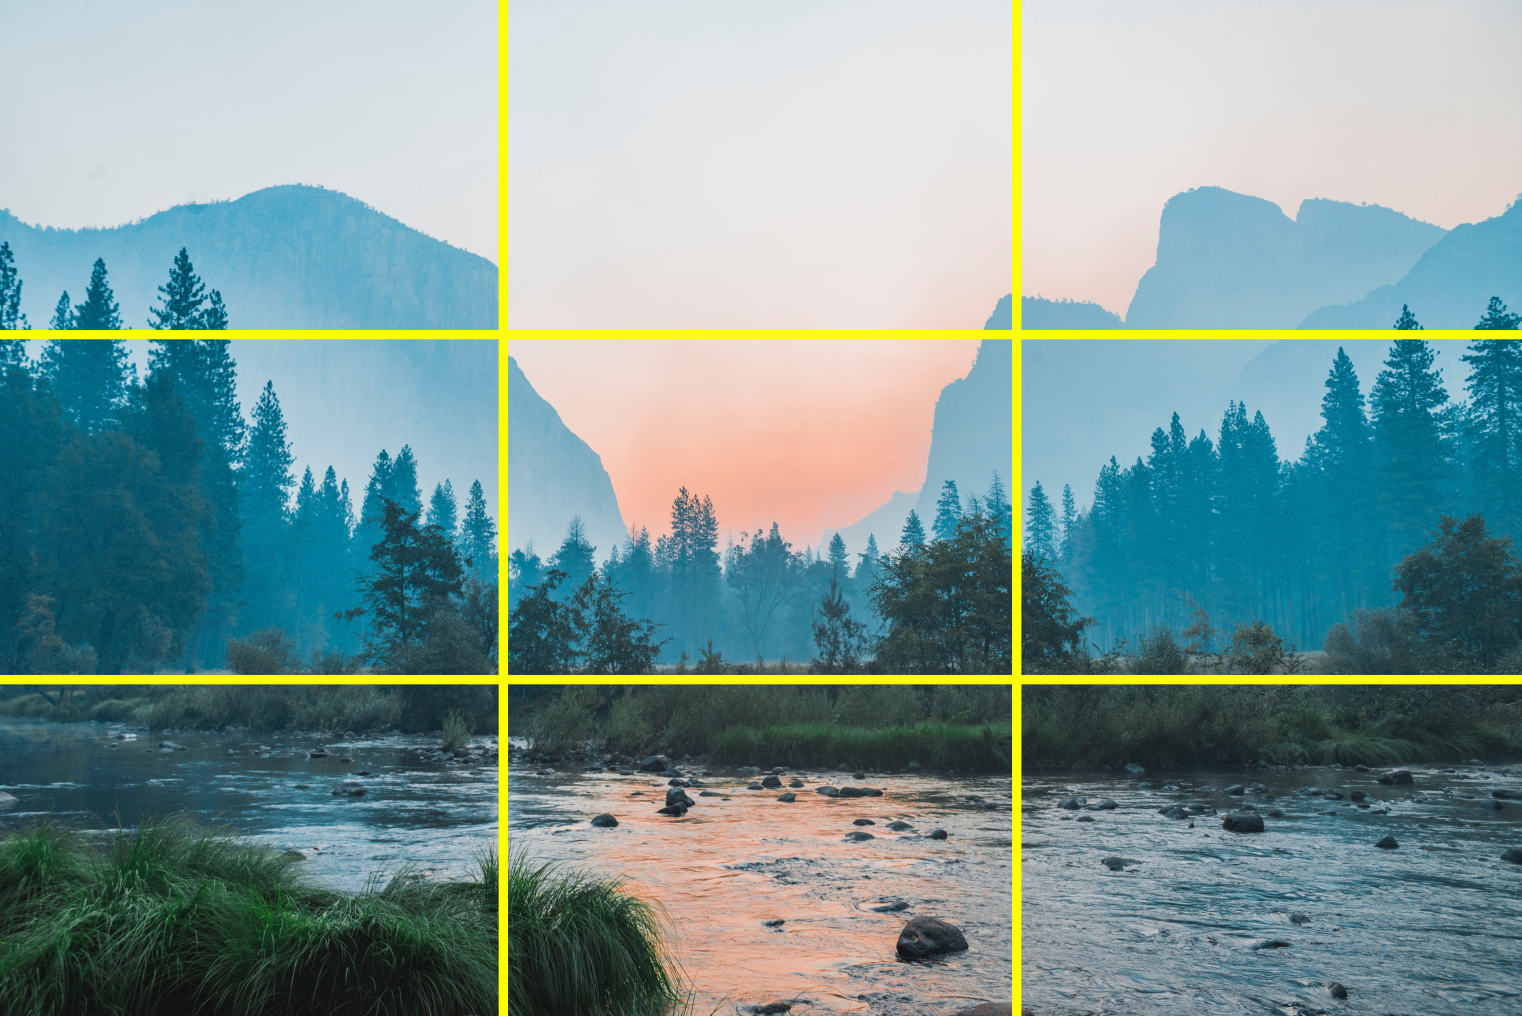
Note how the horizon lines up with the bottom third line of the photo. This rule can be broken to good effect, but try to be conscious of your horizon placement
Landscape Photography Camera Settings with a Wide-Angle Lens
Your camera settings are going to play a vital role in how well your landscape photographs come out at the end of a session. You don't necessarily need a several thousand-dollar camera to get gorgeous shots, but you do need the right settings. They include:
Shutter Speed - If you are handholding your camera, in order to avoid handheld shake your camera's shutter speed should roughly correspond to double your focal length. So, if you have a focal length of 30mm, your camera's shutter speed should be at least 1/60th of a second.
ISO - Setting your camera's ISO on the lowest setting usually helps you get a clearer and cleaner image. It gives you less noise or grain in your shot. Start on your lowest ISO setting. Use aperture and shutter speed to provide as much light as possible while still keeping them within the range required in order to provide the look that you want. If it's still too dark, raise your ISO as a last resort to increase exposure.
Exposure Mode - For the most part, Av or A (Aperture Priority) works great for landscape photography. Set your aperture and the camera will automatically adjust everything to suit this. This is where you can also experiment by putting your camera in Manual Mode and seeing how different settings impact your photo's outcome.
Contact digiDIRECT Today!
Do you need a wide angle lens for your landscape photography? Perhaps you have questions. If so, reach out and contact us today! We have a large selection of wide angle lenses available, and we're happy to help you find the one that suits your needs the best.


Comments
No Comments yet. Be the first to comment.