We use cookies to make your experience better. To comply with the new e-Privacy directive, we need to ask for your consent to set the cookies. Learn more.
Photolab
0
My Cart


Creating the perfect photo often has a lot to do with lighting. While most photographers are aware of golden hour, not everyone can or will shoot during these periods. Plus, there's indoor photography to think about too. Fortunately, with some practice and a small amount of equipment you can usually make any lighting situation suit your needs. At digiDirect, we've put together a primer for different lighting styles and how to shoot more effectively in more diverse lighting situations.
Sometimes you can use natural light without any other equipment. There are two scenarios where natural light serves its purpose. First, there are the golden hours. Golden hours occur in the two hours preceding sunset or following sunrise. During these times sunlight is softer and more orange or golden in colour (hence the name). Then, there are overcast days when the clouds obscure the sun. For portrait this can actually be ideal as the cloud cover diffuses the sunlight, making it much softer, which is generally ideal for portrait photography. Using natural light during overcast days can be a little tricky though and it depends on your judgement whether you'll use equipment or not. You may find that you need filler flash in a small number of cases, but we'll discuss that later.
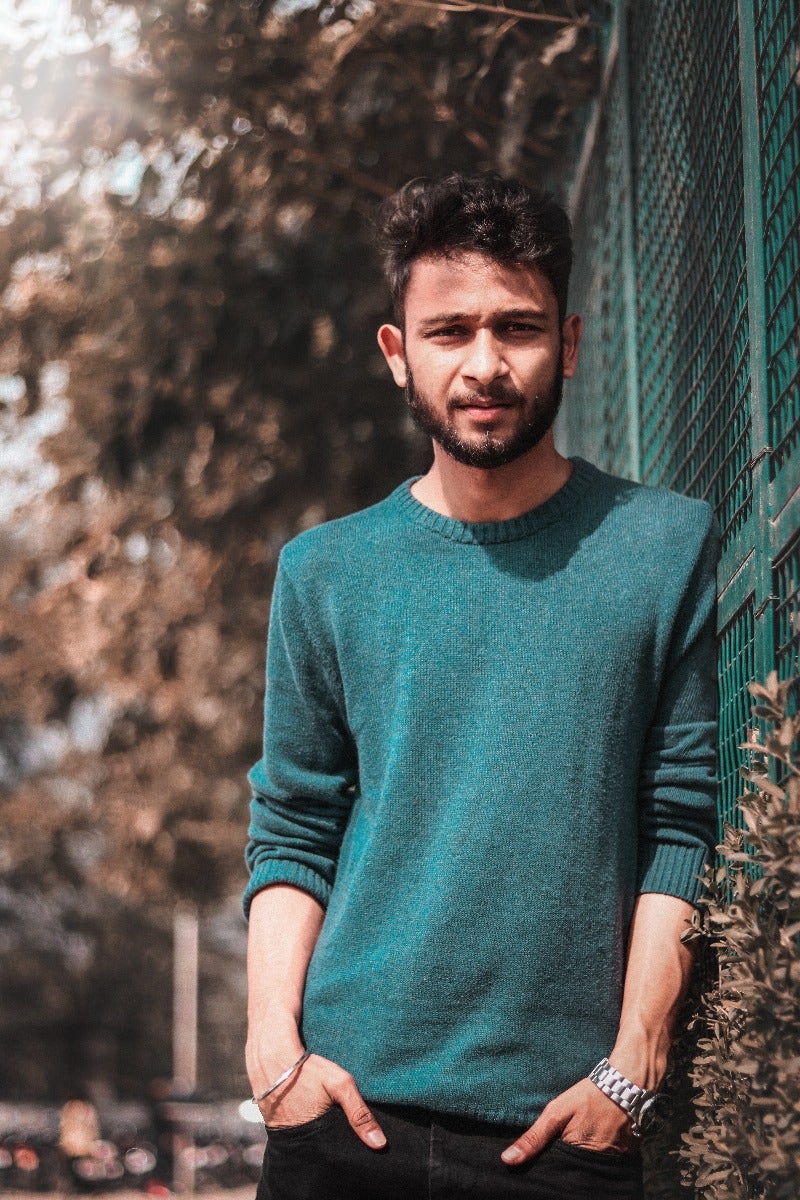
Bright sunlight often acts as the bane of a photographer's existence when shooting outdoors. It's difficult to work with, it changes frequetly, and it's very harsh lighting, which means the shadows it casts are distinct and strong. Certainly this can be used to creative effect, but generally speaking it means you need to rely on surrounding shaded areas to achieve perfection. Again, we'll discuss other forms of natural light manipulation in a bit.
 |
 |
While bright sunlight can be used, it can often result in harsh shadows and cause the subject to squint
Natural lighting works best when you're engaging in documentary, street, or wildlife photography. Or, if you're simply in a rush and you don't have time to set up artificial sources. In general, artificial lighting is preferred for commercial shoots, fashion, products, and wedding photography (depending on the nature of the photos, of course). At first, it may seem as though working with artificial light is tricky and time-consuming. Over time, a little experimentation will result in you mastering the art of artificial light.
You may be wondering why you would want to control natural light. Your reasons for doing so will fall into two broad categories: the natural light available is too bright or it isn't bright enough. Within these categories, it's often that the light is too bright and it's affecting your subject or it isn't lighting up your subject as much as you would like, or from the angles that you'd like.
If you have the time to do so, try visiting your target location and observing what the light looks like during the day. However, realistically this isn't always possible. Another way to get what you want is to place the subject at different angles or to photograph it from different angles. The way the light falls on your target shot will impact the outcome. If you want a good dimensional feel, try allowing the light to fall on the side of your subject.
When you want to control the direction light falls in, reflectors will do the trick. You can use yours to bounce light toward your subject. There are a wide range of reflectors available in many different sizes. A good starting place is a mid-sized collapsible reflector that ideally has multiple types of reflective surface to choose from - this is our recommendation.
Although controlling natural light in the moment is always an option, remember that you have photo editing software on your side too. When you tweak the tonal range after taking the photos, you can offset some of the flaws that come with light that's too bright or too dark. But don't rely too heavily on this as you'll only be able to do so much - it's much better to get it right in camera first!
When the light outside is bright and you want to tone it down, consider using some nearby shade. However, shade isn't always available or convenient. That's where diffusion panels come in. When placed over or around your subject, they diffuse the light that's shining onto them and make it easier for you to grab a shot without harsh lighting. You're likely to need an assistant or two to make this work, but the results are worth your efforts.
Alternatively, you can buy a diffusion panel that comes with stands and operate alone. Look for one that is easy to rotate and pivot, allowing you to diffuse natural light until it matches your requirements.

Using shade can be a way to lessen the harshness of mid-day sunlight. This can be replicated artificially using diffusers
Although we've already mentioned reflectors, we feel it's worth exploring the variations in sizes. When you're photographing people outdoors and you want to manipulate natural light to make the most of their features, small reflectors deliver big changes. By adding two small reflectors in a v formation beneath your subject, you can bounce the light into their face to accentuate their cheekbones and highlight their eyes.
Knowing which types of lighting will benefit your photography transforms your approach. Some of the lighting types you may want to use include:
When strong sunlight hits the side of your subject it's a natural and easy lighting type to work with. However, when it's hitting your subject head-on, it may cause them to lack dimension, leaving your photos looking lifeless.
When you're aiming for cool tones before you hit your photo editing software, try skylights. You may find this in some studios available to rent. Sky lighting also makes shadows appear less obvious.
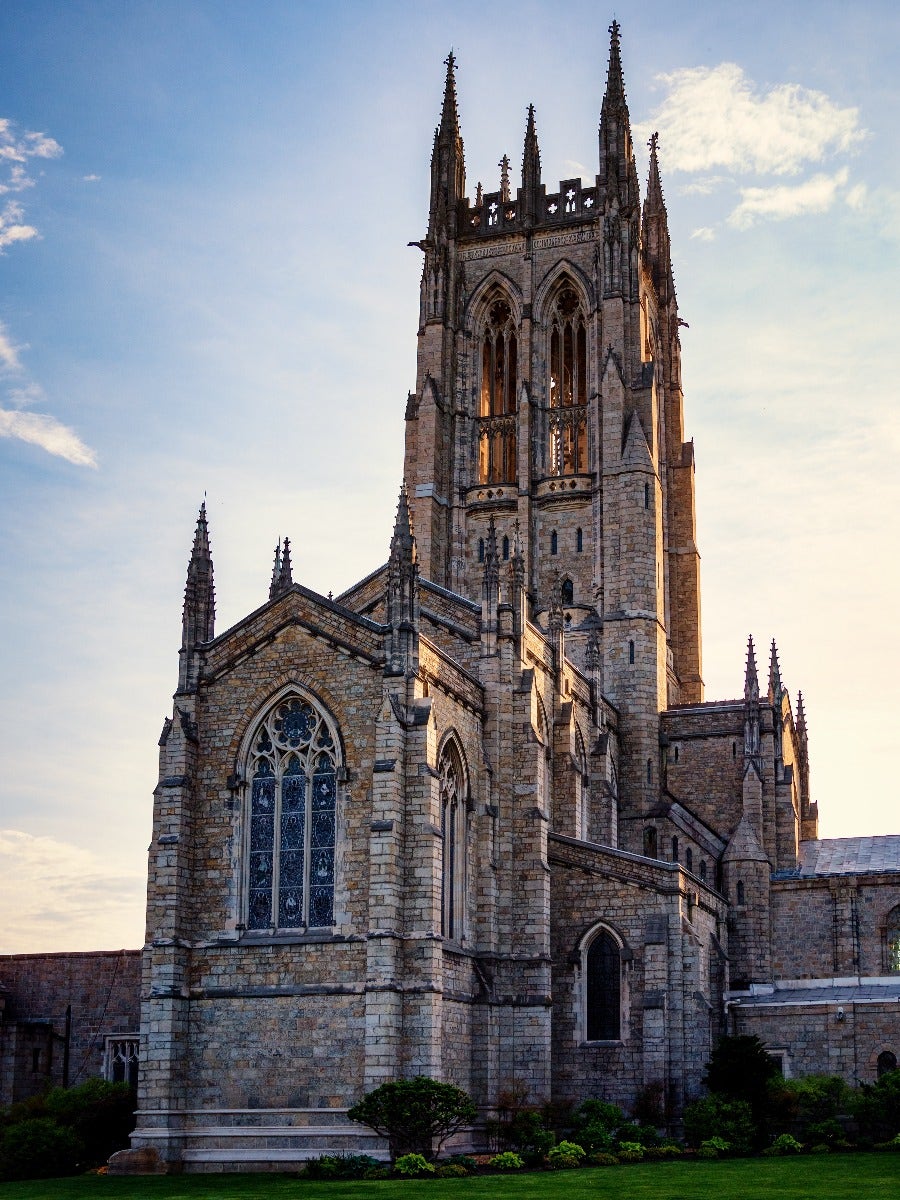
You can use side lighting in a natural and artificial sense. For example, if you like photographing buildings, aiming for the times of day when sunlight hits from the side makes the architecture look dramatic. If you're using side lighting indoors, you can take a gentle approach that makes your portraits look more interesting.
 |
 |
Side lighting in architecture photography can subtly call out features and highlight texture
Backlighting involves placing the light behind the subject. As a result, the subject is between the camera and the light. It's a useful technique in wedding photography, where photographers try to create a halo-like effect around their subjects.
Using an artificial flash is sometimes necessary when the weather is overcast outdoors. With a little experimentation, you'll find that the flash fills the gaps that overly overcast conditions leave.
Strobe lighting is ideal for when you need powerful lights on your subject. This is often the case in fashion shoots. However, as continuous lights have become more powerful in recent years, many photographers are finding that they're just as effective.
In addition to understanding different lighting types, knowing more about various lighting patterns proves useful.
Flat light is the type of light that falls directly onto your subject. When you're photographing people, this is arguably a good way to reduce shadows. However, a complete lack of shadows may also result in your subject lacking dimension. As a result, you may want to adjust your positioning so that the light is coming from more of an angle.
Using broad lighting, you can light one side of the subject's face and allow the shadow to fall on the other side. Photographing from the well-lit side makes your subject look a bit fuller.
Short lighting is like broad lighting in reverse. Rather than the light falling on the side of their face that's closest to the camera, the shadow falls on it instead. Many photographers see this type of lighting as being the most flattering for people of all face shapes. However, as it forces their imperfections to become more obvious, you may need to work with some makeup in advance.
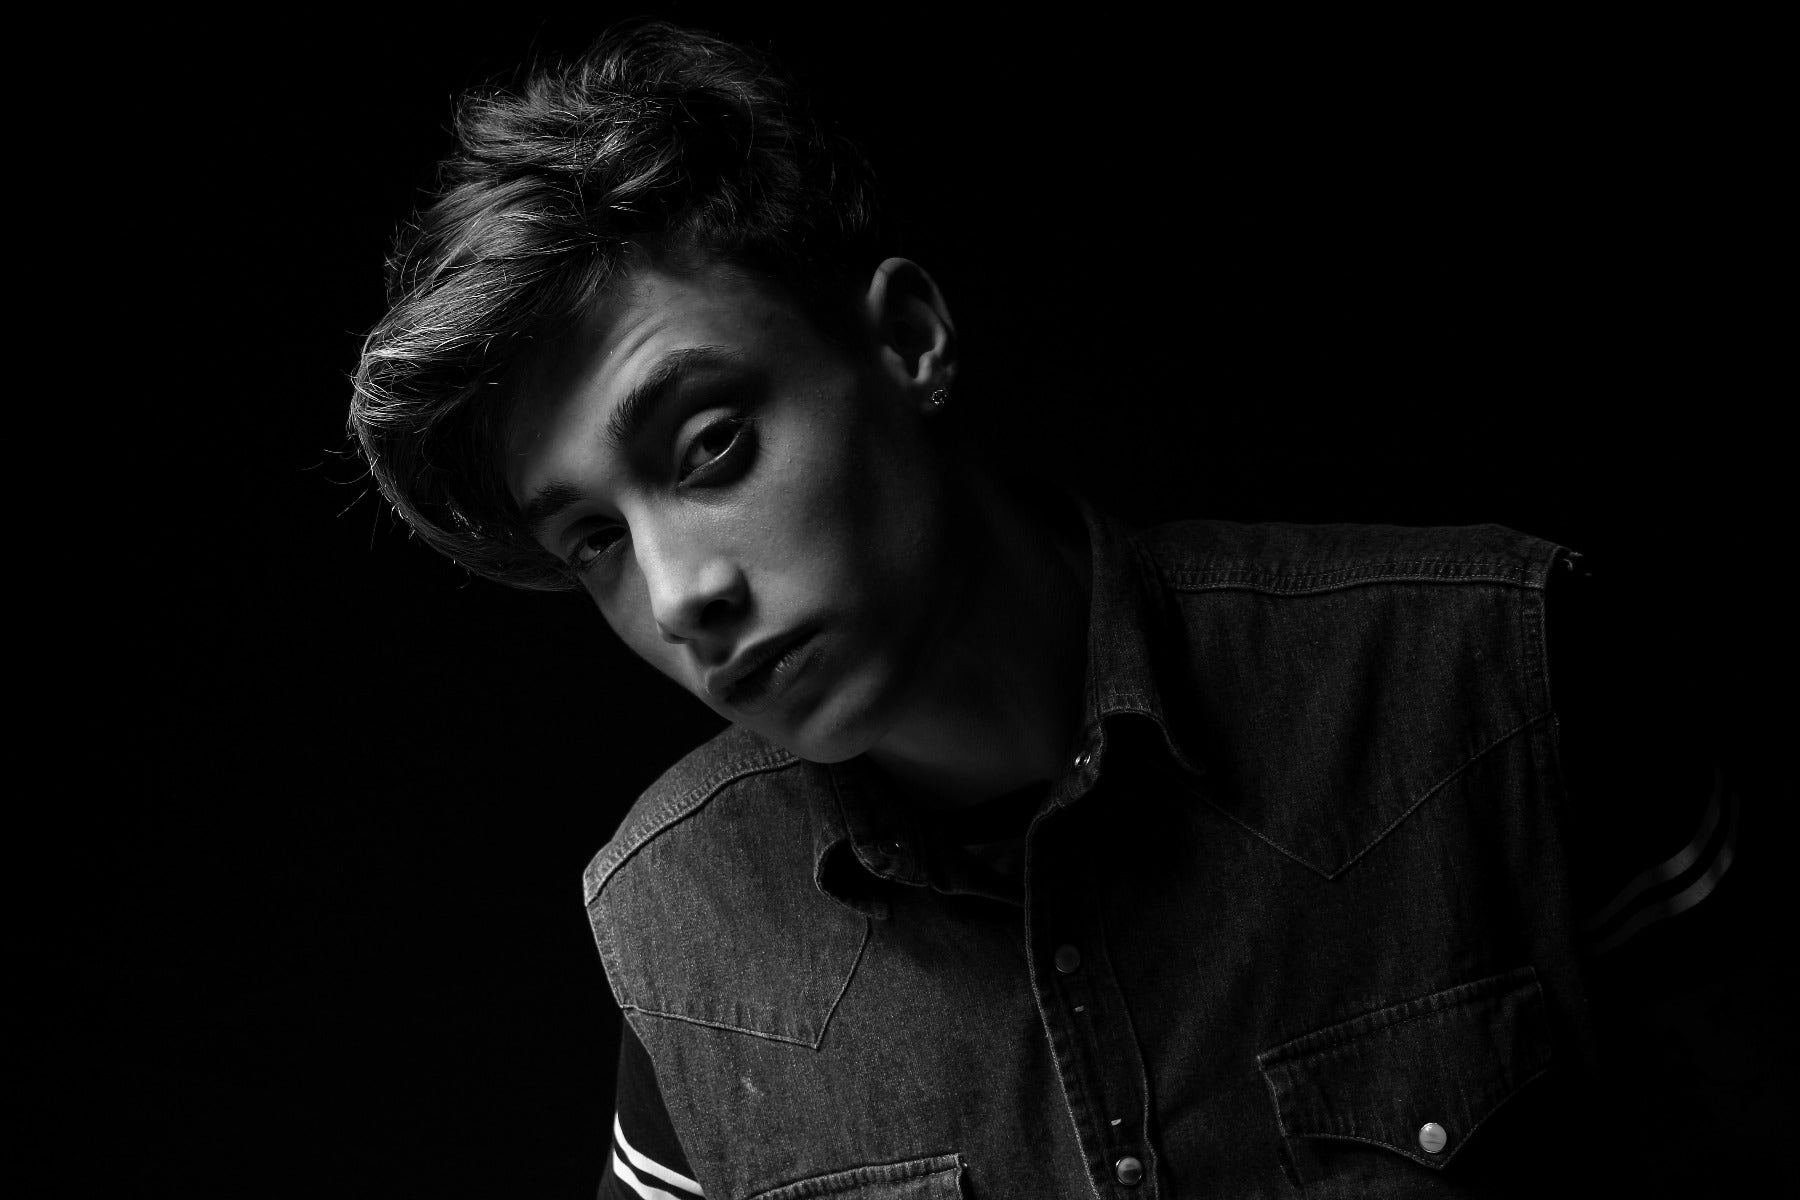
Short lighting is the opposite of broad lighting - the shadowed side of the face closest to the camera, resulting in a more low key image
Split lighting adds a little drama and toughness to your subject. This is where the light hits them at a 90-degree angle, resulting in the shadow line falling down the middle. Because of its effects, this type of lighting works well when you want a building to look dramatic or when you want a person to look tough. However, it can have undesirable effects in wedding photography, where the subjects often want to look romantic.
Butterfly lighting is popular in portrait photography. When you place the light above your subject, it causes a butterfly-like shadow to fall beneath their nose. It's a great way to emphasise the subject's eyes if they're deep set.
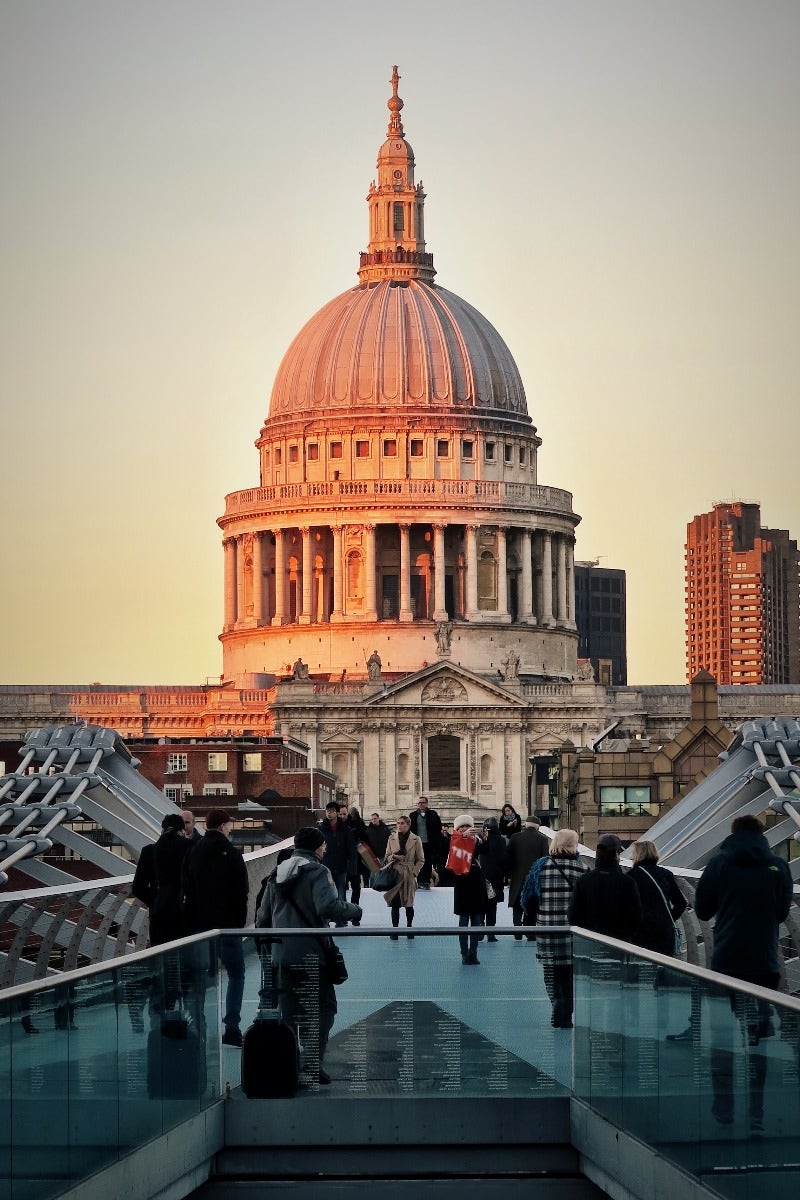
In contrast with split lighting, backlighting makes subjects look whimsical in an instant. If the subject in question has light clothes on or it's a light coloured feature, this can result in a halo-like effect around them. It's easy to achieve backlighting during the golden hours when the sun isn't too harsh as you just need to place the subject in front of the light. Alternatively, you can use artificial lights for the same effect indoors or you can place your subject in front of a window.
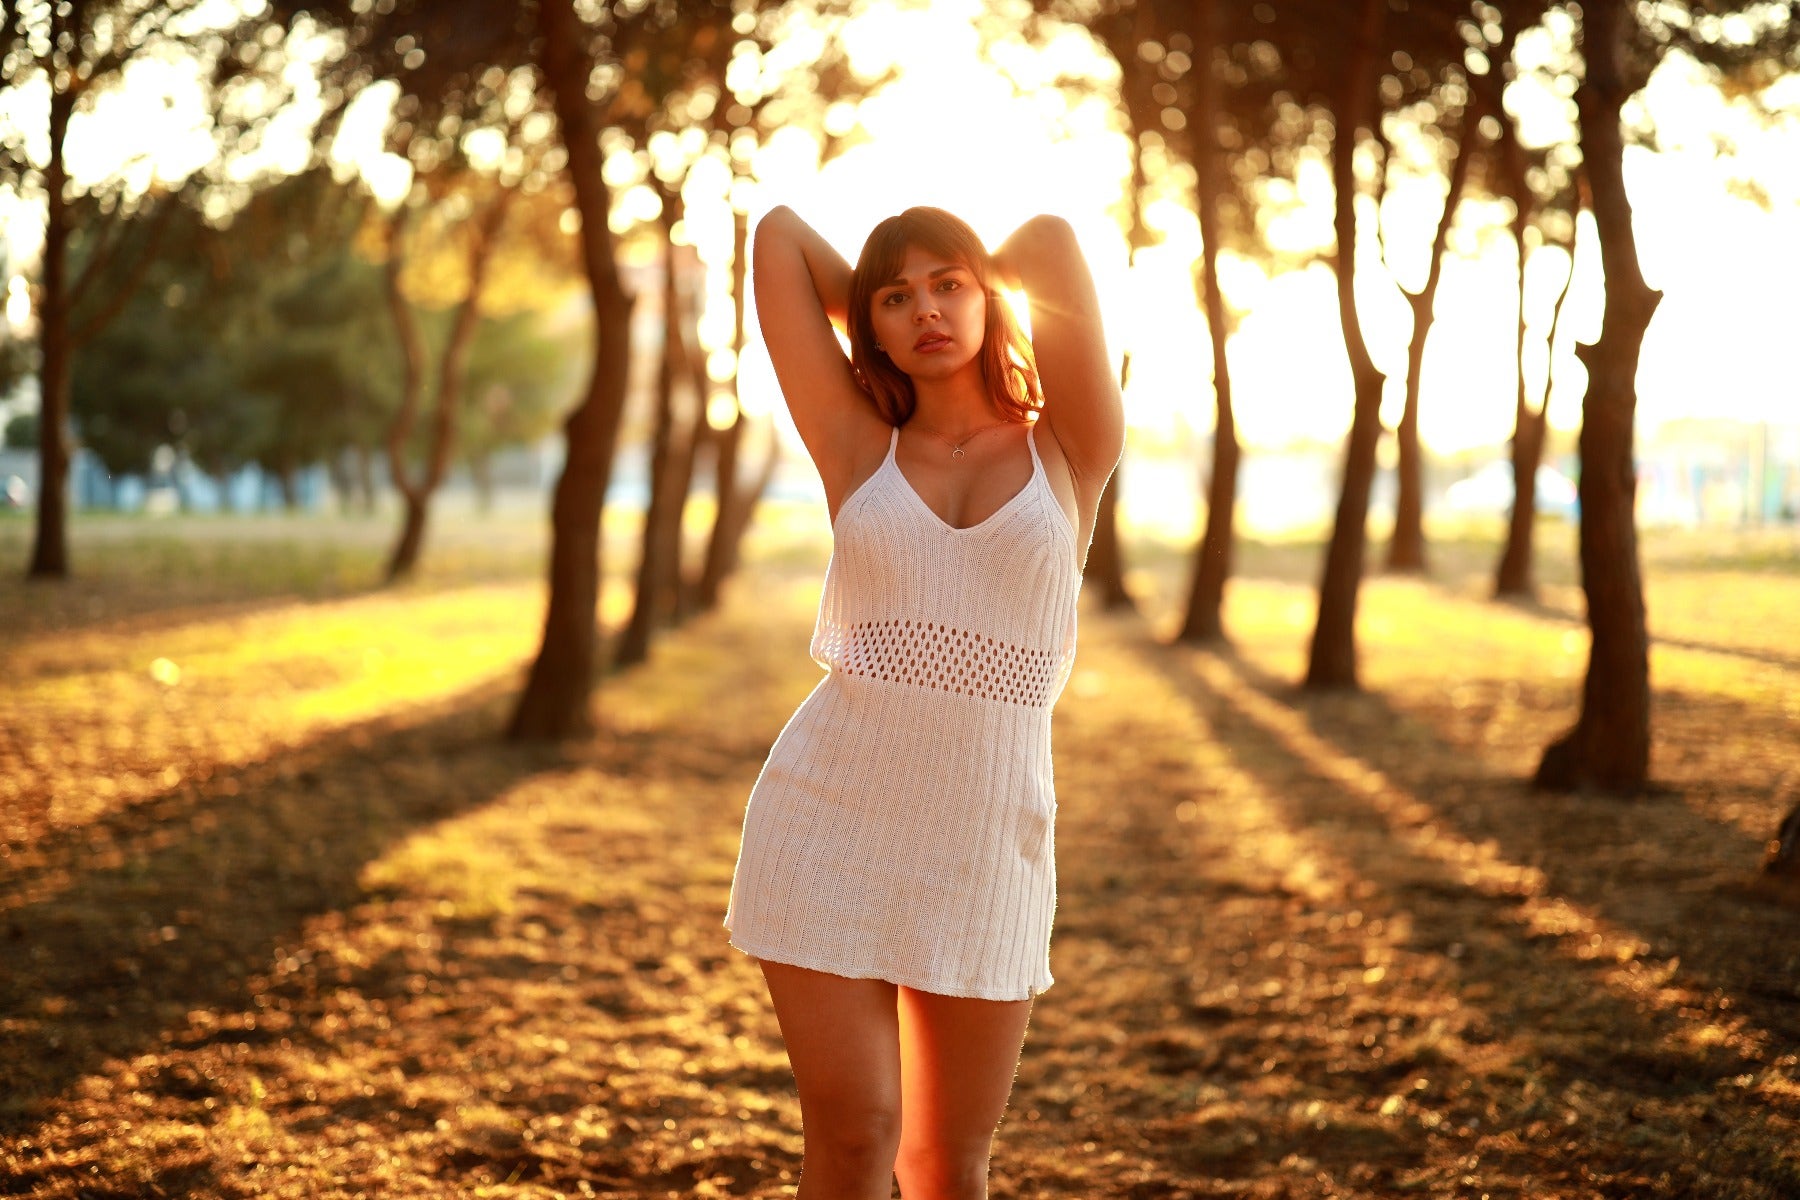
Backlighting is an easy way to give your subject a little pop. It can be used indoors or outdoors
Now that you know about the different approaches you can take to natural and artificial light, it's time to experiment with them. Remember that a lot of lighting techniques are down to trial and error. With the right experimentation, you can achieve stunning results.
If you'd like to learn more about lighting gear and modifiers, contact us now.


Comments
No Comments yet. Be the first to comment.