We use cookies to make your experience better. To comply with the new e-Privacy directive, we need to ask for your consent to set the cookies. Learn more.
Photolab
0
My Cart


Macro photography began as an objective function to capture and understand plant and insect specimens in greater detail. The process of macro photography was more about historical documentation than a weekend pursuit. Macro photography represented a step up from botanical artists documenting thousands upon thousands of species through illustration. For the most part, macro photography focused on insects and small plant species whose details could not be as appreciated with the naked eye.
In today's world, macro photography has become the pursuit of many photographers. People like you find themselves fascinated with capturing clear images of the macro world and its inhabitants. Alternatively, macro photography can capture finely made products such as jewellery, watches, currency, and even stamps. It is a photographic genre that is sometimes looked upon as technically challenging and beyond the means of the enthusiast photographer. We are here to dispute that idea and provide you with practical advice and specific methods to be successful in macro photography.
To achieve precise and detailed macro images, you will need to ensure that you have an appropriate macro lens. An actual macro image has a 1:1 ratio which means that the size of your subject's image projected on your camera's sensor is the same as the subject's size in real life.
This is a powerful feature of macro lenses, but achieving this 1:1 ratio at incredibly close distances provides its challenges as it can lead to a very shallow depth of field. The closer you are to a subject, the shallower the depth of field. For regular photography, you can easily adjust your aperture to adjust shallow depth of field, but when the subject is so close, even a small aperture will still result in significant shallow depth of field. This can blur out parts of the photo that you want to remain in focus, or cause a significant drop in sharpness. Essentially, in macro photography it is almost impossible to get an actual 1:1 image of a subject and have the whole image be in focus without taking extra steps.
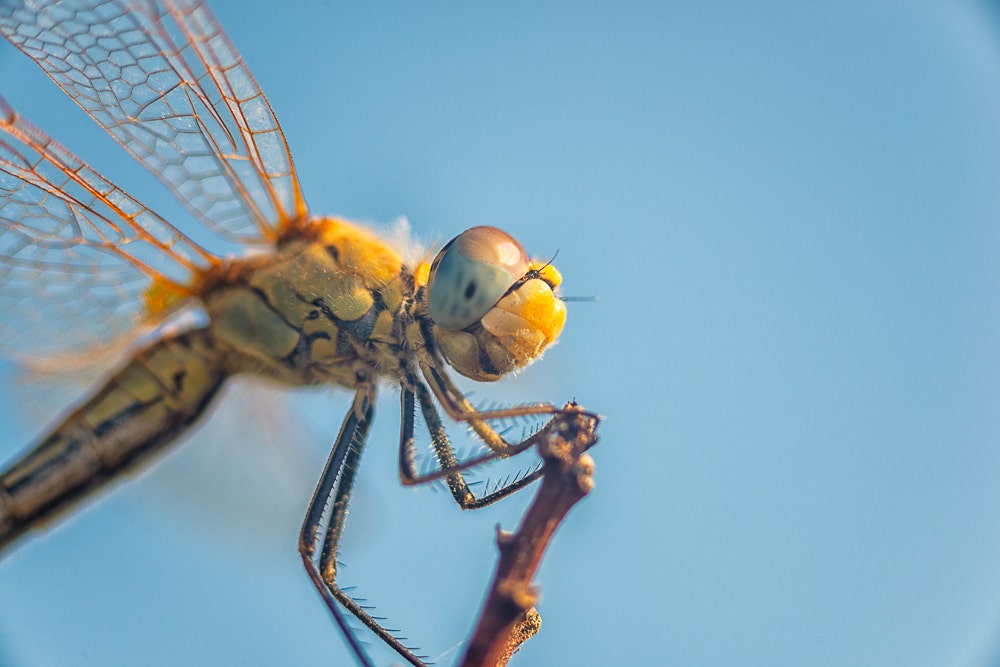
The proximity of macro photography means you will have a lot of shallow depth of field
Macro lenses with an actual 1:1 ratio come in various focal lengths. You may think that it is irrelevant as you have to get in as close as possible to your subject. But this is not entirely true. Some macro lenses, such as the Canon 100mm f/2.8 L has a relatively long focal length for a macro lens. Some macro lenses are much longer. The longer focal distance provides more working room when composing your image. It prevents you from having to get physically close and potentially upsetting the scene you have formed. However, an increased focal length will also result in an increased shallow depth of field.
At the other end of the scale, some macro lenses have a much shorter focal length. One such example is the Nikon Z 50mm macro lens. The shorter focal length of the lens requires you to get in closer to your subject, and it also means there will be less shallow depth of field.
So how do we address this issue of too much shallow depth of field in our macro images?
In standard photography, you can manage your depth of field based on how close you are to your subject and how you control your aperture. However, as we have discussed, macro photography requires that you get so close to your subject that you will have an incredibly thin focal plane. The most effective solution to this situation is to use one of the various methods of focus stacking. Focus stacking is the ability to use your camera to capture multiple images of your subject. Each image, however, has a different slice of the total image in focus. Imagine someone using a meat slicer to cut thin slices of ham. In focus stacking, each slice represents an in-focus slice of the whole composition.
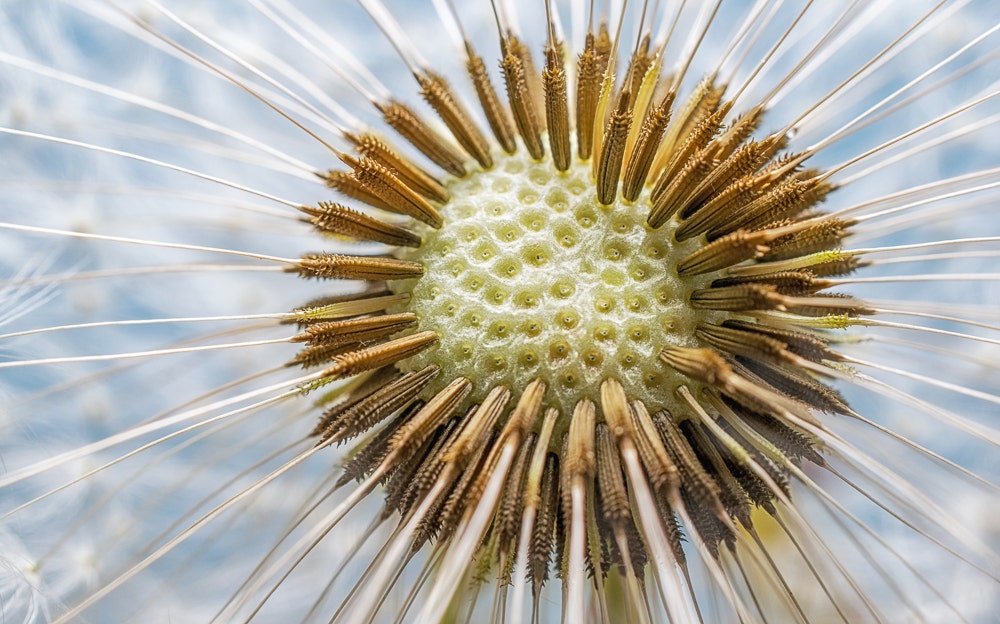
Focus stacking is a way of removing excess shallow depth of field by means of blending together multiple images that each have a slightly different focal plane
Once you have your stack of images, the next step is to stack them using computer-based editing to stack them into a single image. Essentially you are taking the in-focus parts of each image and splicing them together. If done correctly, then you will have a single image where there is a crisp and sharp focus from the foreground to the background of your subject. Further to this, there will be no drop off in sharpness across the edges of your item. Focus stacking could require you to merge up to 100 images into a single image. The key to doing focus stacking work is to ensure that when you are taking the photos, your subject is incredibly still. If either your subject or your camera are moving, then the final merged image will appear disjointed.
In order to capture images that will blend properly together you need to take particular care of how you are focusing when taking your images. Let's discuss a few ways to accomplish this.
The first method of focus stacking is to take many shots and manually shift your focus plane for each shot. For this to work effectively, you will need to have your camera positioned on a sturdy tripod with no chance of movement. Also, your subject will need to remain still for the duration of the capture process. You will have to have your item in full view and the very front of that subject in sharp focus. Then you take an image and adjust the focus minutely to move the focal plane back slightly. Then you take another picture and repeat until you have taken photographs of your subject with each slice in focus from front to back. You now have your completed stack ready for merging. While this is easy in concept to achieve, it requires a fair amount of concentration to apply correctly, and it requires a steady hand as your manual focus adjustments cannot cause the camera to move. Keep in mind, that as you proceed and move to images at the back of the composition, the overall frame will shrink slightly. A shrinking frame results from the focal plane edging further to the rear of the composition.
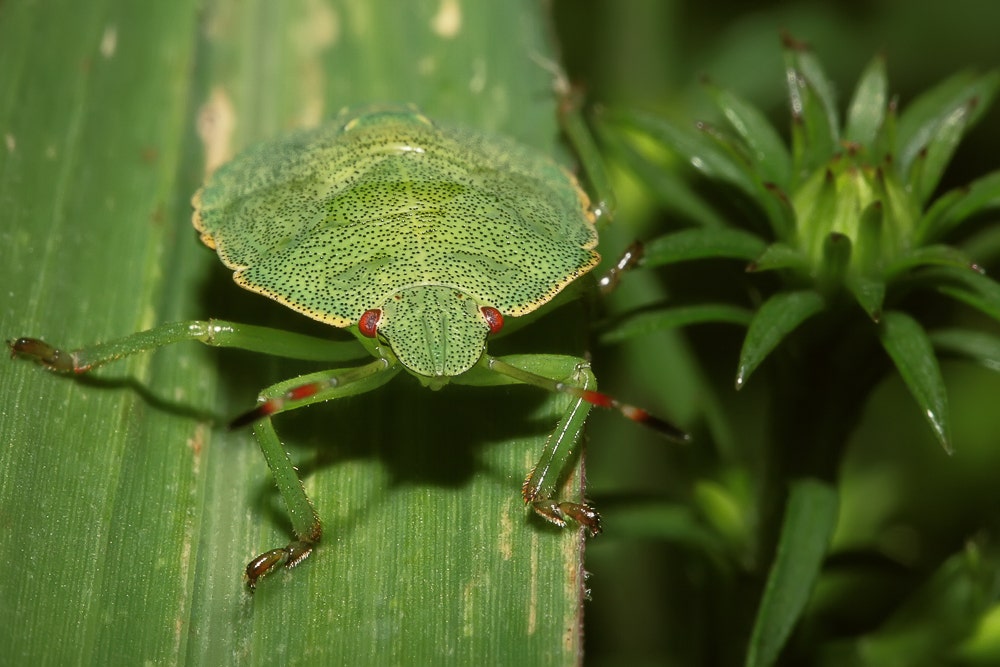
Focus stacking doesn't necessarily have to remove ALL shallow depth of field from your image, just on the areas that you want to remain sharp and in focus
A popular solution to creating a perfect stack of images in macro photography is to employ the use of focus rails. These can come in various sizes and forms; however, they serve the same function, which is to incrementally move your camera and focal plane across your image from front to back. That way, you do not need to adjust your manual focus other than to set it on the first slice or photo you are going to take. Then, the camera can glide closer to the subject in increments allowing for you to take a shot each step of the way. Focus rails require mounting to a tripod to ensure a stable work site. Some rails use a manual dial to inch the camera forward. Others use a motorised system and can be set to move are pre-determined increments throughout the shoot. Some of the better quality models require a smartphone app to operate. This ensures that you are not touching the rails at all. You can also sync your camera to take a shot at the same timed increments as the steps taken by the rails
If you are very fortunate, your camera may come with a built-in focus stacking feature designed precisely for this purpose. If you are looking at getting heavily involved in the macro photography genre, then it may be a new purchase decision for you. Be sure to do your research on the focus stacking capabilities, as well as all other functions of your camera before you make a purchase. An example of a model with in-camera focus stacking capabilities is the OM System OM-1.
In short, you can set your camera to take a select number of images and automatically create a stack ready for you to import them into your photo editing software. How the camera operates will vary from brand to brand, but generally it will take a large number of photos (typically you can choose how many and the interval between them) and will automatically adjust the focus in each shot. Typically you'll still have to do the actual blending of the photos in an external software program later, although not always.

Focus stacking is much easier to achieve with a static subject
In some cases, you could achieve focus stacking by hand if doing a small number of photos. However, you would not be able to handhold your camera steady long enough for a large stack of images. Realistically, the cases where you would or could do this handheld are relatively rare. For the sake of mastering this genre of photography, we recommend investing in a tripod.
When selecting a tripod, it is essential to consider your applications. If you want to get down low and be able to shoot at ground level, then you want a tripod that allows for the removal of its centre pole. This way the legs splay out horizontally and the camera will sit as low as possible to the ground.
For working in an indoor space, you could invest in a much smaller table-top or portable tripod. When focus stacking, you want to keep your subject and camera as still as possible. Even the motion of the internal focusing motor of your lens could be enough to upset the focus. As a result, we recommend always using a tripod to get the sharp images you desire.
Once you have taken the time to set up your gear, frame your composition, and create your stack of images, the next step is to merge them into a single, in-focus image via software. Some camera manufacturers will provide their proprietary software for editing your photos. This software may or may not include a means to merge images, including a large stack. Free and paid software exists, designed to manage focus stacking of pictures only. Some examples of specialised software include Helicon Focus, Zerene Stacker, and Affinity Photos. Each of these has a simple-to-follow process for merging your photo stack into a single layer.
By far, the most popular and widely used tool for this kind of application is Adobe Photoshop. Photoshop is a vast application designed for the artistic editing of images and focus stacking is one of the functions of this software. Some photographers will first use an app like Lightroom to ensure that the white balance is consistent across the full stack of images first before exporting those images to Photoshop for merging. This way, there is a constant light grade in the individual slices and final image. You should always do your research on what is the best software for your intended purpose, operating system, and price range.
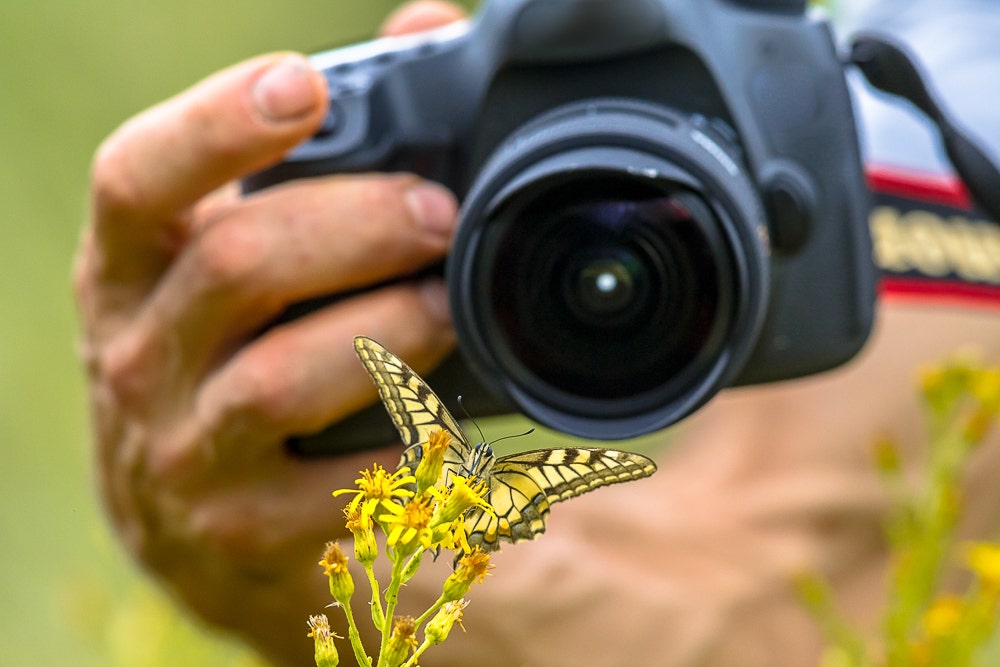
While shooting by hand may be convenient, it's not really realistic if you plan to focus stack
Macro photography is an incredibly challenging but rewarding photographic genre. With it, you can tread the same paths as early entomologists and botanists. Their pursuit was purposeful and has served a historical purpose. Collecting knowledge and photographic evidence of some of the millions of species of plant and insect life existing in our world is no easy task. With the right gear and the determination to capture your subject, there is no reason why you cannot hold the same lofty goals. More importantly, through the use of focus stacking, you can ensure that you are accurately documenting your tiny subjects.
Are you looking to enter the exciting world of macro photography? If you need any assistance about cameras, macro lenses, tripods or any other gear, our friendly digiDirect staff can help you on you way! Speak to us online or in-store today.


Comments
No Comments yet. Be the first to comment.