
Written by digiDirect
Understanding what exposure is, how it affects your photographs and how to manipulate it is one of the most vital skills a photographer can master. It's essential for those looking to take control over their art, moving from shooting in automatic to manually controlling every aspect of the composition.
To help you feel more confident shooting without the support of automatic mode, digiDirect has prepared this guide. We'll walk you through what affects exposure and how you can use it to your advantage, basing our discussion in the easy-to-understand concept of the exposure triangle. Read on and get a better understanding of how your camera works, so you can take the shots you've always dreamed of.
Defining the Exposure Triangle
For beginner photographers, wrapping their heads around the relatively complex mathematics that goes into taking a great photo can be difficult.
Fortunately, you don't have to be doing difficult equations in your head before every photograph - that would certainly make photography less fun! Instead, you just have to understand the exposure triangle. Composed of aperture, shutter speed, and ISO, it's a way of visualising how these concepts interrelate and affect each other, helping you understand why changing one setting may require changing another.
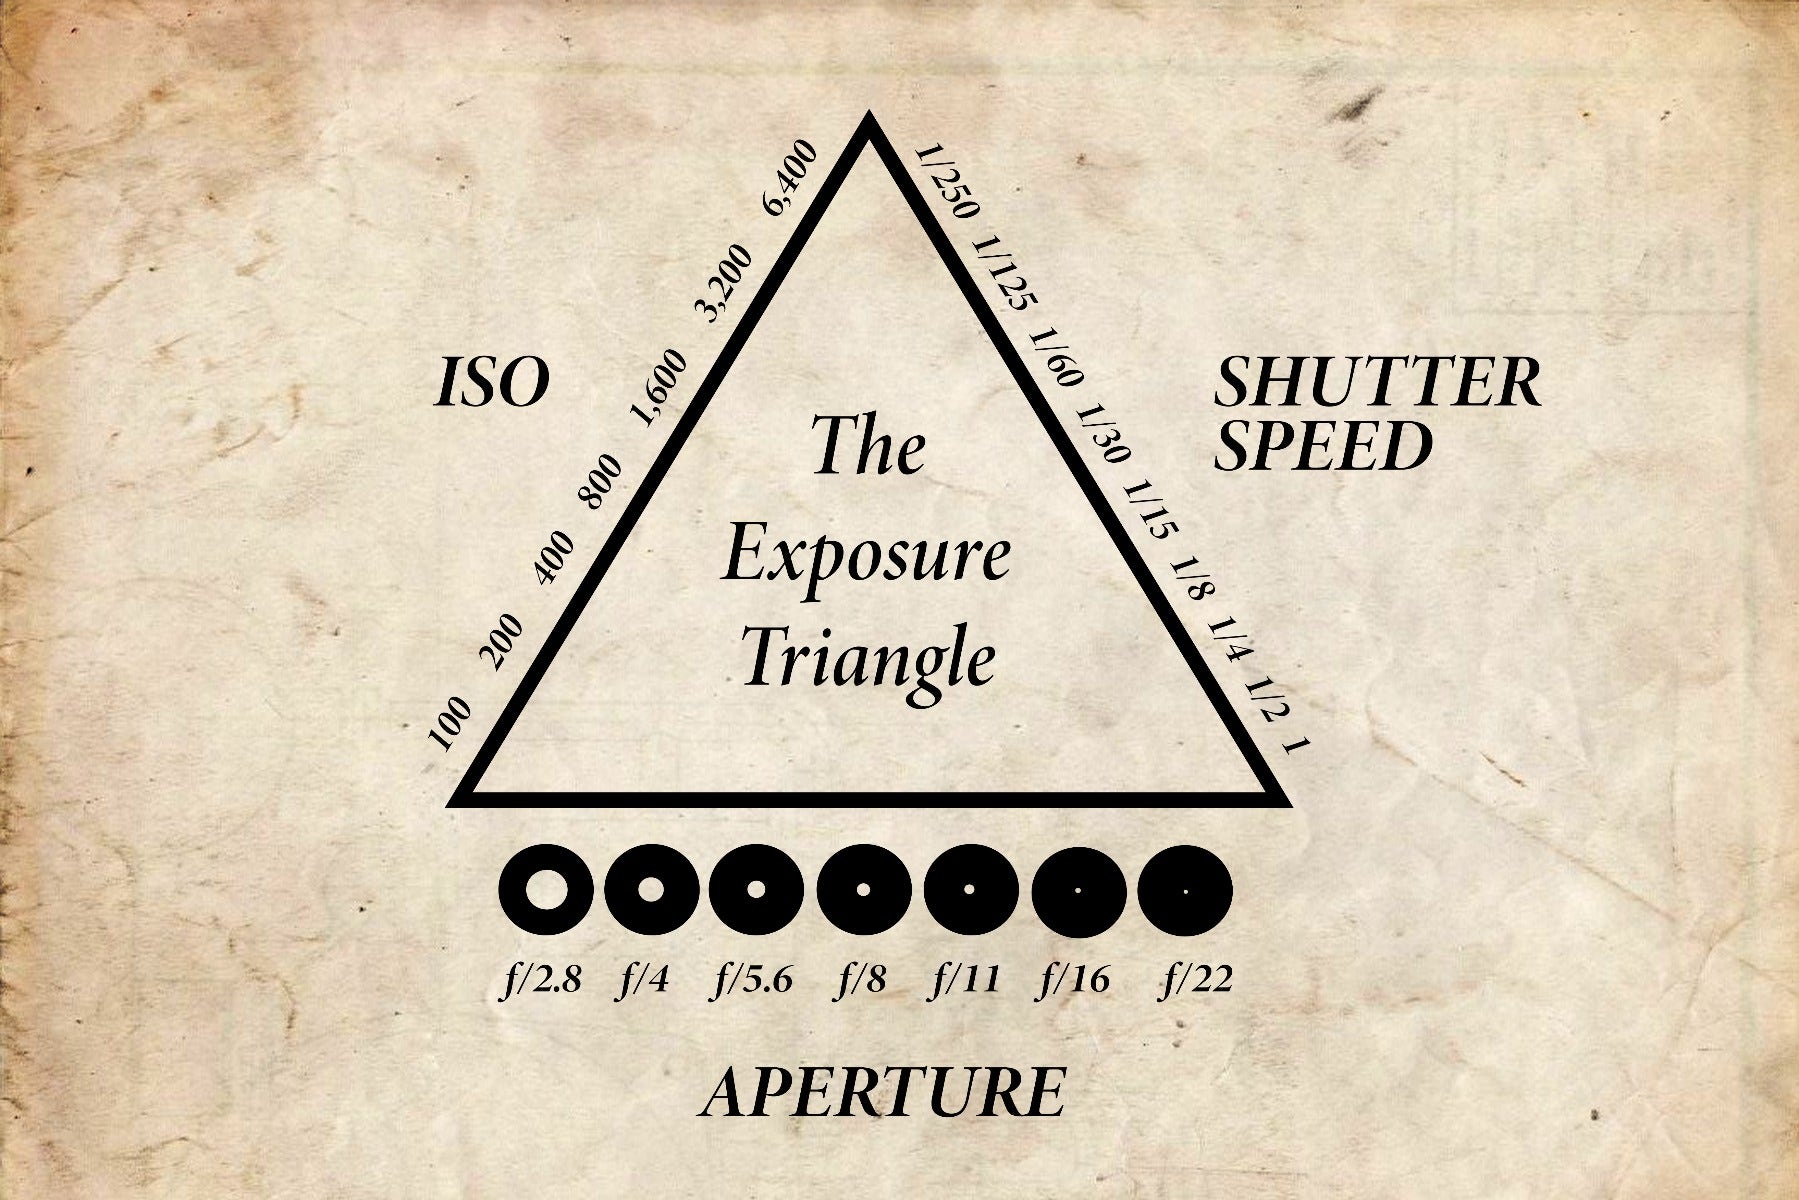
The exposure triangle visualises how aperture, shutter speed and ISO interact
The Three Sides of the Exposure Triangle
We're going to break down the exposure triangle into three sides, so it's not so overwhelming.
Each of the settings that compose the exposure triangle plays a specific role in the creation of the image, working to help you get the correct exposure levels in different lighting conditions. A thorough understanding of the exposure triangle allows you to quickly and accurately set an exposure level that gives you clear and crisp photographs.
Side One: ISO
The first side of your exposure triangle is ISO. Originally created to categorise physical films, ISO is a rating system that is now used to define an image sensor's sensitivity to light. In a nutshell, the lower the ISO number, the less sensitive the sensor is to light, which decreases exposure, with the opposite true for higher ISO numbers. The lowest setting varies by camera, but common low ISO settings are 50, 100 or 200.
It's essential that beginner photographers have a good grasp on the proper ISO settings. Every time you increase your ISO number, your camera sensor's sensitivity level increases. Moving from ISO 100 to 200 doubles the sensitivity of the sensor (and thereby increases the amount of light by one stop). In turn, this means that you need half as much light to hit your camera's sensor to achieve the same exposure levels, and your exposure increases by a factor of two. Note that a move from ISO 100 to 200 has the same effect on exposure as a move from ISO 200 to 400, as what is important is the doubling, not the discrete amount changed.
But raising the ISO increases the risk of noise - random and unwanted variations in brightness and colour - so understand when to shoot with a high ISO and when to go low. If you're shooting slow-moving or static objects in bright conditions, you want a low ISO. For capturing fast moving objects or subjects in poor lighting, you'll probably need a higher ISO. Generally speaking, you want to use the lowest possible ISO that you can so as not to introduce excess noise into your image. Note though that most modern cameras can shoot pretty comfortably at up to 800 or 1600 ISO, so this really becomes a concern beyond those points. For this reason you'll typically want to try and get as much light as you can from your aperture and shutter speed before cranking up the ISO.
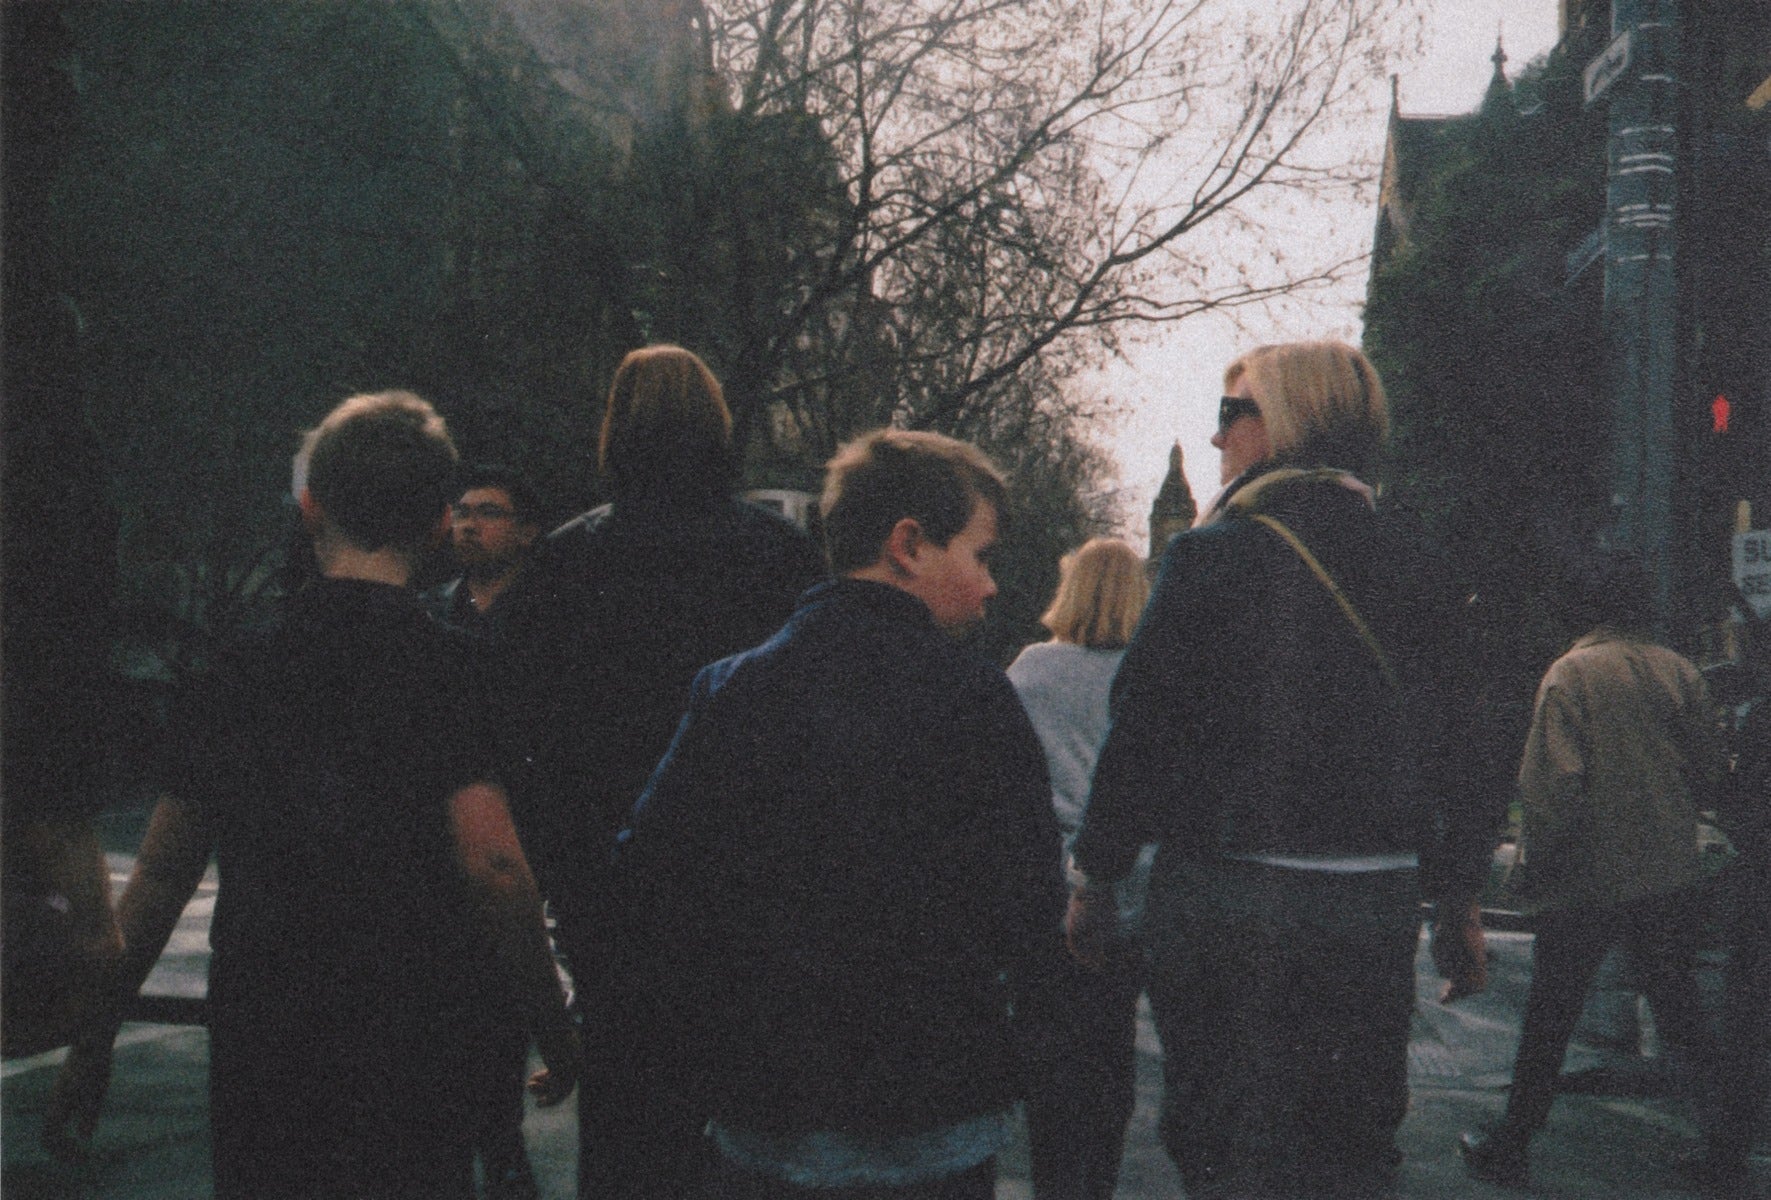
High ISO settings result in grainy images - as seen here - that are typically associated with lower-quality photography
Side Two: Aperture
Your camera's ISO number relates directly to the image sensor's sensitivity levels to light. What controls how much light falls on that sensor is the aperture. Mechanically, your aperture is the small opening located in your camera lens. If you take a look at your lens, you'll find a very fine ring of metal blades - that this is your aperture. The blades open and close in response to your settings, widening or narrowing as required.
When you control your aperture, you're directly controlling the amount of light that can make its way into your camera to the sensor. You can either open it (widen it) or close it (narrow it) by adjusting your settings. Aperture is measured in f-stop values, with smaller numbers representing a wider aperture, and larger numbers representing narrower apertures. So a low f-stop value like f/1.8 is a wider aperture and lets in more light than a higher f-stop of f/5.6. This is one reason why you'll pay more for a lens that can achieve a higher maximum aperture. For example, Canon makes three versions of a 50mm lens, which have different maximum apertures and vastly different prices; EF 50mm f/1.8 (~$189), EF 50mm f/1.4 (~$579) and EF 50mm f/1.2 (~$2149). The aperture is not the ONLY difference between these lenses, there are image quality and build quality differences as well, but it's common to see this cost trend.
When it comes to adjusting the aperture, remember that a single stop down doubles the amount of light that goes through your camera lens to the sensor, and a single stop up halves the amount of light.
Another important point here is that aperture controls more than just the amount of light your lens lets in. Aperture is also the primary factor that affects shallow depth of field.
In addition to affecting exposure, a wide aperture also results in a shallow depth of field, the blurry-background look that is particular popular in portrait photography
Side Three: Shutter Speed
That small snap or click you hear when you push the shutter button to take a photo? That's your shutter working. Your shutter is a small gate that covers your image sensor, which is opened extremely briefly when you push the shutter button.
The shutter can be opened for a varying length of time - referred to as a shutter speed. Your camera's shutter speed determines the length of time that your camera's sensor has exposure to light. Putting it together, if the aperture setting controls how much light gets through to your camera's sensor, the shutter speed controls how long your camera's sensor has exposure to the light that the aperture let in.
Shutter speed is measured in fractions of a second, with many cameras offering settings from multiple seconds to ÔÇï1Ôüä8000 of a second. To clarify, a shutter speed setting of 1Ôüä100 s means that the sensor in your camera has light exposure for only one-hundredth of a second. A longer exposure time will capture more light from the scene, making it more useful in low-light conditions where not as much light is available. So decreasing your shutter speed means that the shutter is open for a longer period, exposing the sensor to light for a longer time and thus increasing exposure. Note you can't just lower the shutter speed indefinitely though, there is a point where too low of a shutter speed will affect your image. Where this point is depends on your lens, your subject, and other factors. As a result, similar to aperture, shutter speed doesn't ONLY affect exposure, it can also be used to effect the style of your photo.
 |
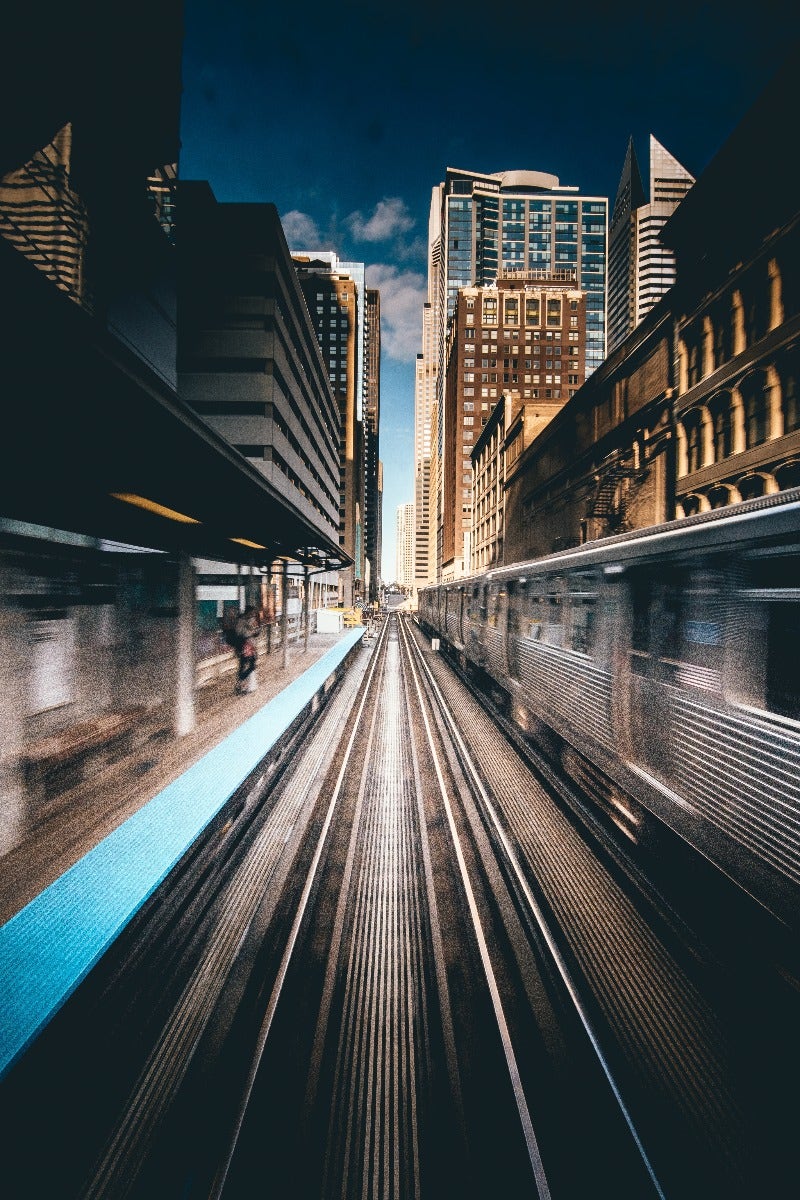 |
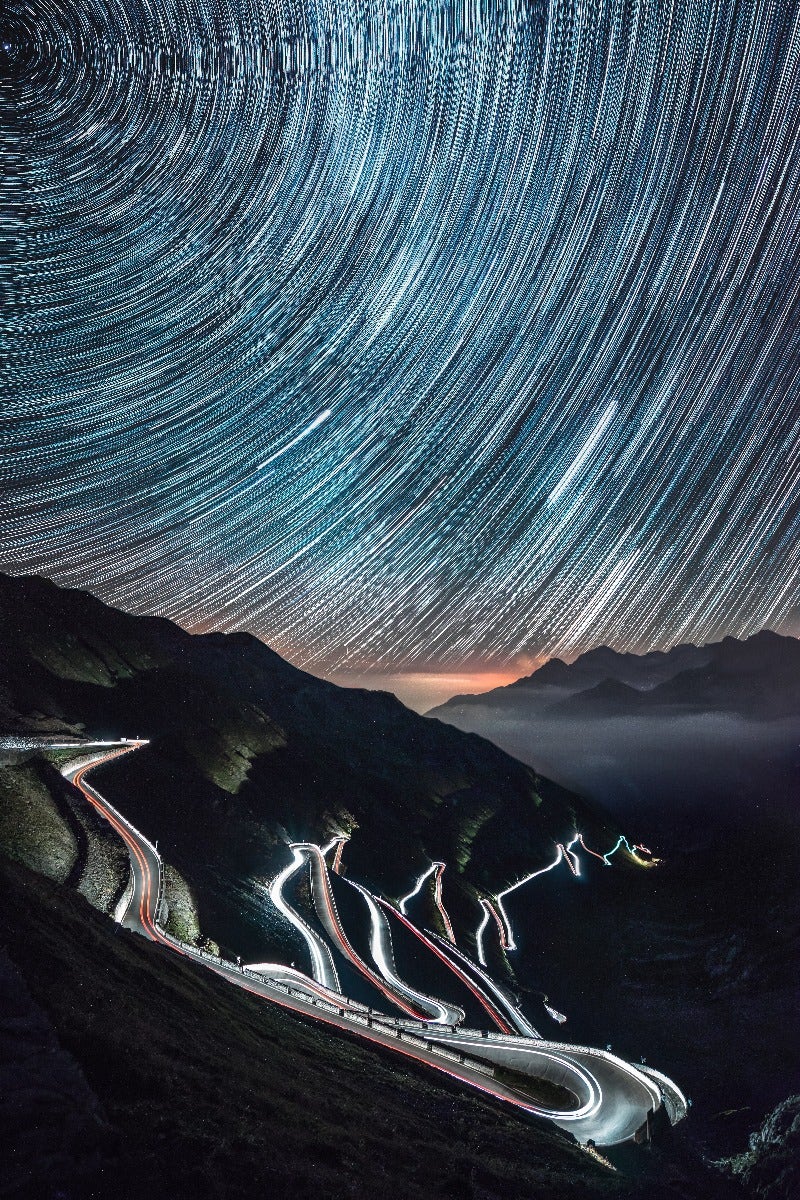
Using a very slow shutter speed (typically 1 second or longer) is a technique called long exposure, which allows for very low light images, blurred movement, astrophotography and more
Putting It All Together - Exposure Value
Now that you know the three different sides of the exposure triangle, it's time to put it all together. The combination of your ISO, aperture and shutter speed is commonly called your Exposure Value (EV).
When considering EV, a change that doubles or halves the amount of light reaching the sensor is called a stop. For ISO and shutter speed, this is straight-forward - doubling the setting increases the exposure by a stop. So a change from ISO 100 to 200 is an increase one stop, as is a move from 1/30 s to 1/15 s. Aperture behaves slightly differently, with each f-stop not being a double of the previous one. Because of the complicated math involved, it's easier just to memorise the f-stop sequence - f/1.4, f/2, f/2.8, f/4, f/5.6, f/8, f/11, f/16 and f/22. Note these are the f-stop settings that indicate one stop of light difference - you CAN use f-stop values that are intermediate, like f/3.5 and f/6.3.
An Example of How to Adjust the Three Settings in Changing Light
Say that you're shooting a scene and you have the correct lighting with a setting of ISO 100. You set your aperture at f/16 and the shutter speed at 1/125. Now the sun disappears, and your shot just got two full stops darker. What do you do to correct it?
The simple answer is that you have to add two stops of light into your settings in order to get back to the correct exposure levels for your chosen scene. One way to do this would be to adjust your ISO's settings up two to 400 (doubling 100 to 200 is one stop, then 200 to 400 is another stop).
While most cameras can comfortably shoot at ISO 400 without introducing much noise (note larger sensors can generally shoot at higher ISOs with less noise), maybe your want to avoid raising your ISO. Instead, you could adjust your shutter speed two stops from the original 1/125 to 1/30. However, 1/30 is a borderline too-low shutter speed for handheld photography, so you'll likely notice that there is a higher level of camera shake in your image, which will negatively impact the photo. The simplest thing to do in this instance would be to change your aperture setting from f/16 down two stops to f/8. Of course it doesn't all have to come from one setting, you could also do any mix of these - increasing your ISO from 100 to 200 and decreasing your aperture from f/16 to f/11 would together make up the 2 stops of light that you needed.
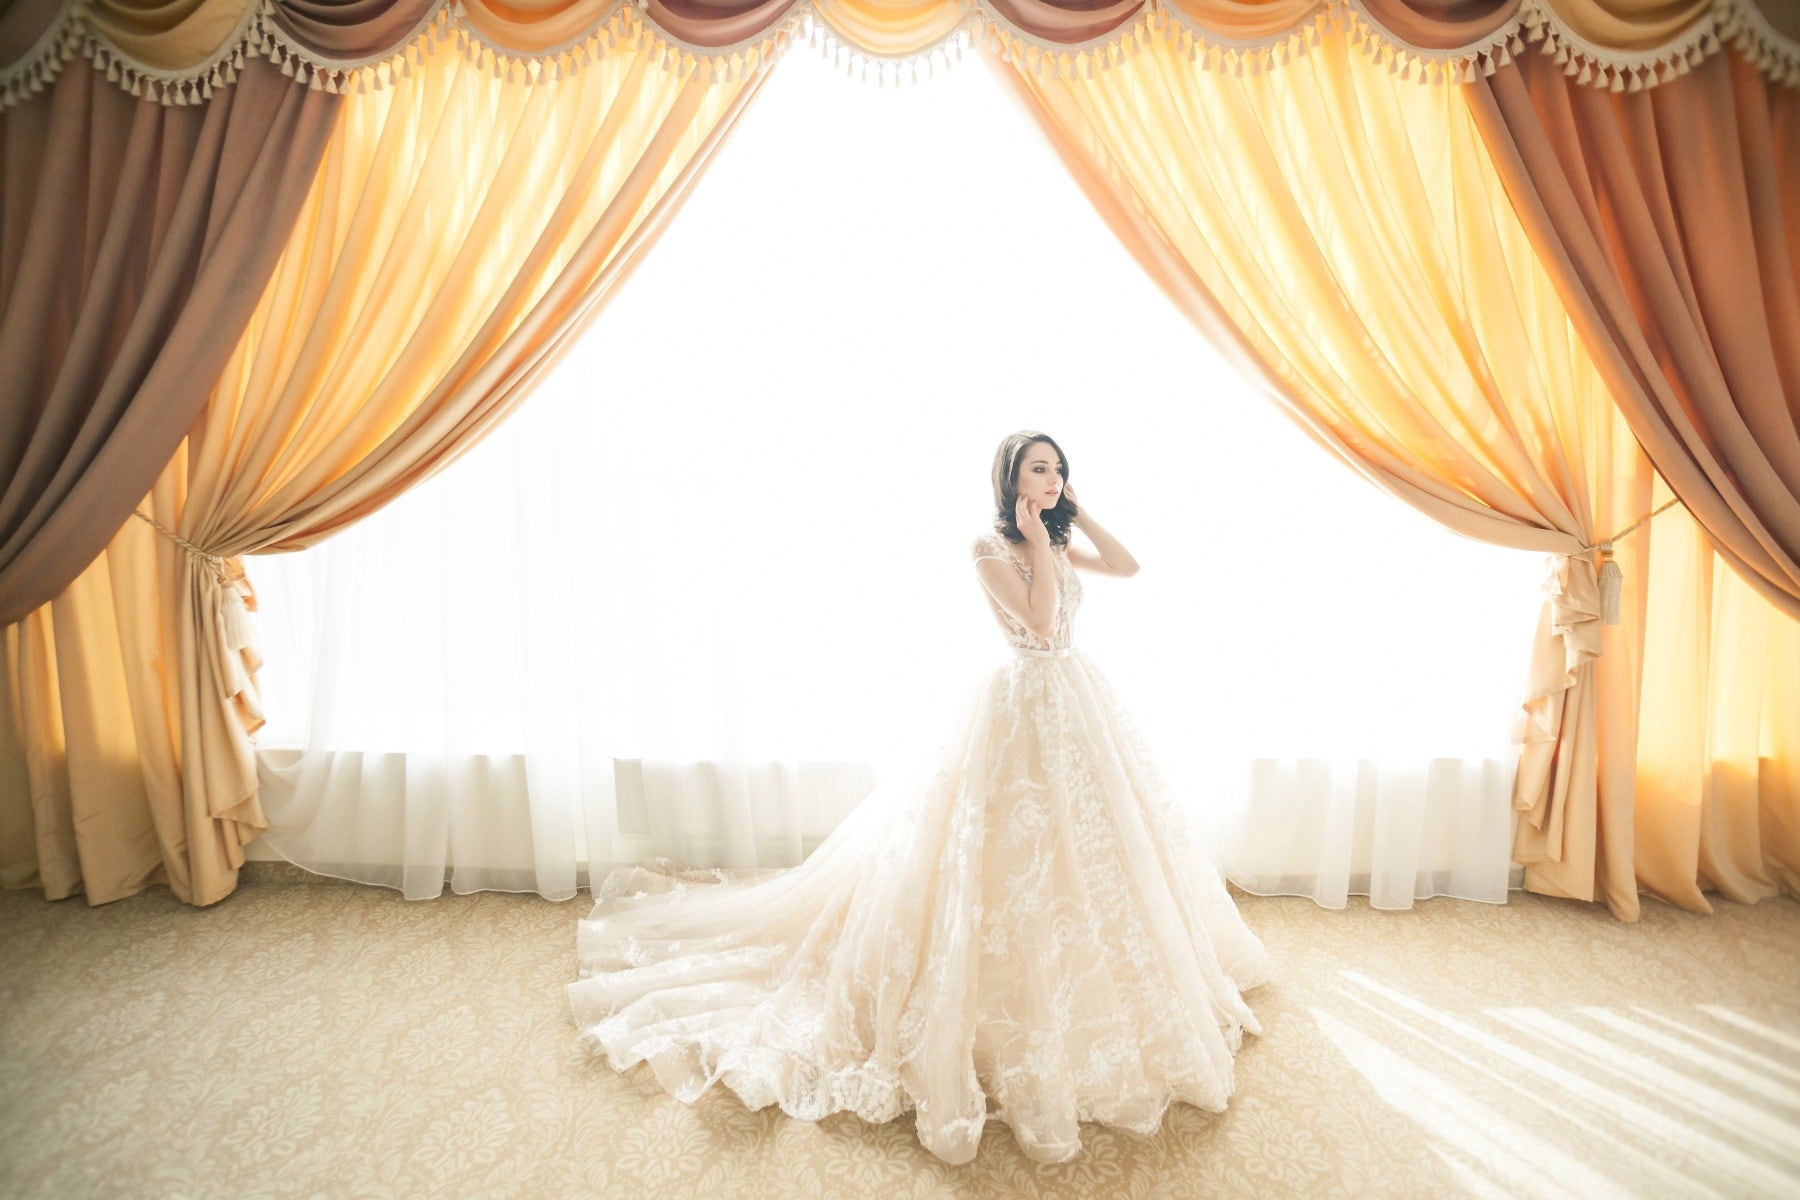
Understanding the exposure triangle gives you the control to manually control your exposure - including making creative choices like intentionally overexposing sections of your image, which is a popular effect in wedding photography
How Image Stabilisation Comes Into Play
While not a part of the Exposure Triangle, it's important to note the role that image stabilisation can play in the system. Good stabilisation can help you get away with using slower shutter speeds - in our last example, if you had a good image stabilisation system you may indeed be able to shoot comfortably at 1/30 shutter speed without introducing shake into your image. Facilitating a lower shutter speed means you'll be able to have more flexibility with your aperture or ISO settings while still achieving the same exposure.
It's important that you don't confuse subject motion for camera shake, because image stabilisation only helps with camera shake. It works best when your subject is static, because then there is no subject motion. Even if your image stabilisation system allows you to comfortably shoot at 1/30s shutter speeds with no shake, if your subject is fast moving then 1/30s means you'll still see movement blur in your image.
Depending on which camera brand you use, image stabilisation might be present in the camera body itself, or in the lenses. Make sure you familiarise yourself with which products offer it within your brand ecosystem so you can take that into account when making purchasing decisions.
Contact digiDirect Today!
Do you have questions about the Exposure Triangle and how the three sides work with one another to help you get great photographs? Maybe you'd like our staff to clarify something. Either way, we invite you to reach out and contact us! We're happy to help in any way we can!



























Comments
No Comments yet. Be the first to comment.