We use cookies to make your experience better. To comply with the new e-Privacy directive, we need to ask for your consent to set the cookies. Learn more.
0
My Cart


You know what a tripod is, but have you heard of a monopod? This piece of equipment is favoured by a wide range of photography styles including sports & wildlife, events, and video and actually has several advantages over a tripod. We're going to talk about what a monopod is, when you'd use one and the circumstances where they're more useful than a tripod.
'Mono' means one and 'tri' means three. So, as a quick definition, a tripod has three legs while a monopod has only one. Simple! Practically speaking, this means that you have to either stabilise the monopod when you shoot, or physically hold the camera when you have it mounted on the monopod.
On the surface, a monopod may seem less practical than a tripod. You still have to hold it, it's not as stable, etc. However, there are definite advantages to using a monopod, and many photographers' kits wouldn't be complete without it.
Monopods collapse into themselves when they're not in use, and they usually come in three or four expanding sections that allow the pieces to collape for easy storage. You can get monopods in varying heights, and they're an excellent alternative to the bulkier tripod. Similar to tripods, they come in two materials:
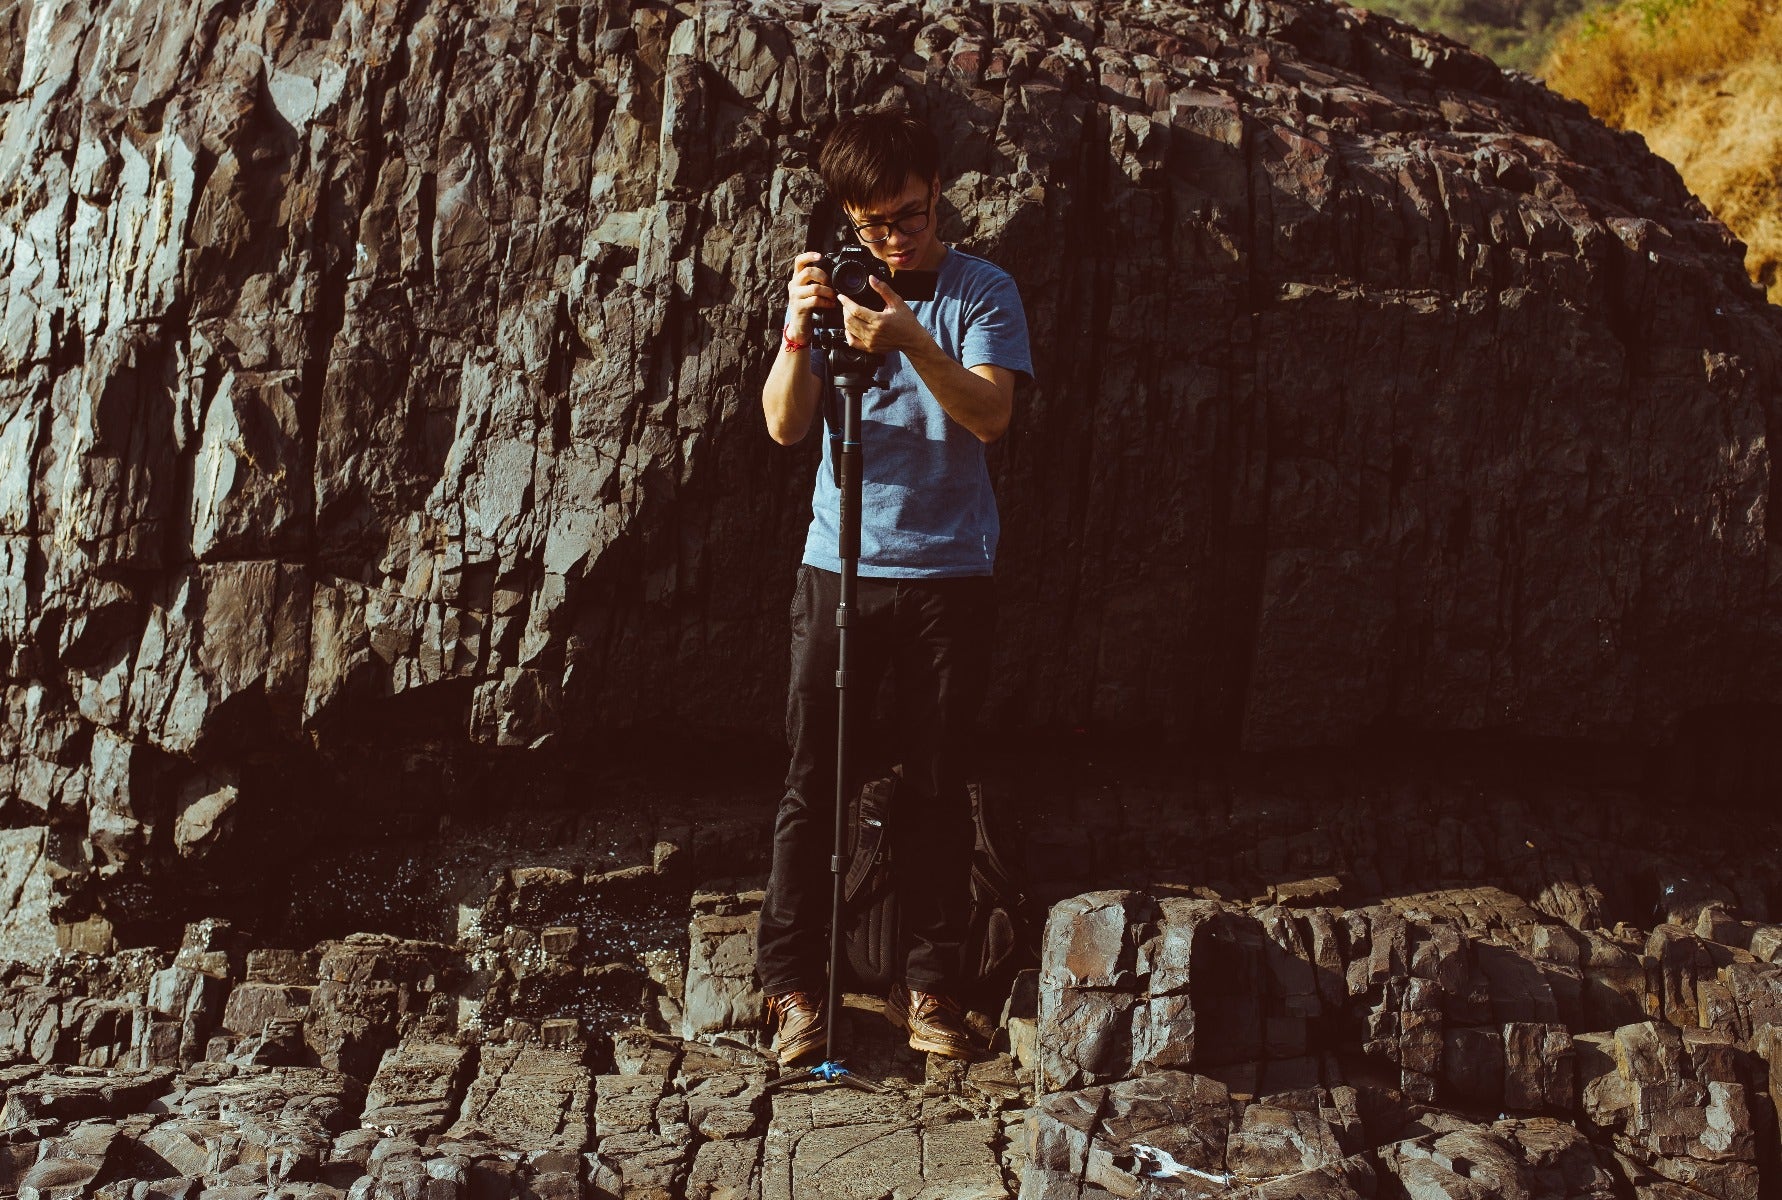
Monopods come in many different shapes, sizes and constructions
Why would you use a monopod when you can just have a more stable tripod? Well, in fact there are a number of reasons and situations where you'd choose to a monopod over a tripod. We touch on a few of these below:
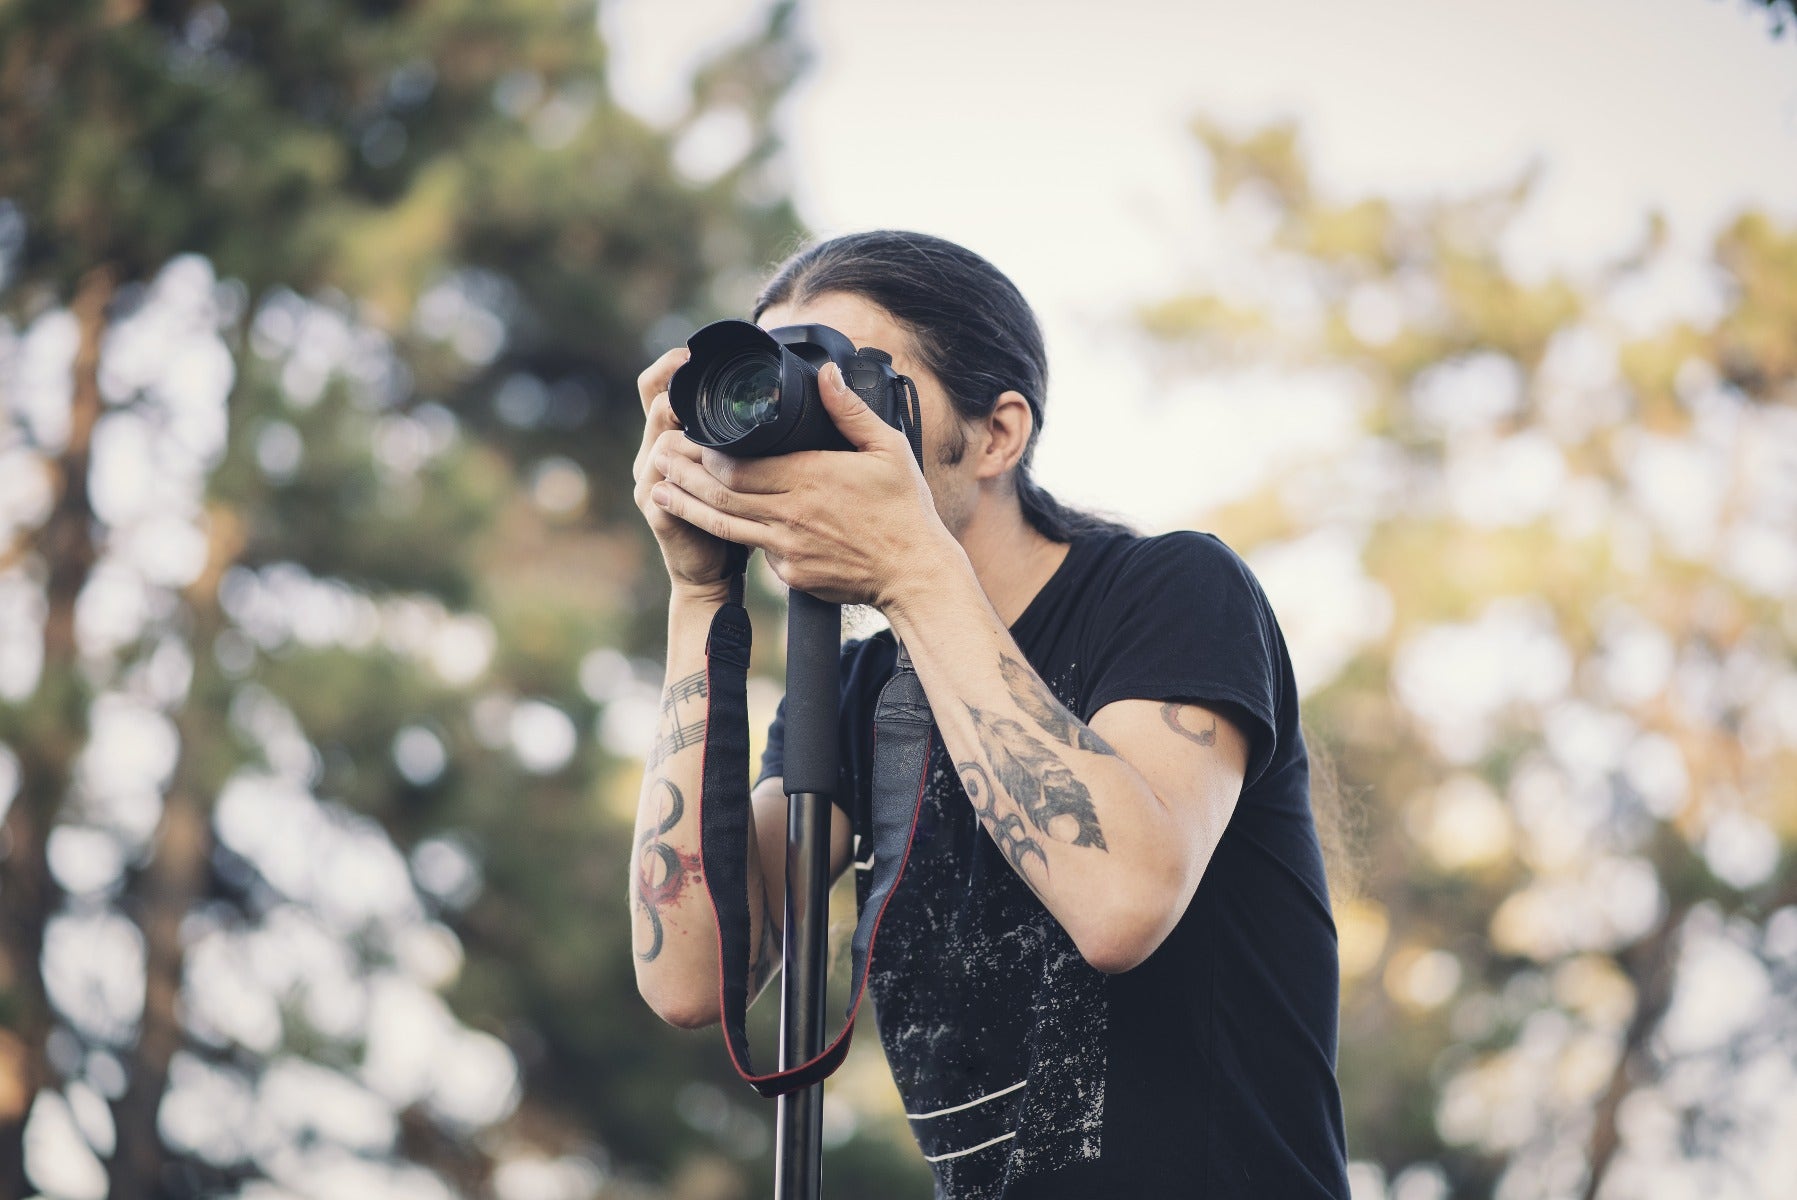
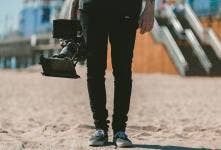
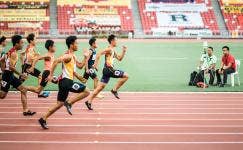
Weight - One primary benefit of a monopod is to reduce the weight of handholding all your camera gear. This is particularly useful when shooting sports and wildlife, where you'll want something to alleviate the weight of the larger telephoto lenses that you'll likely be using. This will make it much easier for you to shoot for longer periods of time. In addition, the fact that they only have one leg means they will be a lot lighter and smaller than tripods when transporting, even potentially fitting in your luggage when traveling.
Flexibility - A major advantage of monopods over tripods is that they are much faster to set up and reposition. This means that any situation where you need some stability but must still retain flexibility, a monopod is king. For example, one common monopod application is for event shooting, such as a wedding, and particularly for video shooters. Handheld video is fine for some applications, but typically events work requires a more stable, professional look, such as that achieved when shooting from a tripod. However, your goal is also to cover as much of the event as possible, which typically means quickly capturing a lot of different shots and viewpoints. Tripods take too much time to set up and tear down if you are moving frequently, while a monopod can be much faster while still providing good stabilisation.
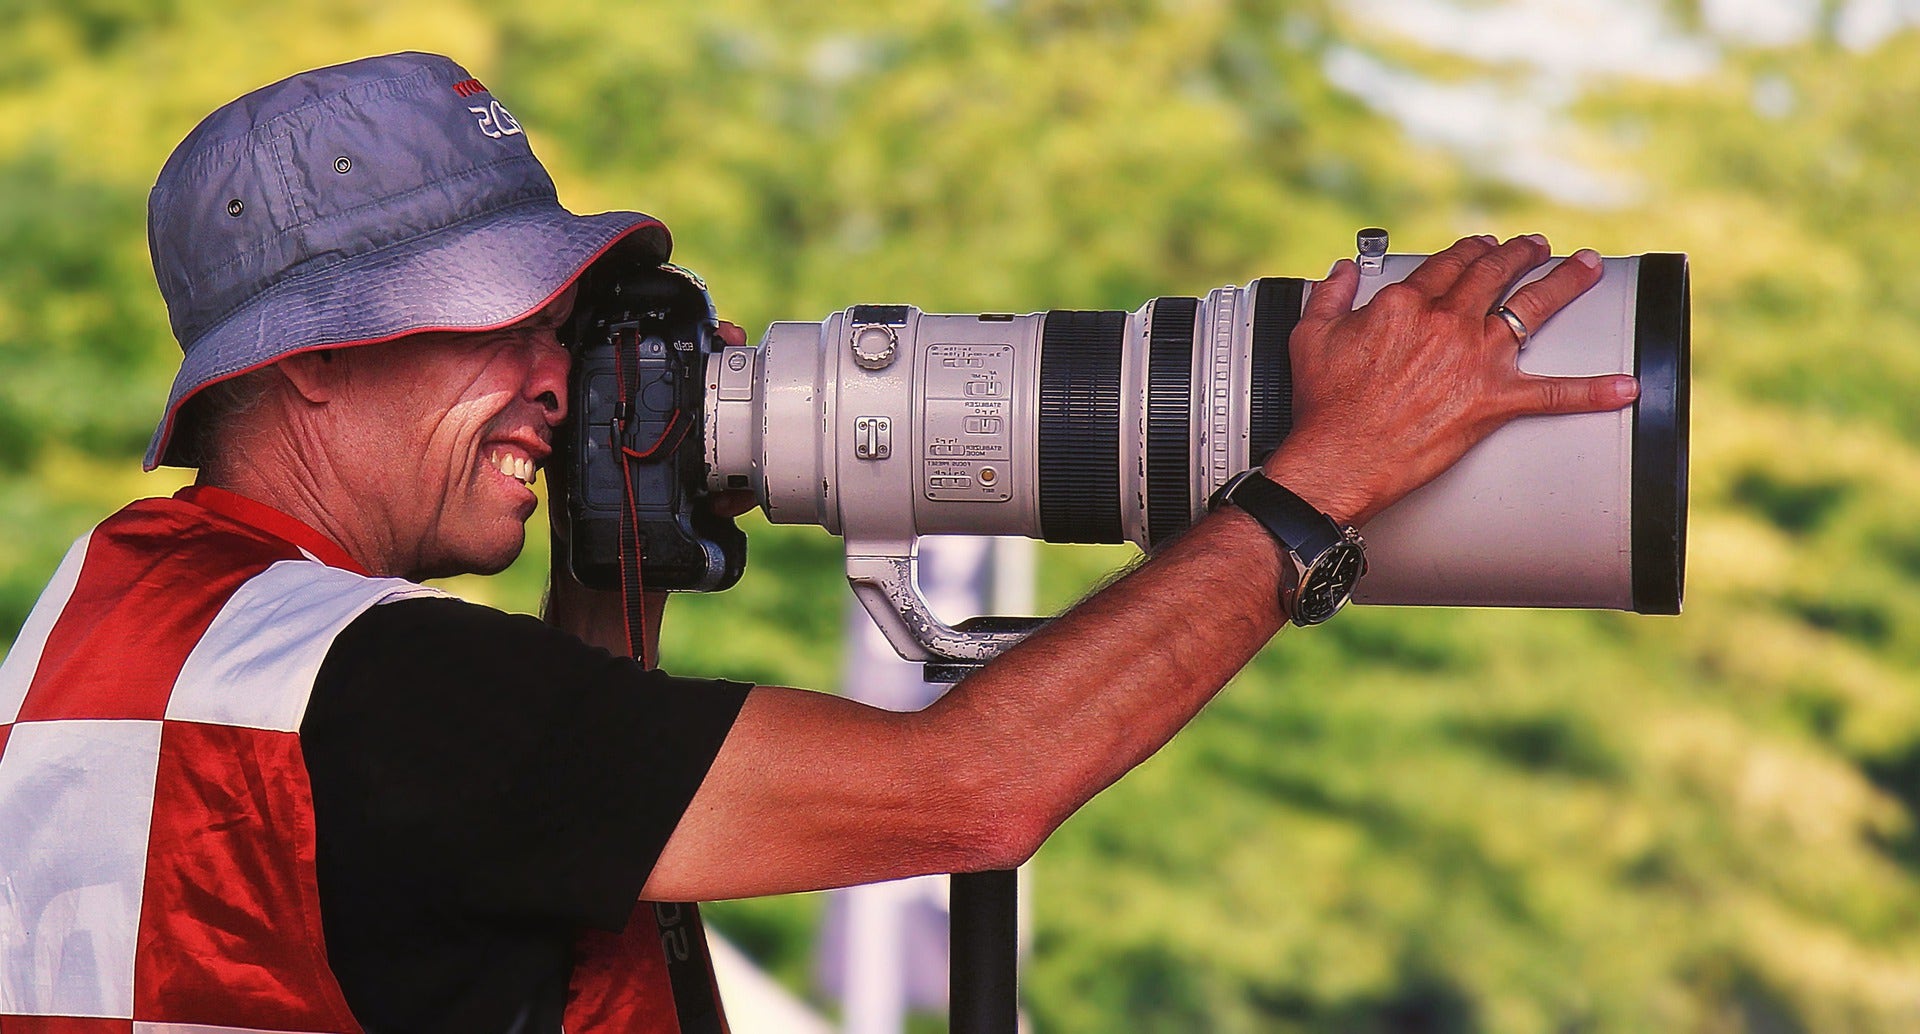
Monopods are a great way to reduce the burden of large and heavy gear without sacrificing mobility
Size - Another benefit of a monopod over a tripod is in a reduced footprint. This is particularly useful when you're in tight or restricted areas. Because monopods have a much smaller footprint than tripods, they can be used in tight areas or in large crowds much more effectively than tripods can.
Perspective - If you want a different perspective, it's relatively easy to boost your monopod up over your head with your camera attached without disturbing the people around you. This would be almost impossible (not to mention dangerous) to attempt with a tripod due to the extra legs.
Legal Reasons - Some sporting arenas and public spaces don't allow tripods to be set up because they can obstruct the natural flow of traffic. Oftentimes these rules do not also apply to monopods because of their reduced footprint, as discussed above. Monopods are generally accepted in public areas where tripods are excluded, as there's a better chance that you won't obstruct crowds and will be able to quickly move out of the way if necessary.
There are a few ways you can position a monopod, and it's a good idea to experiment with all of them before you settle on one specific way, particularly if you're a beginner, as the optimum position depends on your photography style. Ways to use a monopod include, but are not limited to:
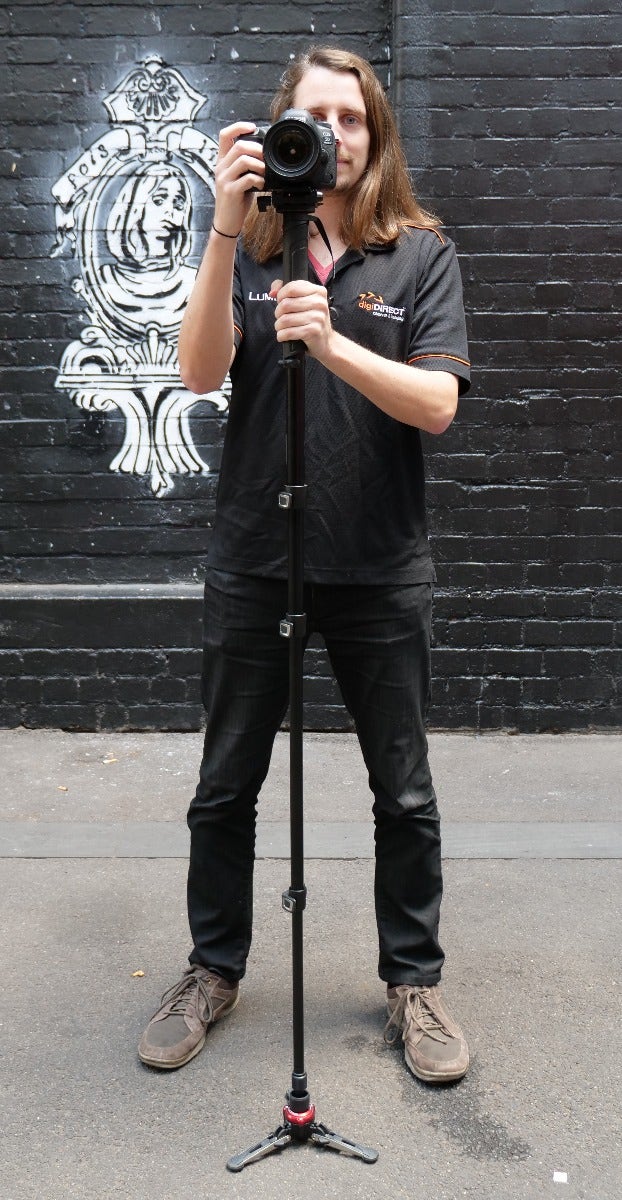
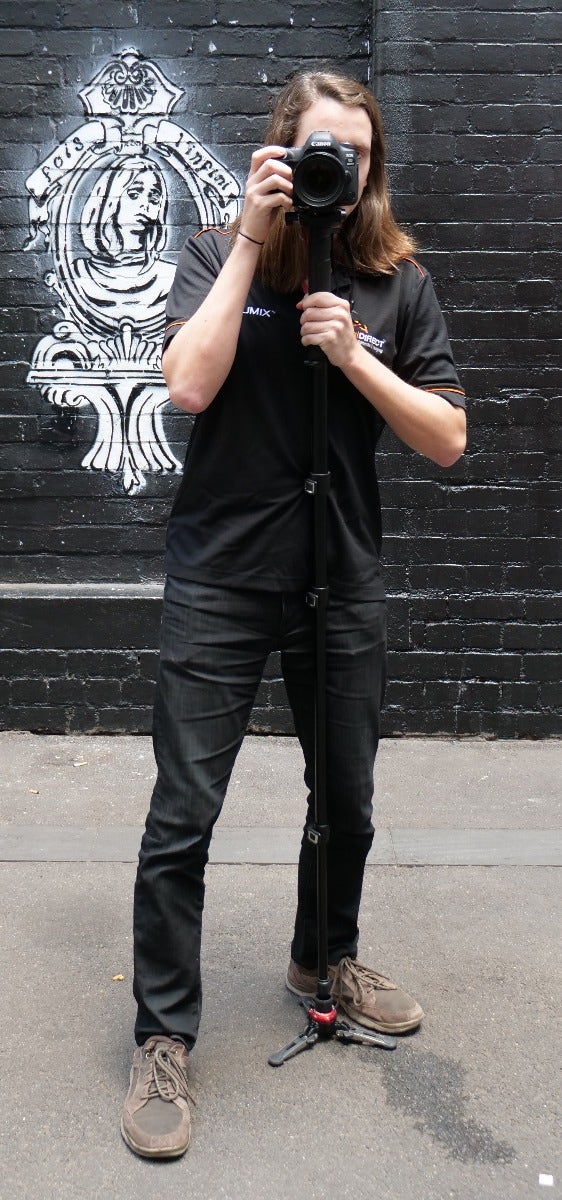
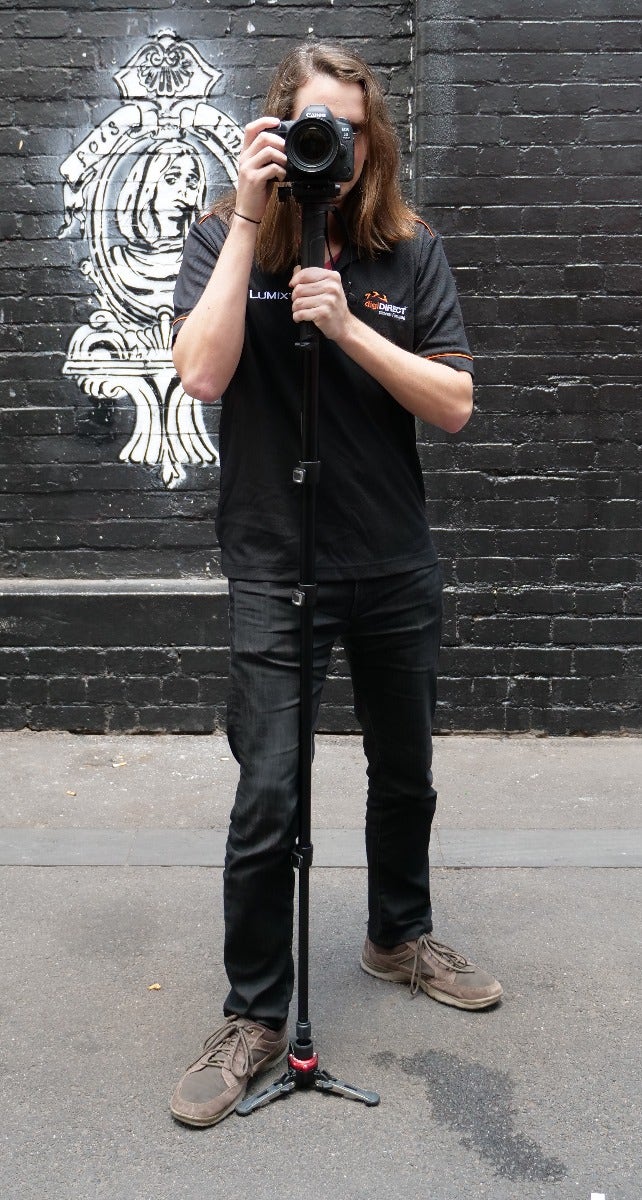
To use a monopod in this way, position yourself with your legs spread to about shoulder-width apart. Centre your monopod at the mid-point between your legs, but about 30 centimetres out in front of you. This pose mimics a traditional tripod's stance, with the monopod acting as one leg and the photographer's two legs forming the second and third leg of the tripod. You can add another layer of stability by using the wrist strap to anchor it, and apply some downward pressure to push monopod's foot to the ground, providing extra stability.
 |
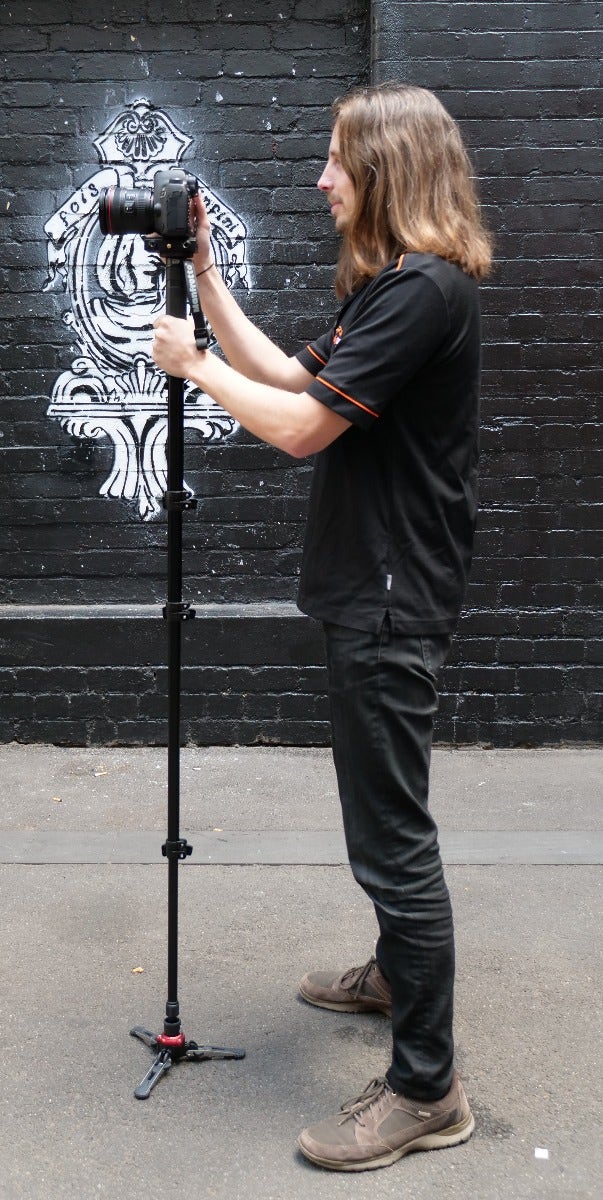 |
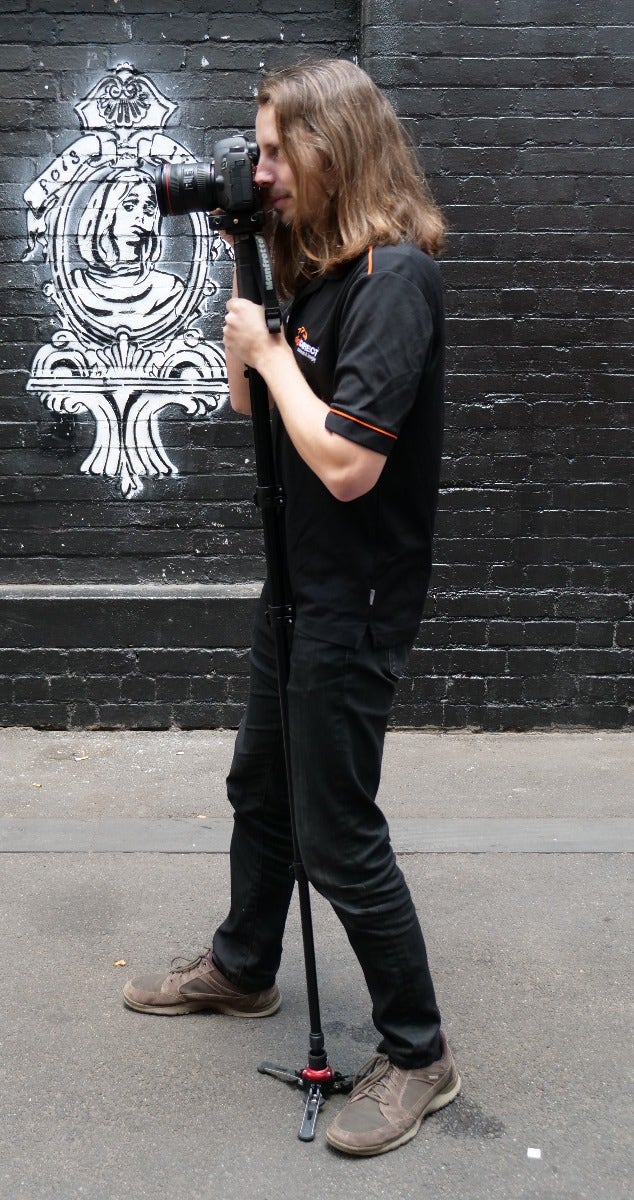
You want to get into position with your hips at a slight angle in relation to your shoulder. This mimics a boxer's stance with one foot slightly back behind the other foot. This is your rear foot, and it's going to be where you brace your monopod. You can lean the monopod against your leg for added stability. Your hand should be pushing the monopod into the ground, and you should also have the wrist strap engaged for extra security.
 |
 |
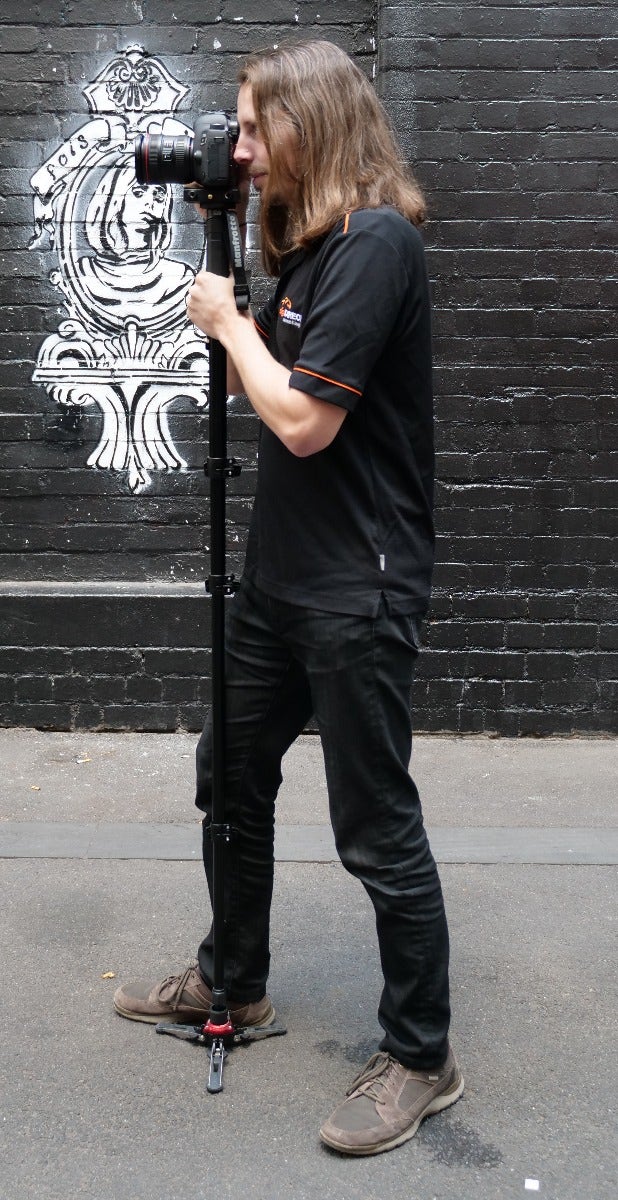
Stand just like you did in method two, with your hips slightly angled to your shoulders and one foot slightly back from the other. Place the monopod's foot right behind your leading foot and brace it against the same leg for stability. Again, you'll push down on the monopod to drive the foot into the ground.
 |
 |
Now that you know how to position a monopod to get the best results, we're going to touch on some extra tips for using it effectively.
Using whichever hand you don't operate your camera with, grab the monopod's shaft and get a firm grip. You should hold it near your camera's attachment point to help you balance it effectively. Also, tuck your elbows in close to your body to avoid any accidental side-to-side movements.
With whatever hand grips onto the monopod itself, firmly push down to help hold the monopod's foot against the ground. The heavier your camera's lens is, the more pressure you'll have to apply to keep it stable throughout your shot.
While you can attach a camera directly to the monopod itself, often you'll want to put a head on the monopod and attach your camera to that. In fact, this will be mandatory if you plan on shooting in portrait orientation. The type of head you use will be determined by the application; options range from gimbal heads, tilt heads, ball heads and video heads.
You usually use your wrist strap to carry your monopod, but it also comes in handy for stabilisation purposes. Put the strap around your wrist and move your hand down until the strap tightens. This will help you stabilise the monopod and make it easier to drive the foot into the ground as you use it. Don't exert too much force though to damage the wrist strap!
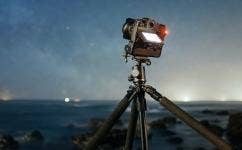
Monopods are particularly popular for video shooters as they greatly reduce the shaky look of handheld video
Monopods come in many shapes and sizes, but a primary distinction you'll see is between video and photo monopods.
These can range from very small and thin to thick and sturdy, which is primarily a reflection of the weight capacity that the monopod can support. They are often sold without heads, and you may decide to attach your camera to the top of the monopod itself, or add a head separately. However, almost the foot of almost all photo monopods is simply a single rubberised nub. Popular photo monopods range from the very inexpensive to higher end versions.
Video monopods can also range in size, but typically sit in the larger size category. While they can be purchased without a head, they are often sold in a kit with a specialised fluid head that excels at video. The biggest discernible difference though is that they generally have what's called a 'tripod foot'. While this is still only a single foot, it generally has three mini feet that can be folded out. These provide extra support, and as a result some video monopods can even stand freely without support (although we don't recommend doing that). This means that video monopods often provide even better support that their photo counterparts. The counterpoint is that they will often be larger and more expensive than their photo monopod cousins.
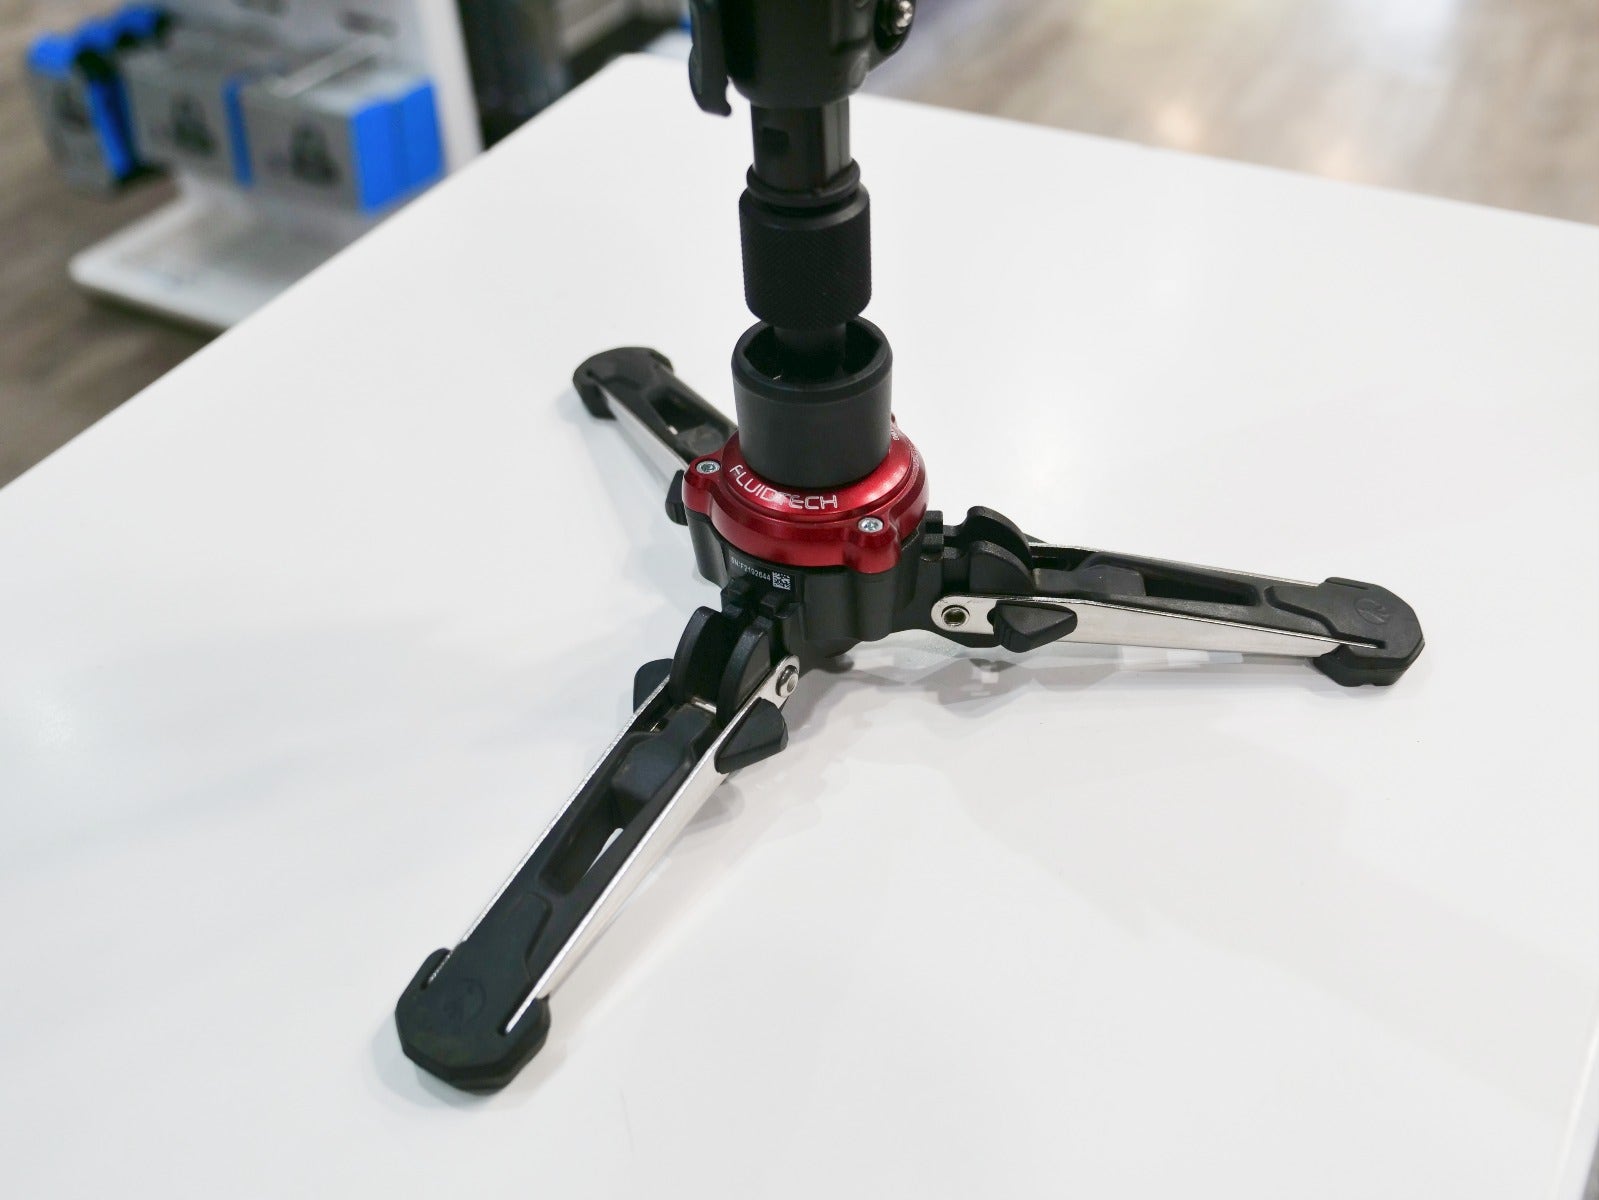
The tripod foot commonly seen on video monopods
Need a monopod? Maybe you already have one, and you'd like a few tips to help you get the most out of using it. If so, get in touch! We're happy to help in any way we can, and we're ready to find the perfect monopod to suit your needs and your photography style. You can also browse our monopod selection online here.


Comments
No Comments yet. Be the first to comment.