We use cookies to make your experience better. To comply with the new e-Privacy directive, we need to ask for your consent to set the cookies. Learn more.
0
My Cart


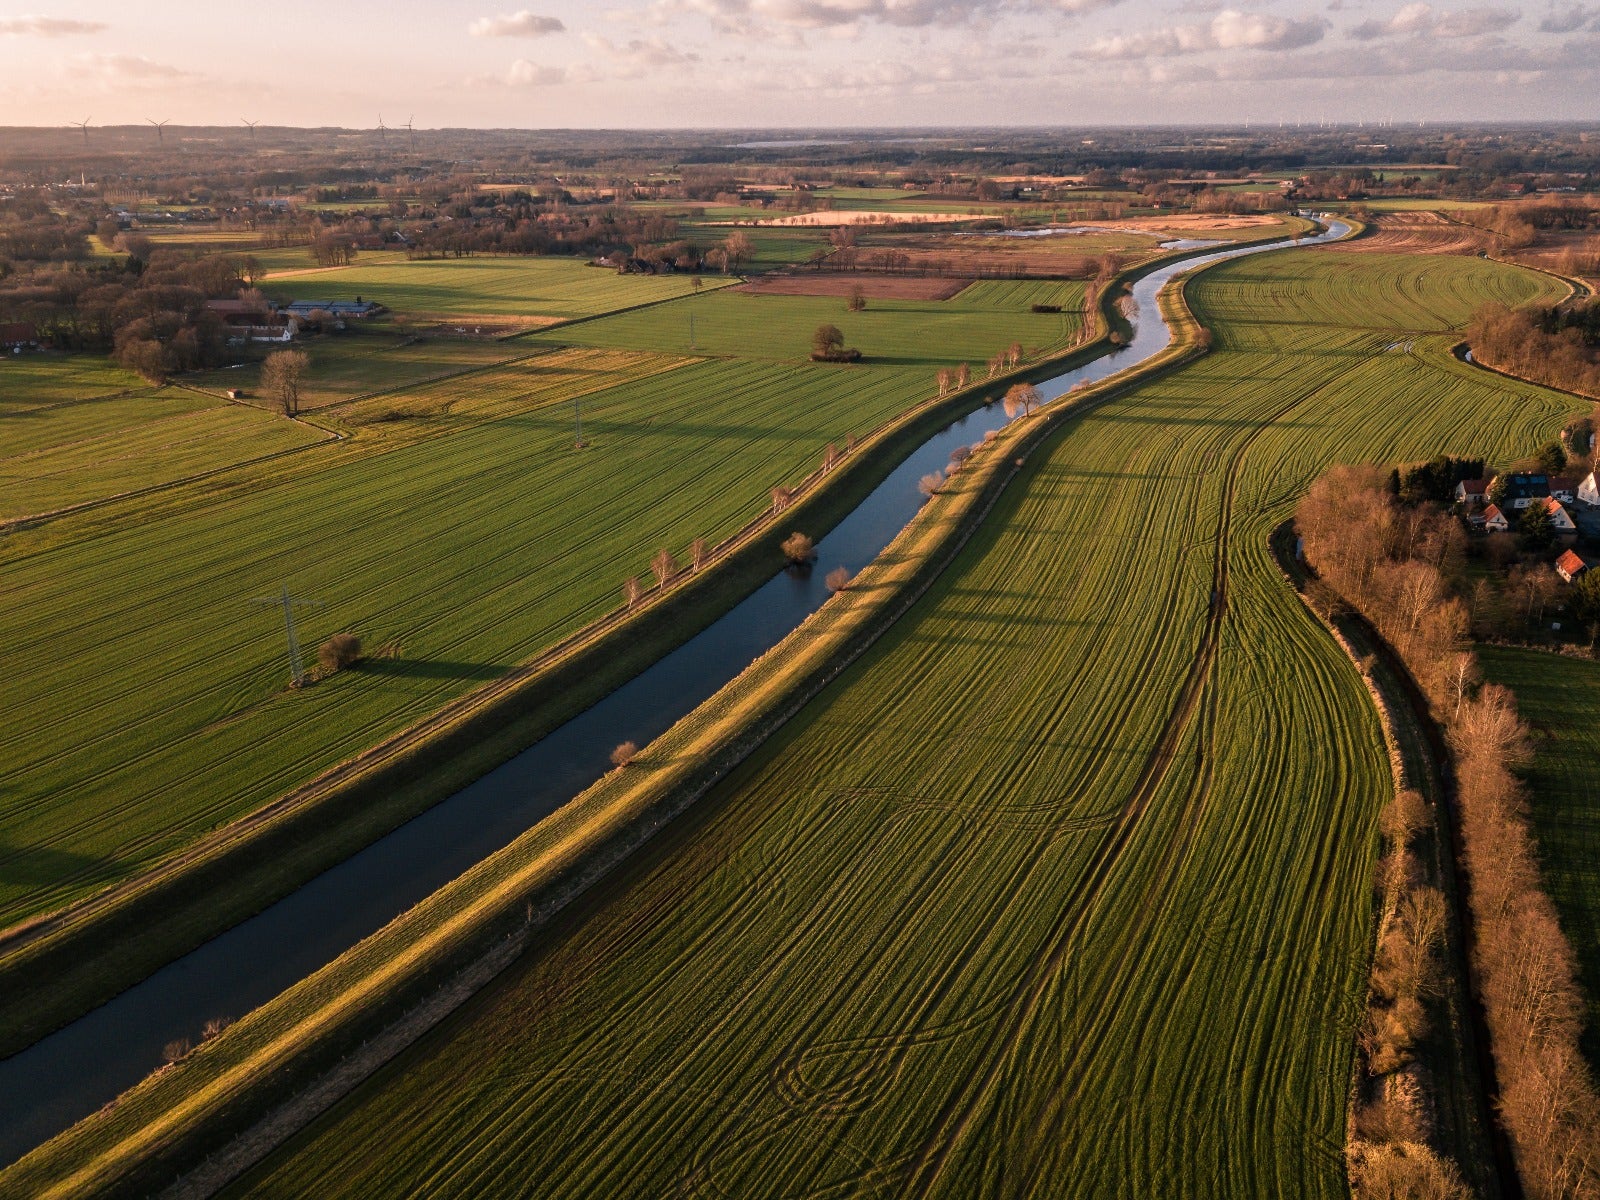
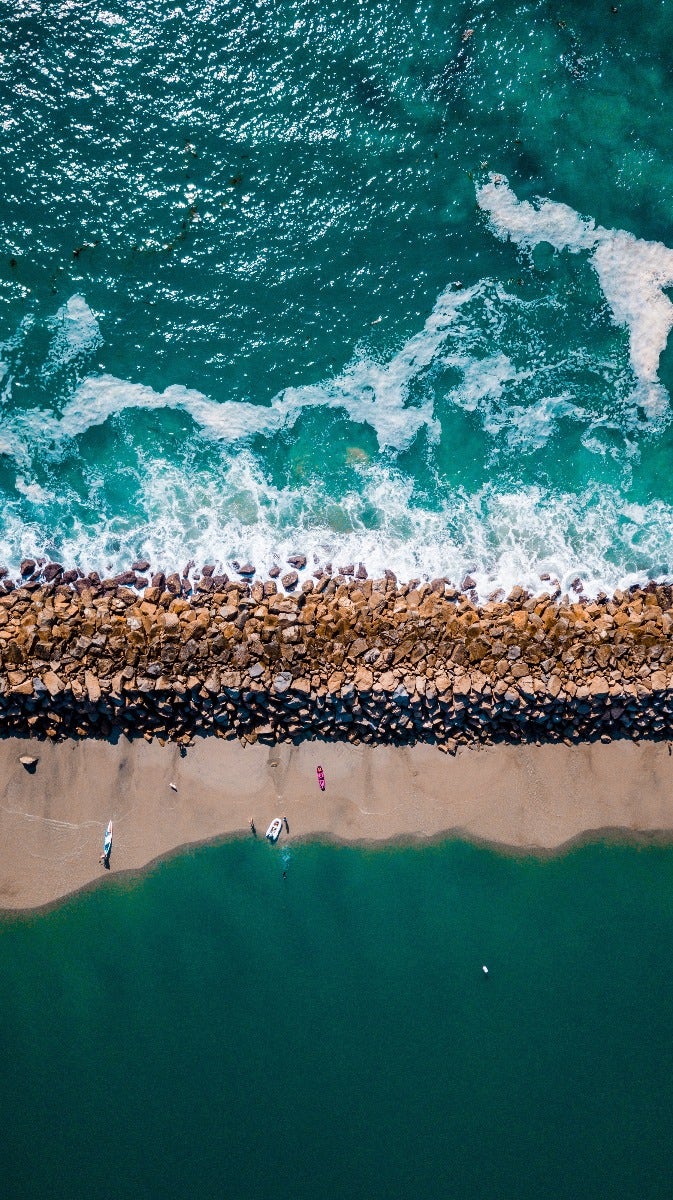
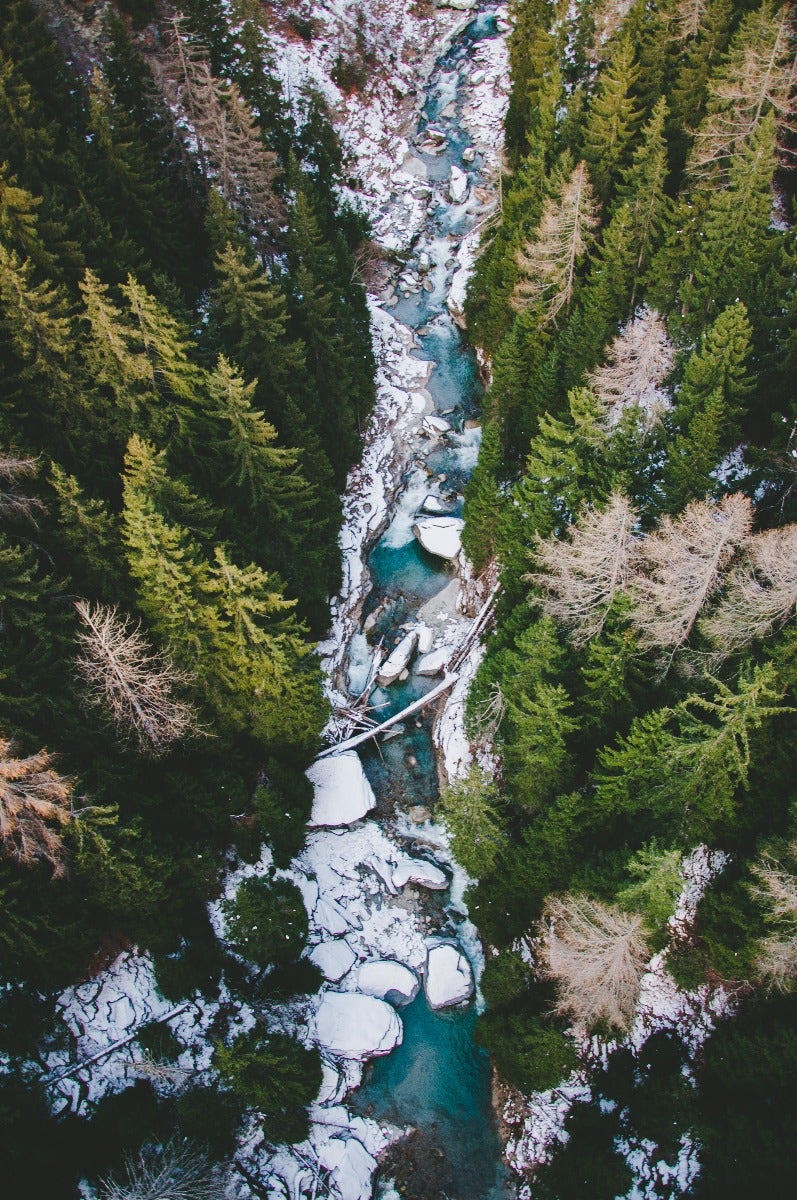
Photographers are always looking for new and innovative ways to capture the beauty of the world. A new technique that has become very popular recently is the use of drones to take photos. There are many benefits of using a drone to photograph your surroundings that cannot be done using a handheld camera. The ability to use a high-quality camera up in the sky to capture amazing aerial photos of landscapes, buildings and more is very compelling. The results you get will be exciting to see. 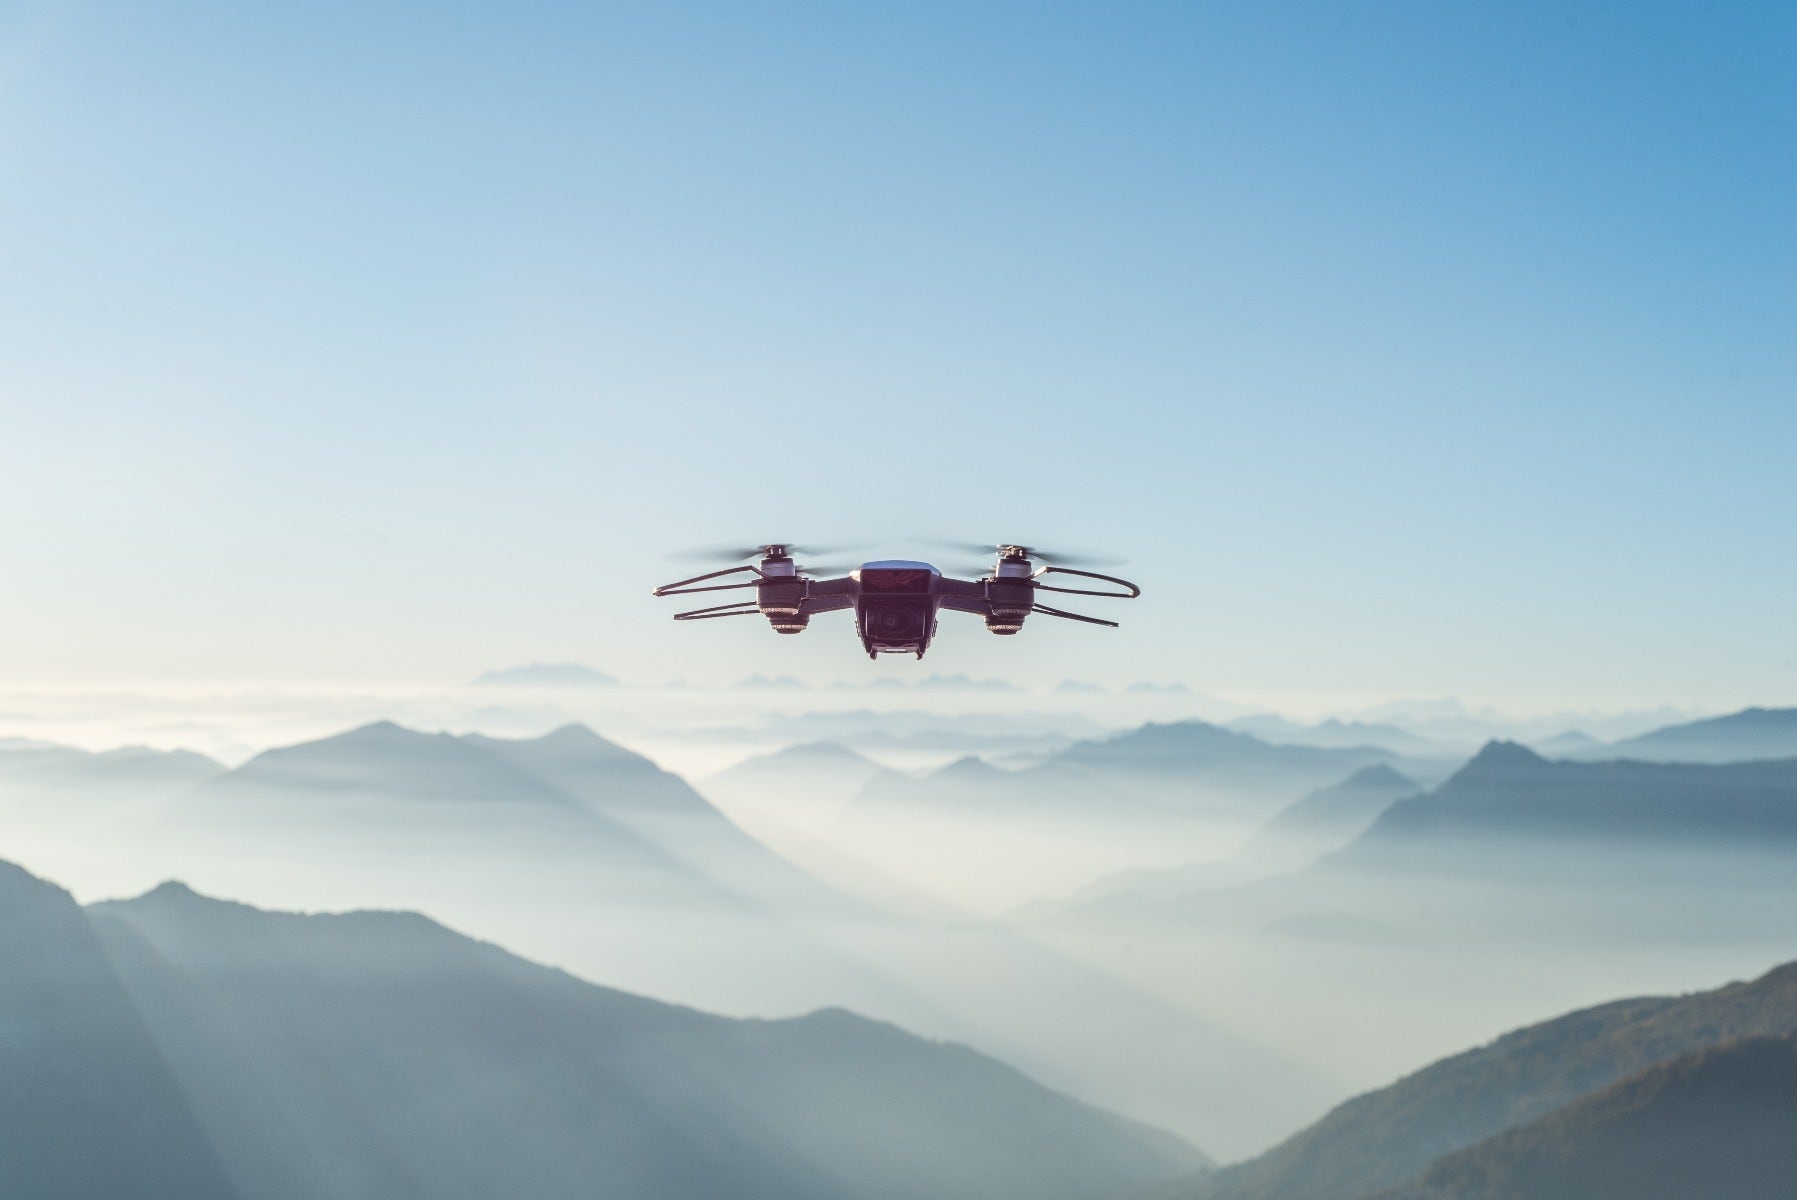
If you are just starting out using a drone for your photography, consider the tips below to help you become a professional in no time at all. Once you get the hang of it, you will find endless ways to use your drone to capture your best pictures yet. And as an added bonus, we'll throw in a few pieces of advice about shooting video with your drone as well!
If you have never flown a drone before, you might be a little nervous to get started. However, flying a drone is much easier than you would expect. Most people have no idea that a drone will not just crash down to the ground if you accidentally let go of the controls. It will simply sit in the air hovering until you begin controlling it again. Another unfounded worry most people have is that if the battery for the drone dies while in mid-air, it will crash. Most drones have a safety feature that will cause the drone to return to its take-off location when the battery is at a certain level. A little time and patience will help you learn to control your drone like a professional.
Another tip to take into consideration when learning to fly a drone for photography is being cautious about where you fly. This is important for a couple reasons. There are specific locations around the country where it is illegal to fly your drone, especially if you are taking pictures or videos. In Australia this includes within 5.5 km of an airfield, or near any area where emergency operations are underway (police, fire, car crash, etc). You must also make sure to not fly your drone over 120m in altitude, keep the drone in your line-of-sight and staying a minimum of 30m away from other people. There are a lot of things you need to consider, so make sure you have all the info before flying.
This tip will probably be the most difficult one if you are new to drones. Drones range in cost, functionality and quality. Professional level drones typically allow you to attach your own camera to the drone, while entry-level and enthusiast drones typically have a camera built in to the drone. The most popular consumer drones are made by DJI. They have a range of models to suit all needs.
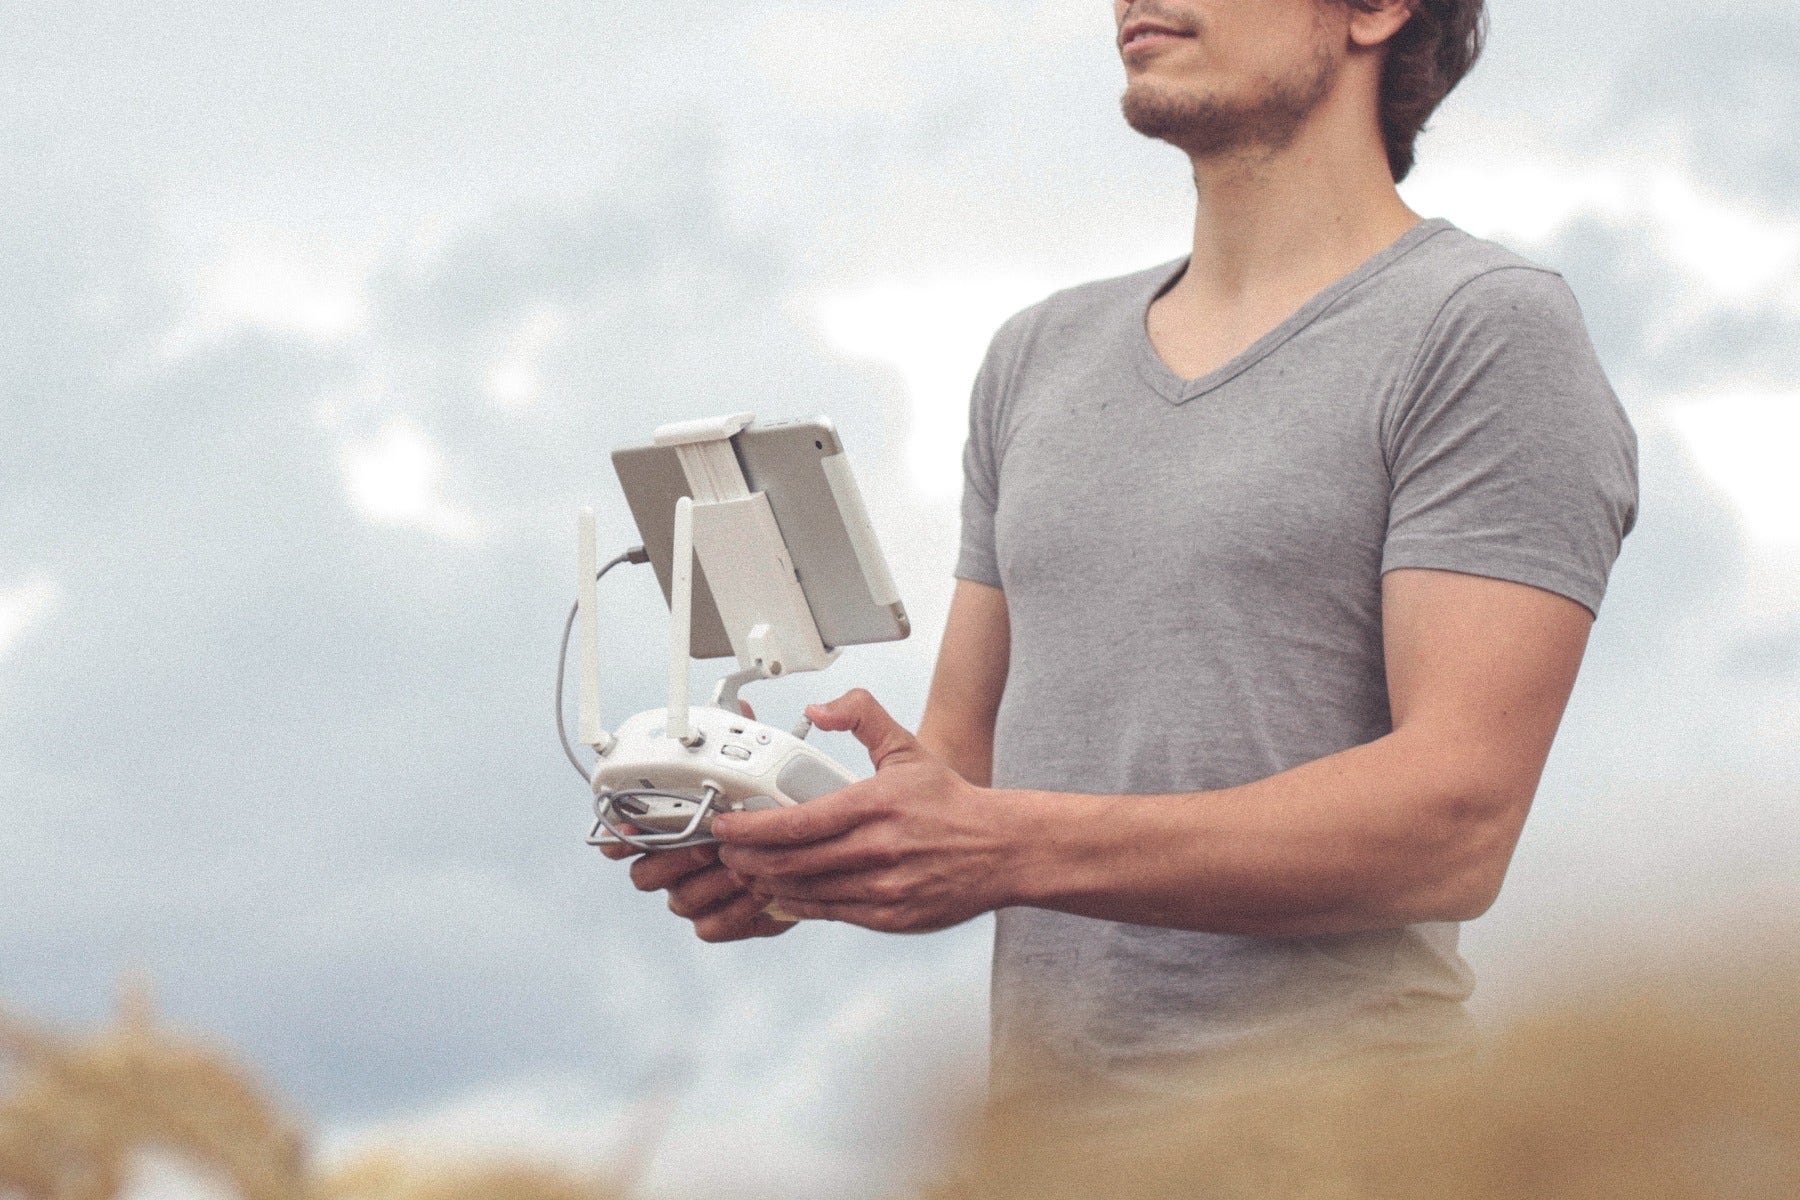
Most drones utilise a controller with two joysticks to fly. It's a little like a video game controller - one joystick will control altitude while the other will control forward/backward/lateral movement. You'll find that flying your drone to take a still photo shouldn't be too difficult. They are easy to manoeuvre, and navigating your drone to a good static position to take a beautiful shot is doable without much issue. It can get a little bit trickier if you want to shoot video, as you'll probably want to be executing some type of movement while recording, including possibly panning the camera while also flying the drone. The key element here is practice. Even if it's not in the most breathtaking location, it's worth taking your drone out for regular spins so you can get used to doing basic movements and controlling multiple aspects of the drone simultaneously.
 |
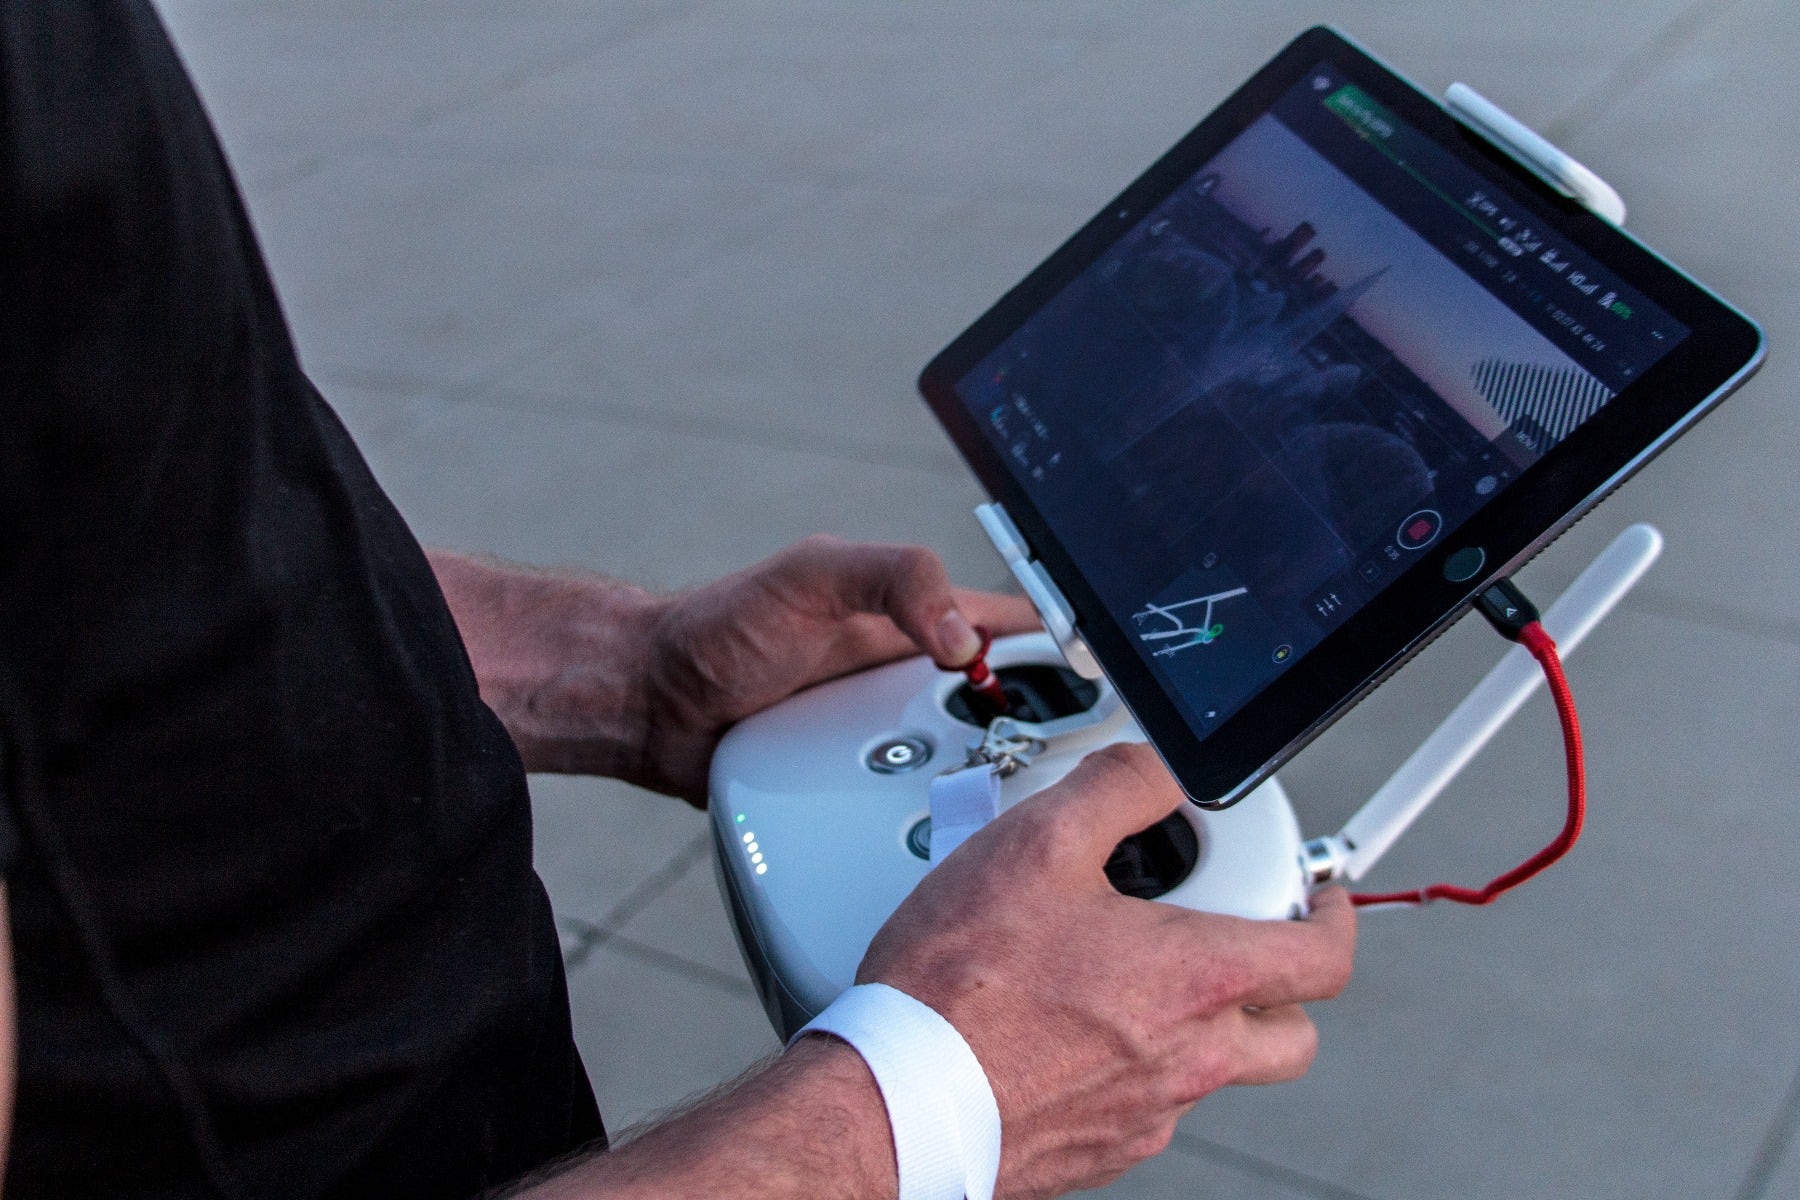 |
Drones are not inexpensive pieces of equipment. While flying your drone, you will want to monitor it and pay close attention to where you are flying. This can be done by visually watching the drone in the sky or by following the images on the camera screen. The screen on your controller will give you a view of the drone's camera and other data that is pertinent. If you are new to drone flying, we recommend you do your first few flights in a wide open field so the danger of crashing into objects like trees is greatly minimised. Fortunately, many drones these days come with built-in sensors that monitor their surroundings and won't let you fly into obstacles. It's important to know where on your drone those sensors are located so you can know which flight directions you have to be careful of. For example, most drones DON'T have these sensors on top of them, so be careful when flying upwards!
 |
 |
In most instances, taking pictures with a drone camera is much like a regular camera. Concepts like aperture, shutter speed and white balance all still apply. However, even if you are used to shooting in manual modes on your camera, when you are trying to take pictures from a drone it can be best to keep your camera in Automatic Exposure mode. You will have enough to control without adding exposure control to the list! Once you are experienced you can start to adjust these settings manually if you like, but many pro drone shooters still often use the Automatic Mode.
ND filters can be critical when shooting video. Since you'll be flying your drone during the daytime, the bright sunlight usually means that the drone will shoot video at a high shutter speed, giving an undesirable choppy look to your video. If you use ND filters you will be able to reduce the amount of light coming into the camera, meaning you can use a lower shutter speed (remember, 1/50th of a second is typically the shutter speed you want to aim for for video). Fortunately there are a lot of third party companies that make ND filters for drones. Polar Pro in particular makes a wide range of ND filters for most DJI drones.
For more information on drones watch one of our video reviews on the most popular consumer drones. 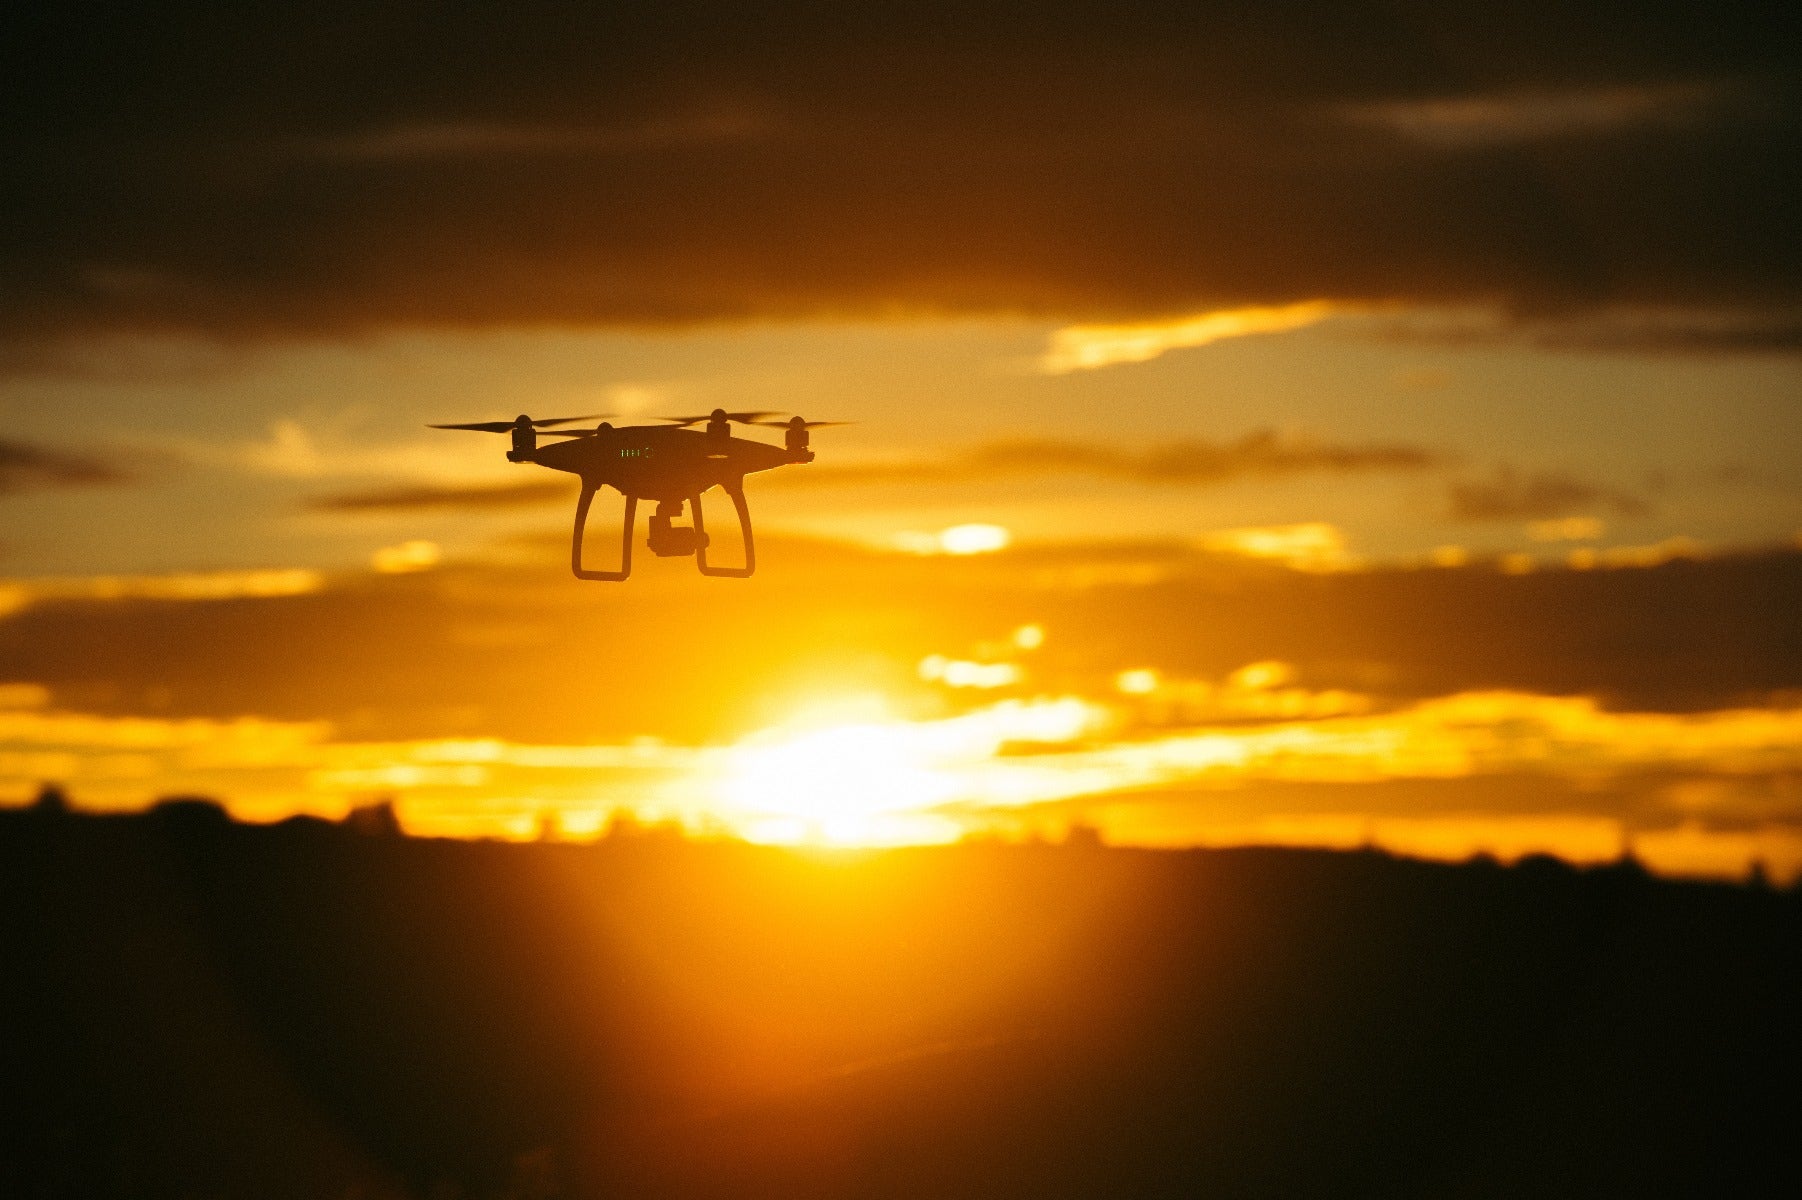
Interested in contributing to the digiLife blog? Email community@digidirect.com.au with the subject line "digiLife Contributor", and include links to your photography portfolio and a writing sample.


Comments
No Comments yet. Be the first to comment.