We use cookies to make your experience better. To comply with the new e-Privacy directive, we need to ask for your consent to set the cookies. Learn more.
Photolab
0
My Cart


When browsing some of the top landscape photography Instagram accounts, the plethora of fantastic photos can make it can be easy to succumb to the impression that landscape photography is easy. In reality, landscape photography is one of the most difficult genres to do well, and requires a lot more preparation than more improv-style genres like street or candid photography. Today we're going to discuss two critical behind-the-scenes elements of every successful landscape photograph - timing and planning.
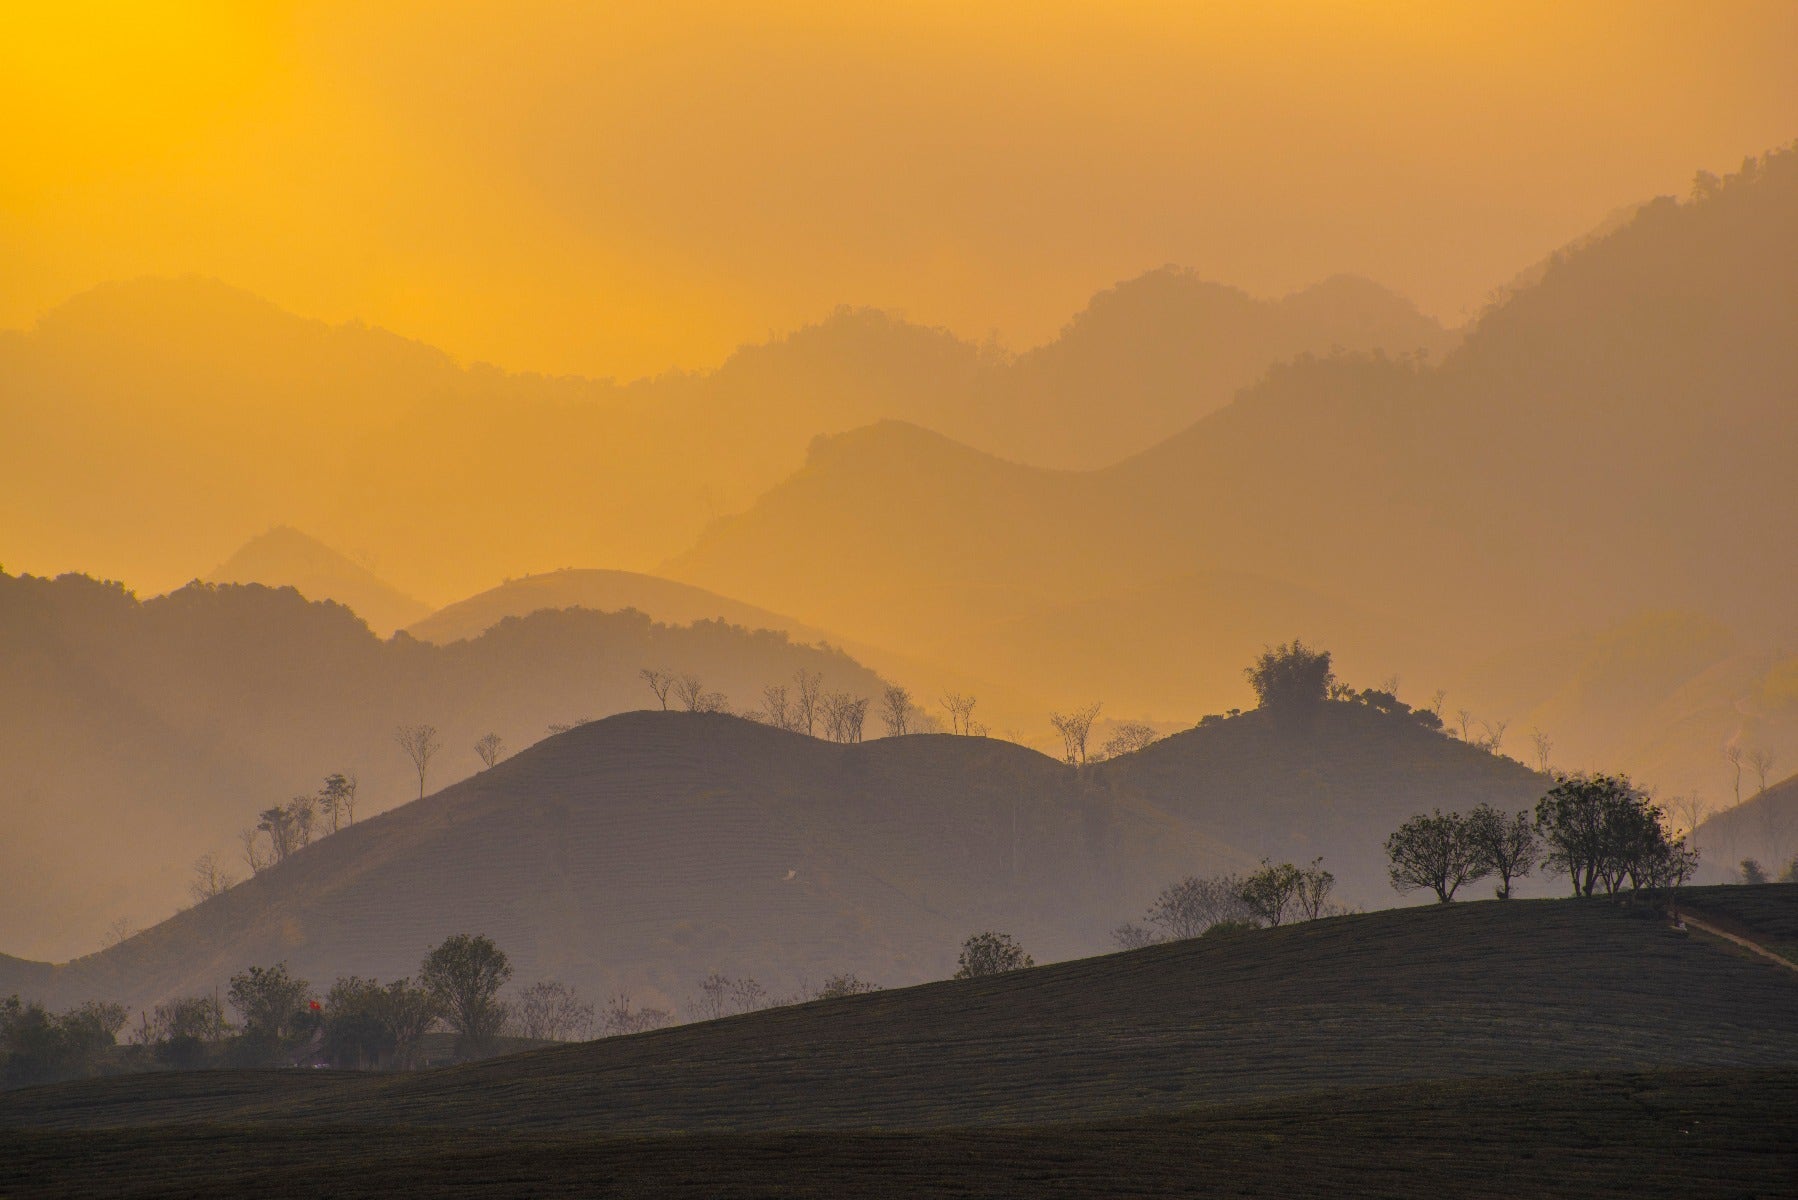
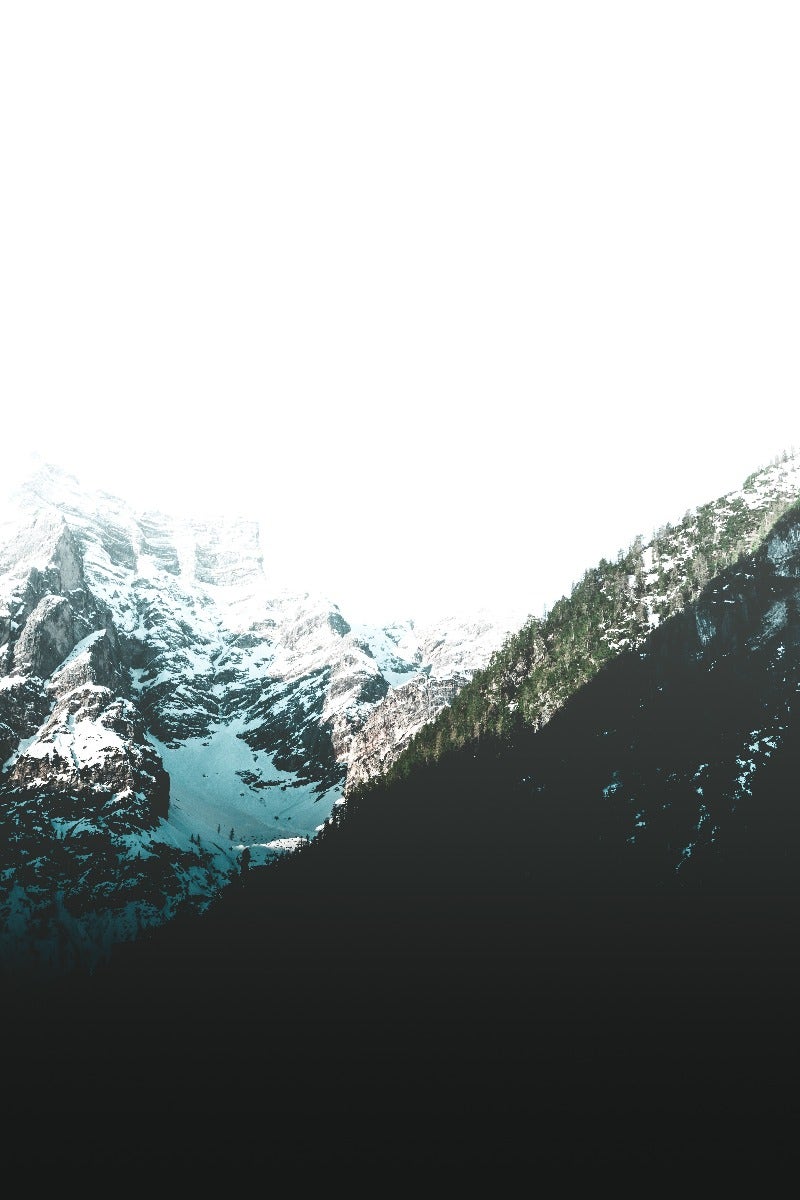
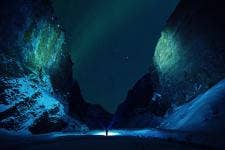
Timing your shot with the correct lighting can result in a much more interesting image
As the saying goes, "Timing is everything" and that couldn't be more important when it comes to shooting landscape photographs.
Just being at a location will not guarantee that you will achieve beautiful photographs. You need to prepare ahead of time, and one of the most important planning rules in landscape photography is timing. The time of day you visit a chosen location can really make or break your final image. The difference between arriving at a location at midday verses being there at first light is significant.
You're probably aware that light during the early and later parts of the day (close to sunrise and sunset) is richer and warmer-toned. The reason for this is due to the different wavelengths of light and how they get through our atmosphere. Remembering back to high school physics, light is measured in wavelengths, and longer wavelengths result in yellow and red light while shorter wavelengths result in blue light. The Sun outputs light of a variety of different wavelengths.
When light travels through our atmosphere, some amount of the light is reflected and scattered by the small gas particles that make up our atmosphere. Shorter wavelengths (blue light) are more easily scattered by these particles. During midday, the light is traveling more or less perpendicular to the ground, taking the shortest possible path through the atmosphere. Close to sunrise and sunset, the light is coming at an oblique angle, which means it travels through more of our atmosphere before reaching the ground, which results in more of the blue light being removed by hitting more molecules in our atmosphere. This leaves the longer wavelengths, resulting in more red, yellow and even purple light, which is why our sunrises and sunsets are so colourful.
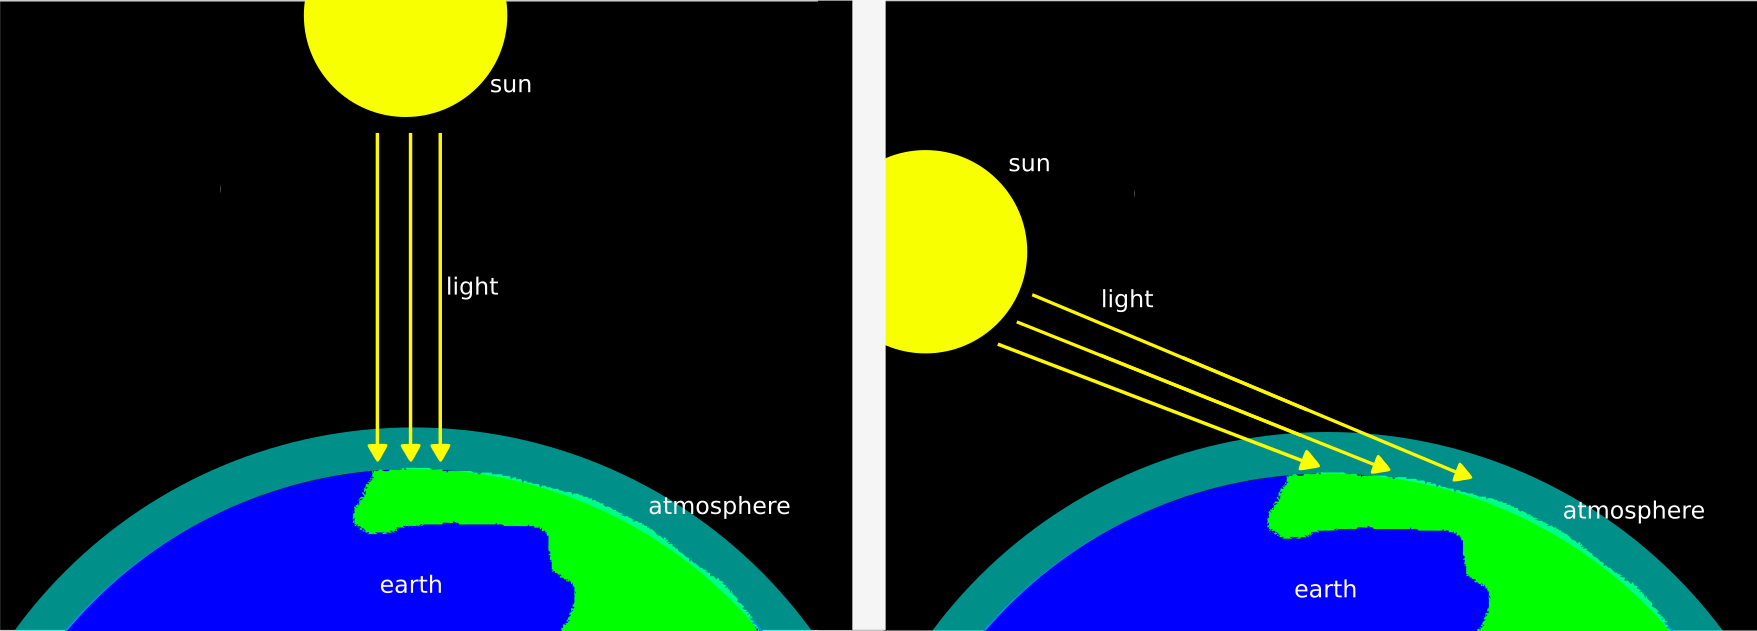
Left: When coming from directly above (noon), light travels the least possible distance through our atmosphere. Right: When coming from an oblique angle (sunrise and sunset), the angle requires that light travels a longer distance through our atmosphere.
So why is this important for shooting landscapes?
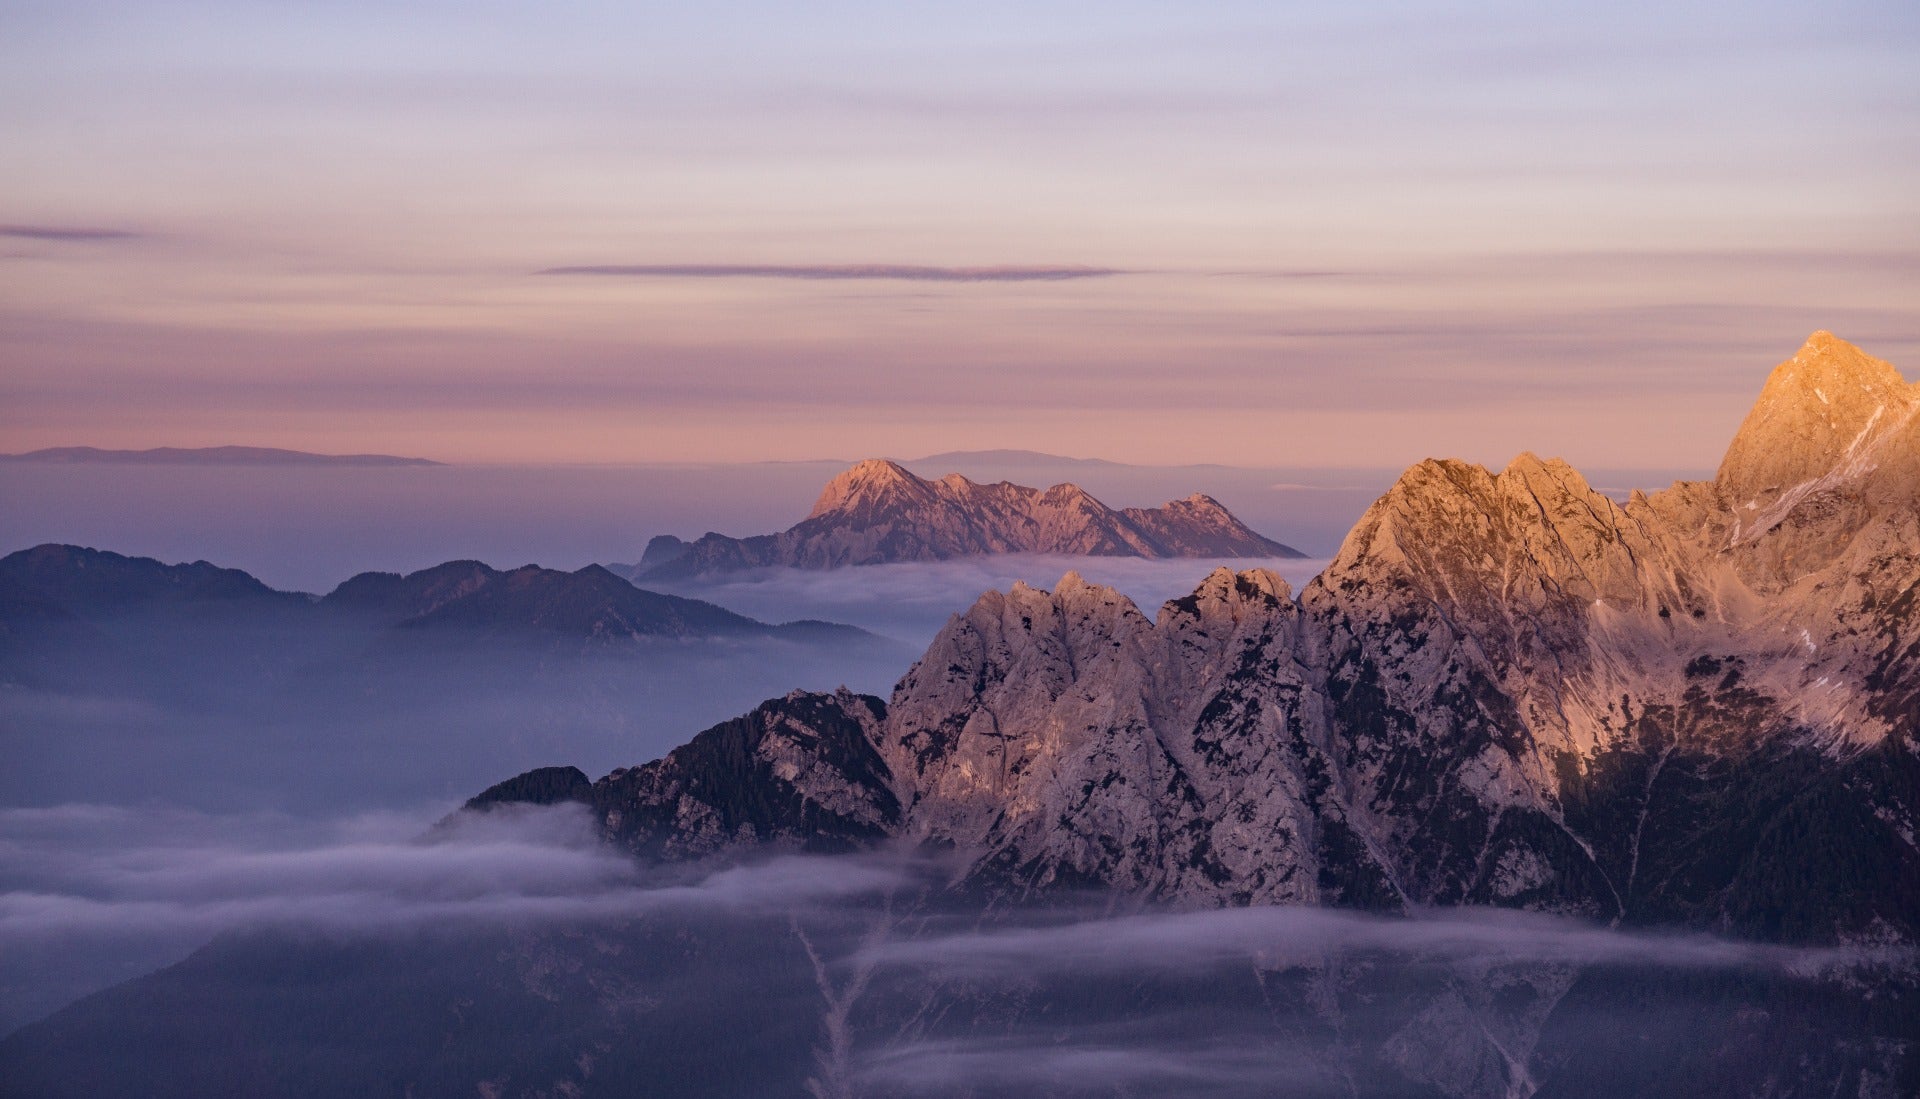
Well, for quite a few reasons. Firstly, if you are at your location at the right time of day, often referred to as "Golden Hour" (one hour after sunrise or one hour before sunset), you will have the best chance to capture some really interesting colours in your sky. Most landscape photographs will have some element of a sky in them, so why not plan to be there when the sky is putting on its best performance? You will give yourself the best chance to view something special and beautiful.
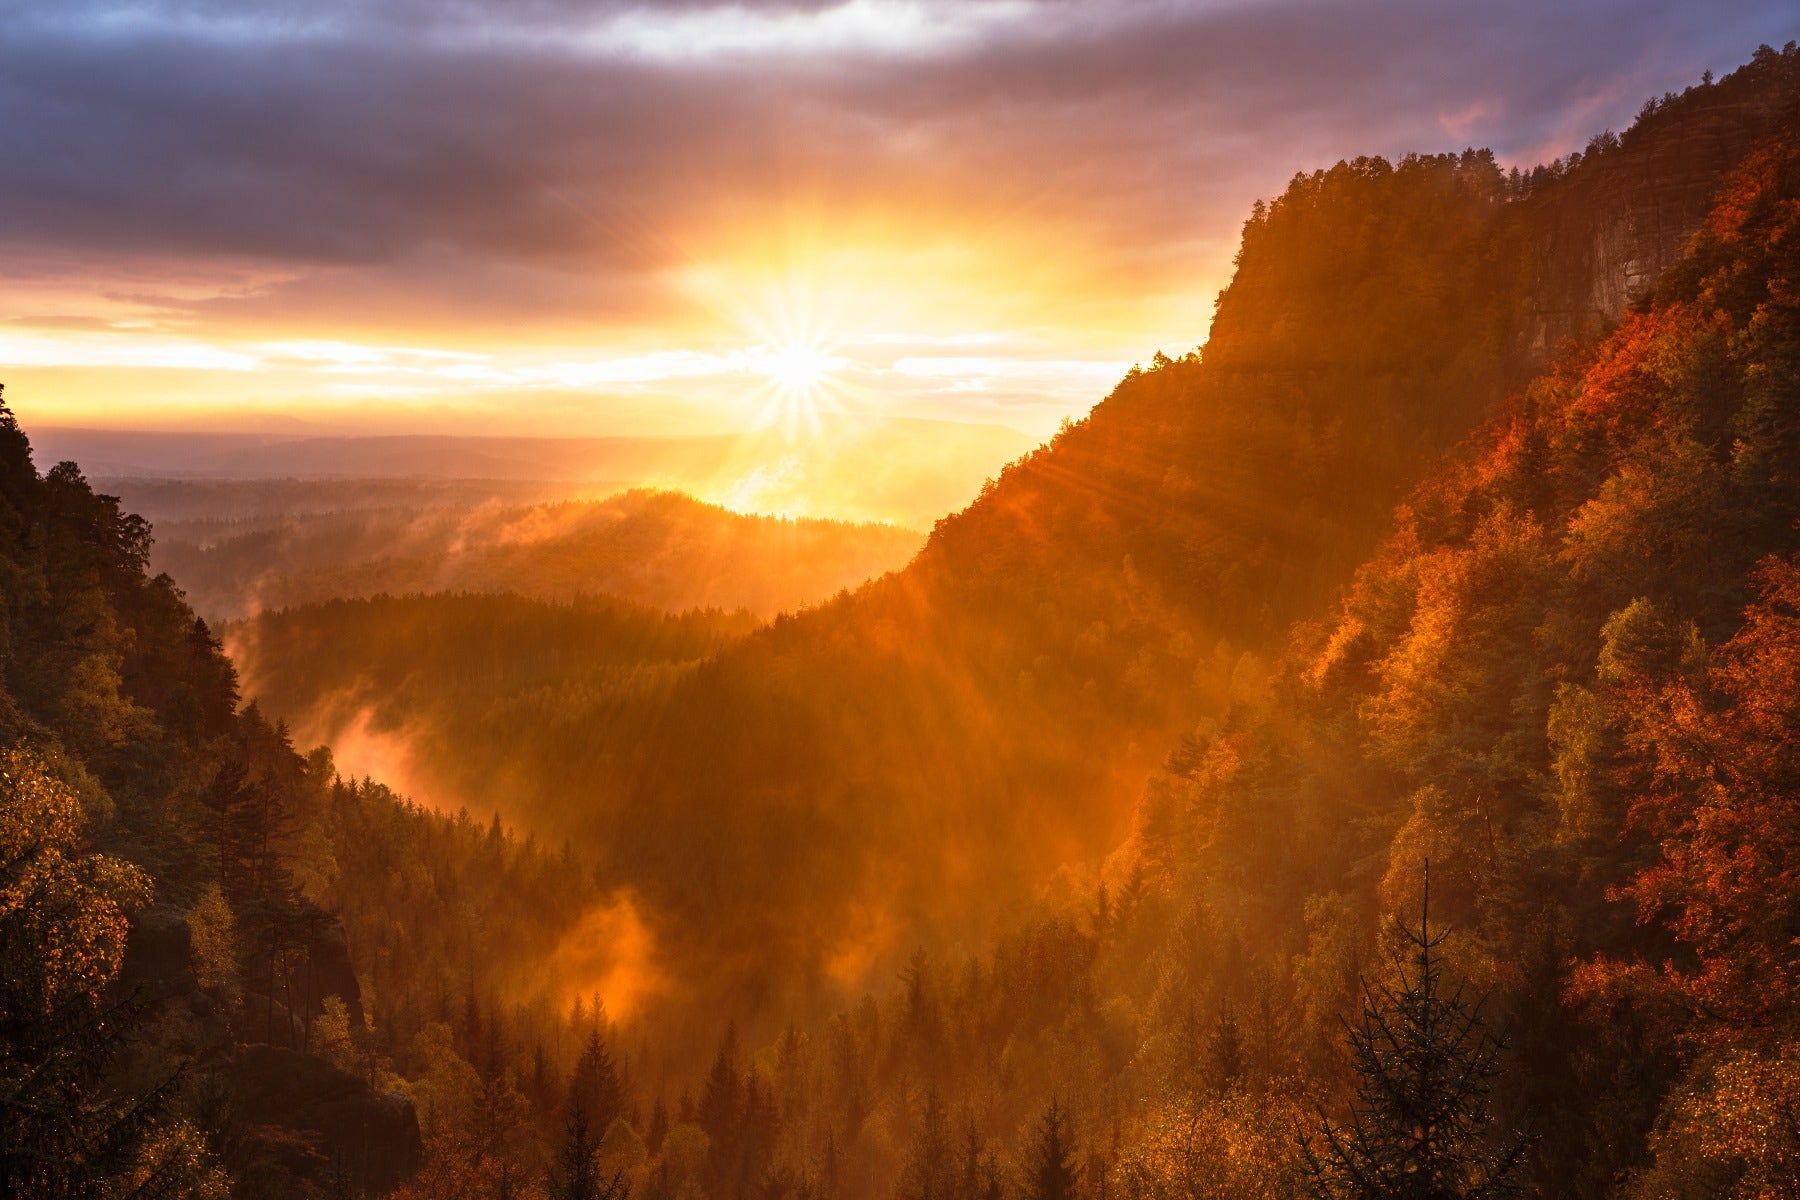
"Golden Hour" can produce more dramatic colours than midday shooting
Secondly, you will be shooting during a time of day where the light is nice and 'soft'. By soft we mean in the way that the highlights (sky, reflections, clouds, etc.) and the shadows (Mountains, forests, fields, etc.) will be softer and more closely balanced in your exposure. You will have light that can be captured easily by your camera's metering system and sensor, with the minimal need to adopt neutral density filters or other exposure adjusting methods to your image taking. In contrast, during harsh midday light, the light is much stronger so therefore the sky and other bright parts of your photograph will be more overexposed compared to your shadows.
 |
 |
Examples of photos where the sky has been overexposed
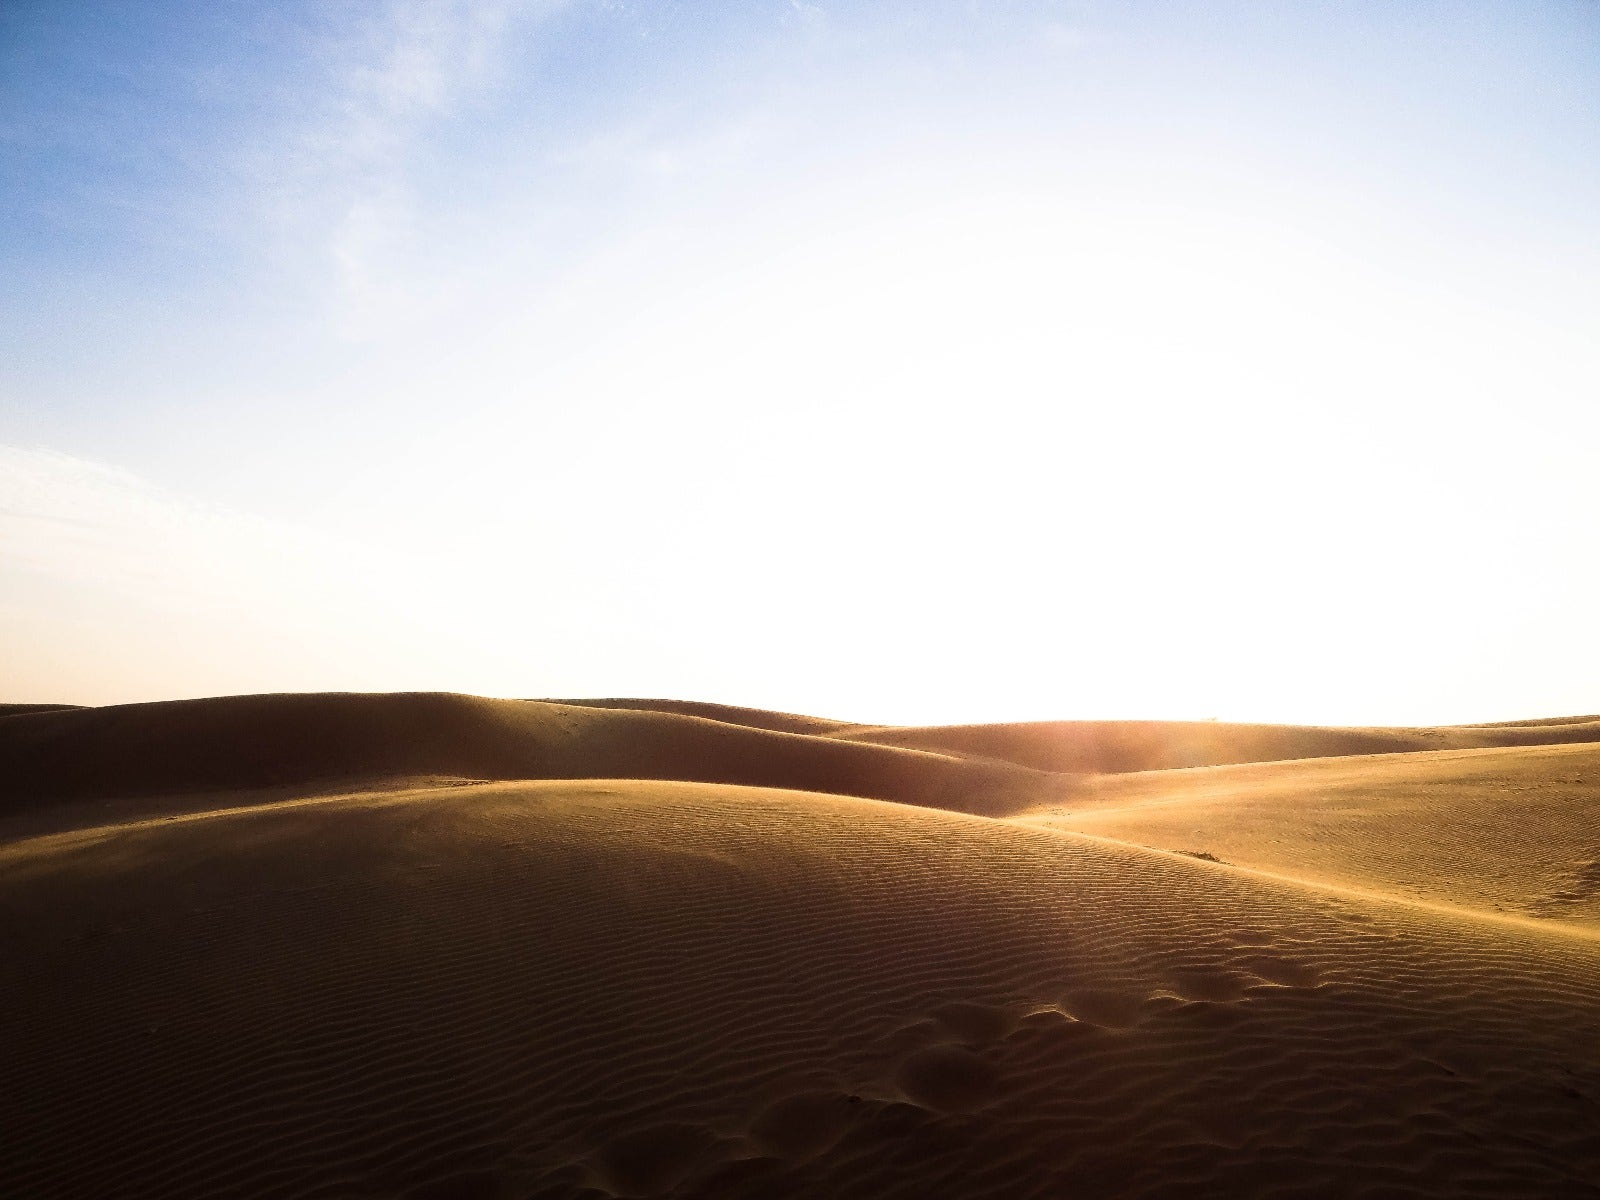
And finally, shooting at either end of the day during Golden Hour(s) will allow you to capture images during traditionally a calmer part of the day as the sun rises and sets. You will find that weather conditions generally settle down more around the very start and end of the day. Next time you are up before sunrise and out shooting, take note of the weather changes when the sun has popped above the horizon, you'll be surprised just how much affect the Sun has on our everyday weather conditions.
Sunrise and sunset often coincide with calmer weather conditions
So with the right planning you can tick off a lot of commonly faced issues of landscape photography by just being at the right place at the right time. You can capture beautiful light at the start and end of the day. You can significantly assist your overall exposure balance and help your camera capture better images due to the closer exposure range of your scene. And finally, you will witness all sorts of beautiful weather conditions that occur during the Golden Hour. It's a great time of day to have a camera ready.
Now whilst timing is crucial with any genre of photography, especially landscape, it's not all you need to do to ensure you capture beautiful images. Time spent planning your next photography outing is equally important. You can't just expect to pick a location, get your car and rock up to capture incredible images. You need to plan. Lucky for us these days there is a plethora of information available at our fingertips. Gone are the days when photographers simply got in their cars and just explored locations with the hope they would find something special to capture. These days, it's most effective to use tools such as Google images, photo apps, and advice from other photographers to help plan your next shoot. Learn more about these in my article about location scouting resources.
Each beautiful image you see just doesn't happen. There are usually a lot of unseen planning exercises before a landscape photographer gets their final frame. I'll give you a good example of how planning can work very well to improve your photography. The following image took me close to 5 years to achieve the exact conditions and outcome I wanted.
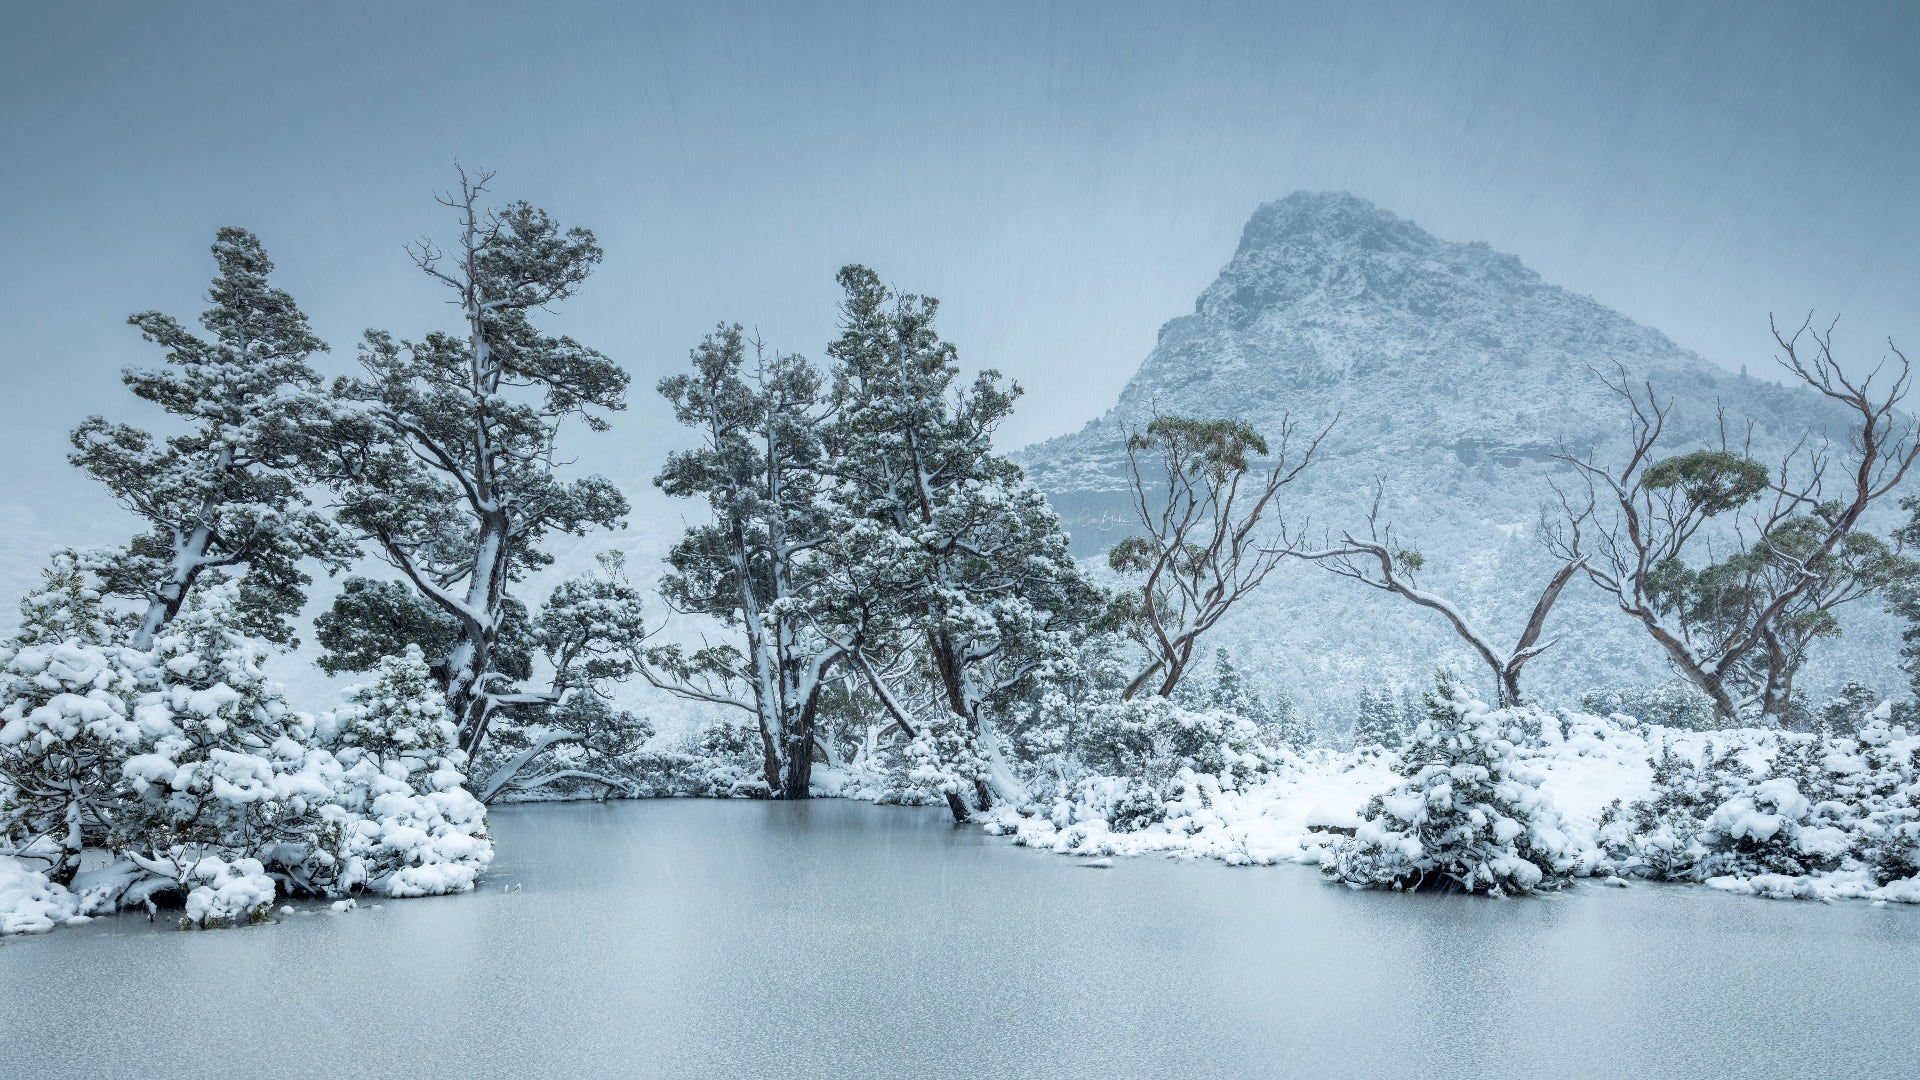
This location is called "the Artists Pool" and is found on the far side of Tasmania's famous Cradle Mountain. In fine weather it requires a 45min - 1hr hike from the Cradle Mountain car park. For a long time I wanted to visit this location with the small pool covered in snow and the ancient Pencil Pine tree on the background sprinkled with soft snow. I had a vision in my mind of what I wanted this scene to look like. It was just a matter of waiting for these conditions to happen, and coinciding with me being able to have the time to hike in and capture this image.
In the lead up to this image I had to do quite a bit of planning. Things like understanding what kind of weather conditions would be required to cover this region in snow, enough for me to be able to travel the 4hr drive from my home and still get there in time before the snow melted. I also had to ensure that if the right conditions did offer themselves up that I had the right gear to get into this remote location safely while also keeping warm. I also needed to ensure that my camera gear was able to handle the very cold conditions and determine if I needed to make adjustments to my gear to help keep it warm.
For most of my 20 years of shooting professionally I have shot using Olympus film and digital cameras. The Olympus digital system has an incredible reputation for their weatherproofing and I was confident that this would be the camera I would use for this shot. Along with the weatherproofing the weight of the camera was very appealing to allow me to hike with less weight, and more speed to hike up over the mountains to get to this location.
In the end however, I ended up using the Fuji GFX50S, a medium format camera. This camera also has incredible weatherproofing, however the drawback was that it was about 3x heavier than the Olympus! I chose the Fuji in the end purely for an image quality standpoint, as it's 50-megapixel resolution was too good to ignore in this case. Plus, after 5 years of planning, I wanted to make sure I could take the highest quality image I could!
When hiking into remote locations, safety is always paramount. This was a big part of my planning in this shot. There is no point going in underprepared to capture an image if you may never make it out to share it. So I made sure that I had all the right clothing, with plenty of layers, and plenty of wind protection. I also made sure I carried a GPS/SAT responder in case something bad happened and I needed urgent assistance. Last but not least, I made sure I have plenty of snacks and food available, along with water. Even though the conditions were freezing, hydration is still very important.
So the day had come when the weather looked to line up for the conditions I required to capture this image. There was a severe cold front passing over Tasmania, bringing wide range snow falls to very low altitude. The Artist Pool sits around 900m or so above sea level. The weather forecast was snow to as low as 600m around Tasmania. It was time to go!
Leaving home at 4 am in the morning, I drove the 4 hour route to Cradle Mountain -through snow and blizzard-like conditions - to finally arrive just after 8:30am. I unpacked my gear from the car, and double-checked that I had everything. Battery, spare battery, Memory card(s), tripod, cleaning cloth, correct lenses and circular polarising filter. Check!
I hit the track just before 9am for the 45 minute hike up and over Cradle Mountain. The weather was brutal and it was tough work getting up and over the hills in my way. Sideways snow and hail, frozen rocks to climb, hard to follow path, you name it this hike had it.
I finally arrived at the Artist Pool around 10:30 am. The weather conditions meant it took double the expected amount of time to reach it! It was hard going, but conditions were perfect for what I had envisioned for my shot. Surprisingly, I was not the only person out in these incredible conditions. I passed some hikers who were finishing their last day of a 5-day trip along the Overland Track. They were shocked to see me out in these conditions, just to take a photograph. Needless to say, the effort was certainly worth the planning as I captured an image that I was very proud of, one that took months of planning and waiting for the right conditions to present.
When thinking of travelling to a location that has captured your eye, make sure you take that little bit extra time to plan. Plan to arrive at the right time, plan to research what time of day works best for your location, plan to ensure that you have all the right gear for your camera packed, and most importantly, plan to ensure that you will be safe where you are going. No photograph is worth putting yourself in harms way.
Hopefully these tips have given you some insight into the planning process involved in landscape photography and allow you to time and plan your shots so that you can capture some fantastic images. Happy shooting!
Interested in contributing to the digiLife blog? Email community@digidirect.com.au with the subject line "digiLife Contributor", and include links to your photography portfolio and a writing sample.


Comments
No Comments yet. Be the first to comment.