We use cookies to make your experience better. To comply with the new e-Privacy directive, we need to ask for your consent to set the cookies. Learn more.
Photolab
0
My Cart


When you first start your photography journey, one of the things you'll notice is how many types of filters are available. Deciding what to choose can feel very overwhelming. Where do you begin? digiDirect aims to clear this up for you by examining one of the key types of filters you have at your disposal: a polarising filter.
We're going to walk you through what a polarising filter is, the different types available and how you can use it to enhance your photography.
A polarising filter is one item you're almost guaranteed to find in any landscape photographer's bag when they're out shooting. It can instantly add contrast and vividness to the photograph - an extremely important feature since landscapes can lack sometimes bright or vibrant colours. Sunlight gets bounced all over objects present in your landscape shot, and it can eventually find a way into your camera at different angles, which can make your photography look lifeless, washed-out and bland.
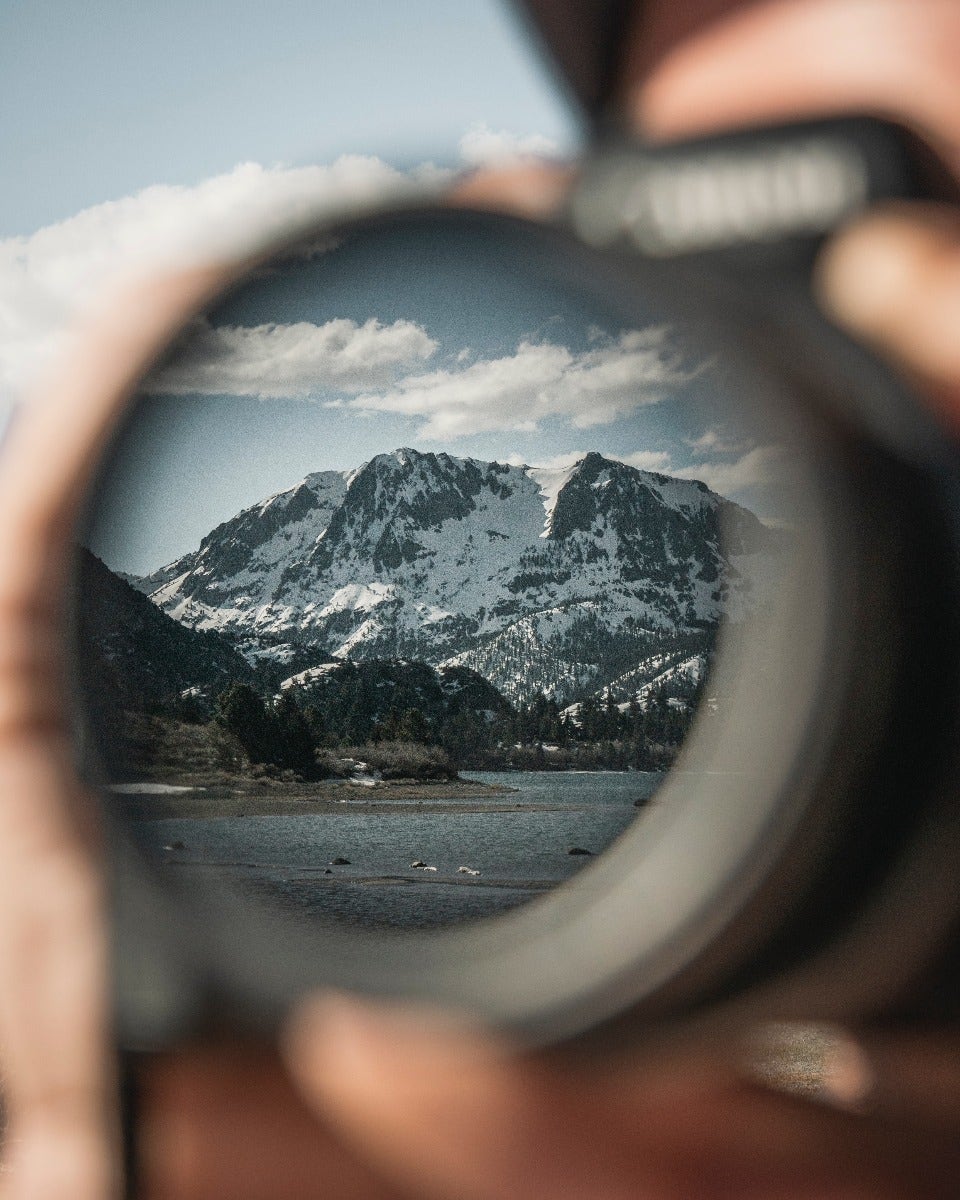
A polarising filter works to minimise any such reflections, and this can bring out the colours of your landscape scene. Since it increases the contrast and colour saturation of the image, the filter is very useful when shooting the sky, distant subjects and foliage. It can also help to reduce the atmospheric haze that is so common in photographs of mountain ranges.
 |
 |
A polarising filter is an essential piece of kit in many photographer's bags
Polarising filters come in two types; linear and circular. While you may think that this is a direct reference to the shape of the filter itself, it actually refers to the way each filter polarises the light that makes its way into your camera when you shoot.
Most polarising filters are made up of two metal rings that are connected but rotate independently. When you screw the filter to your camera's lens, you can then rotate the front part of the lens until it creates the polarising effect you need to enhance your photograph.
Most commonly you'll be using a circular polariser and not a linear polariser. This is because linearly polarised light and autofocus or TTL metering don't mix, so if you're using a modern camera with autofocus, you'll need a circular polariser. While linear polarisers are primarily confined to older film cameras, any lens and camera combination works with a circular polariser, making them the more versatile option.
There are many different brands of circular polariser. Hoya filters strike a good balance between quality and price
The needs of each individual varies depending on their camera, shooting style and subject, so it's difficult to put together a rigid checklist of things to remember when buying a polarising filter. However, there are a few basic things everyone should consider. These basic considerations can translate over to just about any filter you want to buy, and they include:

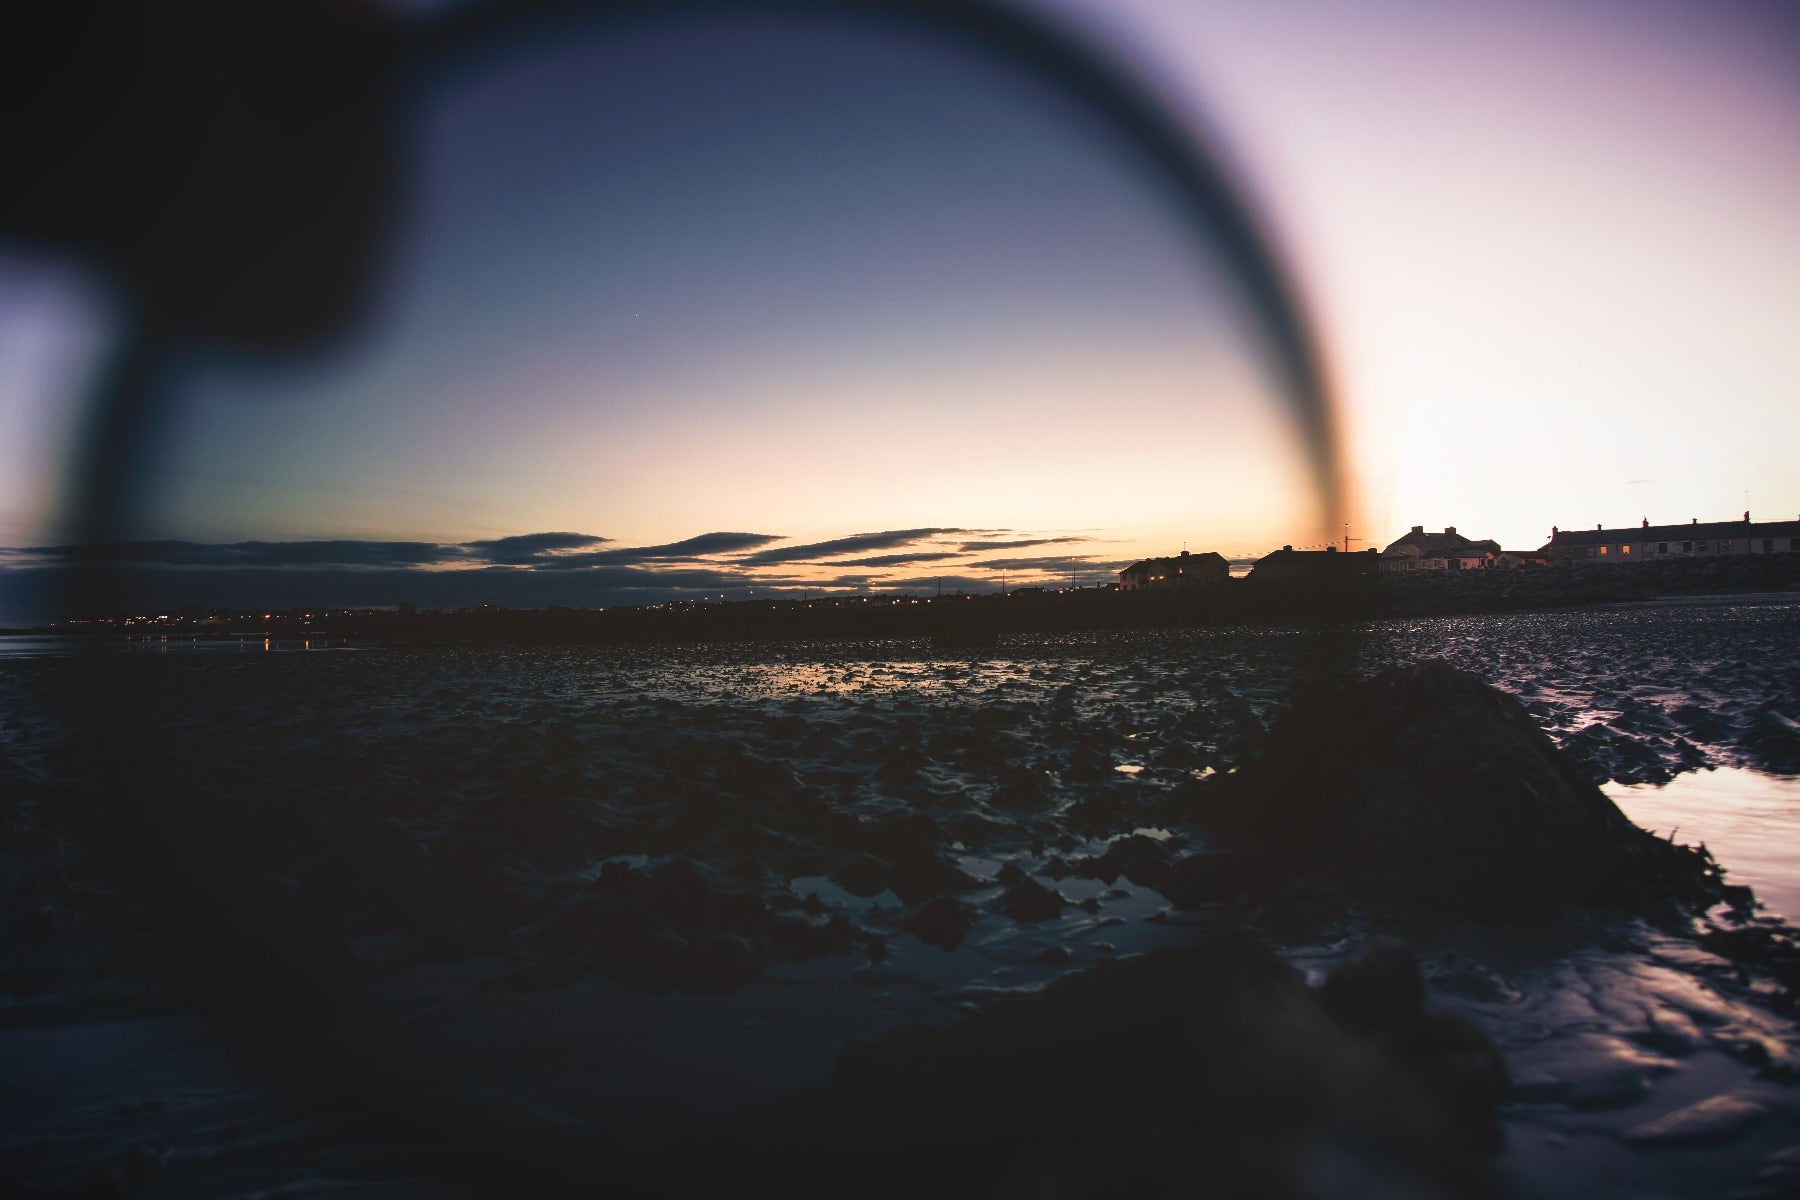
Polarising filters are popular with landscape photographers and can be used to manipulate reflections and glare
No matter which type of polarising filter you buy, it should be straightforward and easy to use. The majority of people opt for the circular polarising filter to enhance their photographs. To start, you simply attach the filter to the front of your camera.
Once the filter is attached, you can point at the area you want to shoot and start slowly rotating the front element. You'll notice that the reflections and colours of your shot start to change gradually. When you achieve a saturation level and a contrast you're happy with, stop rotating and take your shot. For the best results when using your polarising filter, try to keep the sun at 90 degrees to your location, and ensure it's at your side rather than behind or in front of you.
It's recommended to not use a polarising filter if you're setting up a shot in low light, at night or during overcast days. A polarising filter works in a similar way to sunglasses to the human eye. Using the filter in low light further cuts down the light levels that are able to make it through to your image sensor, and you'll end up with very dark photographs.
How well your polarising filter works for you will vary from location to location and shot to shot. It won't have a huge impact on all of your shots, but it'll make a significant difference when it comes to shooting during bright and sunny days.
It's important to note that polarising filters do not work on metal surfaces as long as the metal is bare. If the metal surface on your subject has a coat of paint or stain on it, your polarising filter will work to some degree. The type of paint finish (flake, matte, metallic, pearl etc.) directly impacts on how your polarising filter will respond to the reflections and glare. This means that if you're primarily taking car photography, you'll have to experiment with filters to determine which will work best for you.
You should also remember that using a polarising filter with a wide-angle lens will give you mixed results. They may appear uneven in the finished photograph. This is because some portions of your photograph may be in a direction that is directly in line with the sun, and other portions of your photograph might form a right angle to the sun's position. If this happens, one side of your photograph will have a strong polarising effect, and the other side will have a much weaker effect that lends to the uneven look.
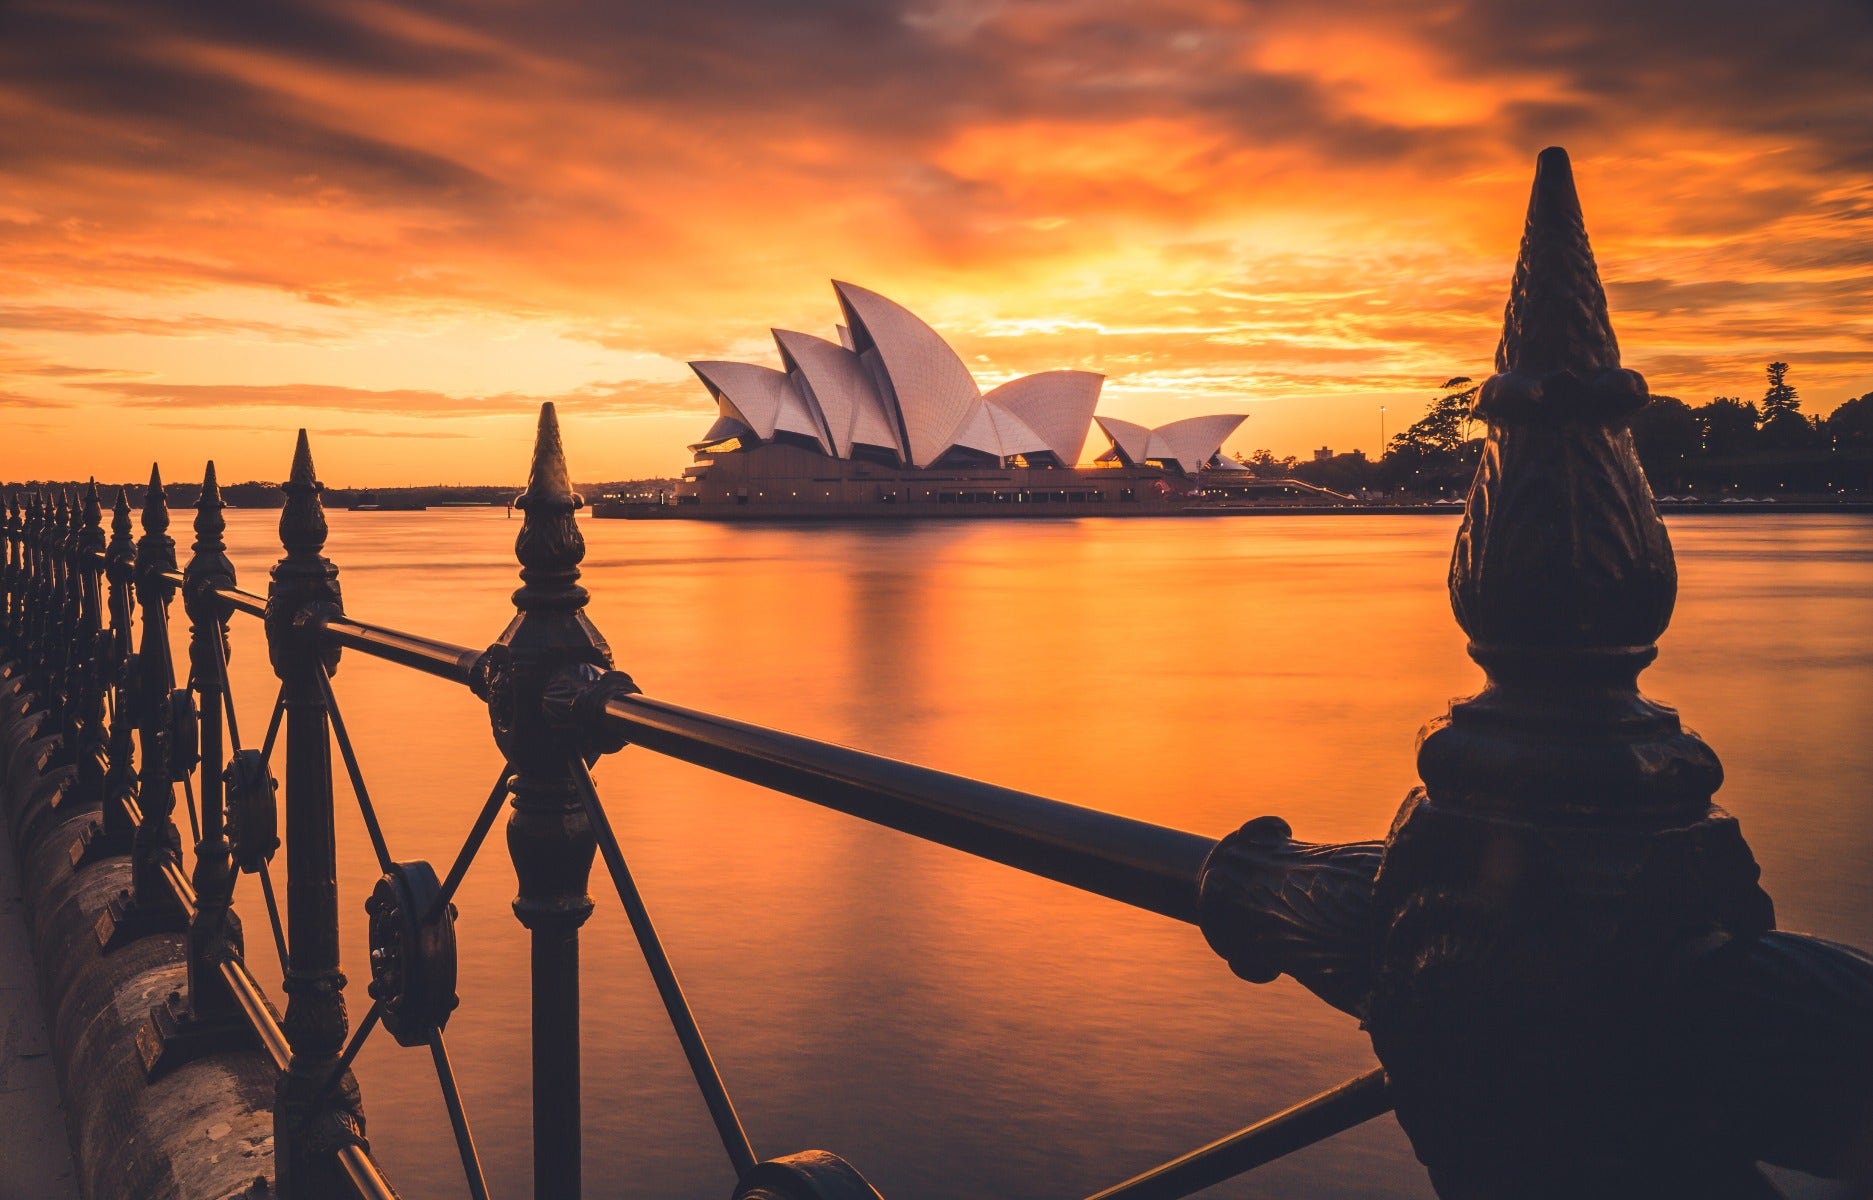
Polarising filters can be used to increase the saturation of colours in your images
Although the main priority of a polarising filter is to reduce glare, it can work across several scenarios to improve the outcome of your final image. A few of the situations you may find yourself in that could benefit from a polarising filter include:
Contact digiDirect Today!
Are you in the market for a circular polarising filter? If so, get in touch with us! Our experienced and professional staff are ready to walk you through the various polarising filters, answer any questions, give you tips, address any concerns and much more! It all starts with you getting in touch today and we will assist you in whatever way we can.


Comments
No Comments yet. Be the first to comment.