We use cookies to make your experience better. To comply with the new e-Privacy directive, we need to ask for your consent to set the cookies. Learn more.
Photolab
0
My Cart


In this article I will be talking to you about how to capture some good self-portraits. The benefits of this are two-fold. Firstly, you get a fun picture of yourself! But secondly, and more importantly, it can be a great learning experience because it presents an opportunity for you to experiment with and learn about portraiture in a setting that doesn't present any time pressure. Also, having some experience being on the 'subject' side of the camera can also make you more effective at communicating and directing your subjects in future.
A self-portrait doesn't have to be just a simplistic portrait of yourself, you can make it pretty creative with just a little bit of work. For this particular self portrait I decided to go for a fun 'ninja' style with a moody dark look. The goal was to showcase a mysterious person behind a hood and face mask!
The first step in self portraits is to have the right gear. In terms of camera bodies, any brand will be able to capture a great image. I used the Sony a7R III, in particular utilising it's real time Eye-AF feature. This makes a big difference, as it made it easy for me to ensure the eyes are sharp and in focus, something that can otherwise be a bit tricky in a self-portrait. In terms of lenses, I used the Sony 85mm f1.4 GM.
Setting-wise, I had the focus set on Wide with continuous focus, which allowed me to utilise real time Eye-AF at its full potential. If you don't have a Sony camera with this feature, don't worry, you can achieve this in other ways. Set the focus mode to Wide, then pre-focus where you want to stand and mark that spot. Take a test shot and once you are happy that the image is in sharp focus you can then switch it to manual focus. That will ensure that the autofocus won't hunt and re-focus. Utilise your fully articulating screen (or if you don't have one, use an an external monitor) so you are able to see a live view of your positioning. Another option would be to tether the camera to your laptop, so you are able to view the images as you capture them.
Below is an image of my full set up. I had the camera mounted on my Benro tripod, and I used a wireless remote to trigger the camera. Make sure to have your camera set on a timer so when you are using the trigger it doesn't fire instantly before you are able to get into position! I had my camera set on a 10 second timer so that when I use the wireless remote I was able to get into position and hide the remote before the picture was taken.
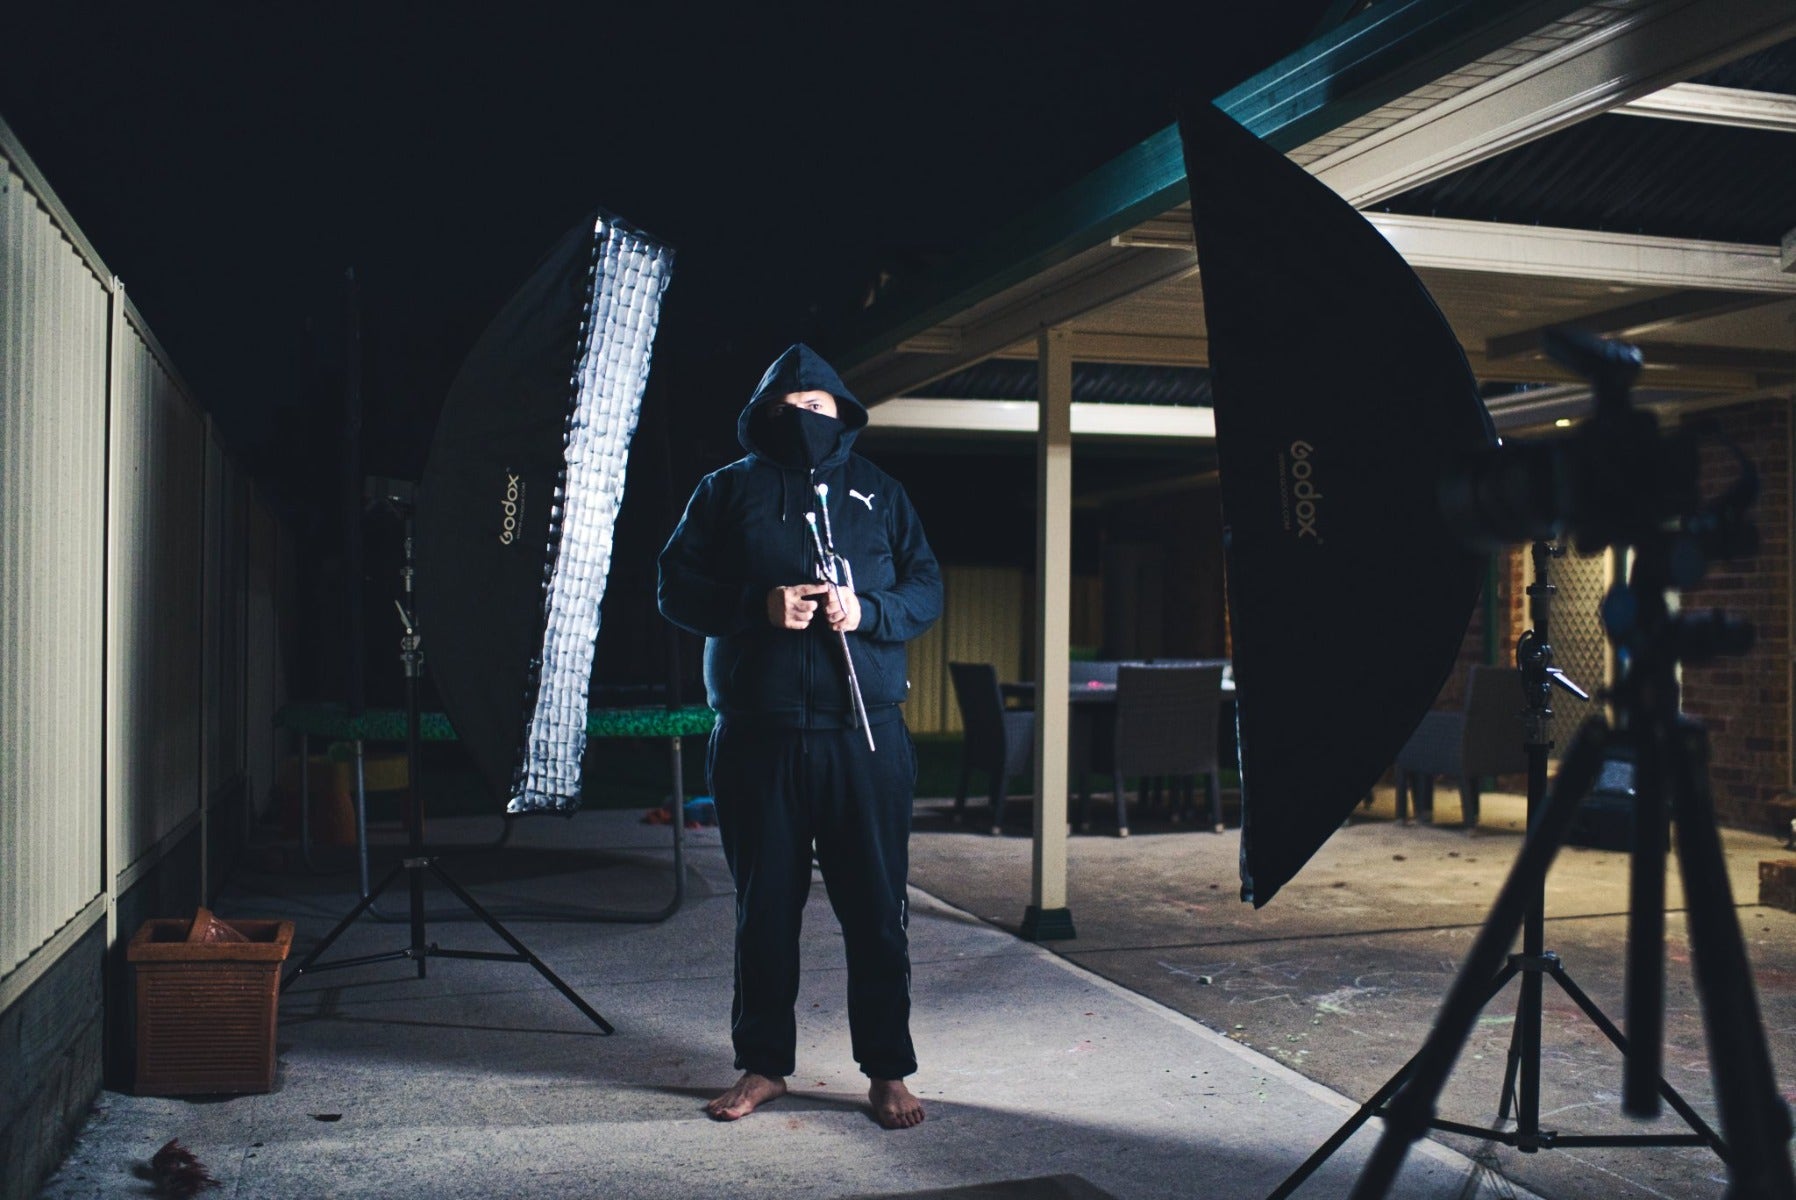
Welcome to my "studio"
My main source of light was the Godox AD600Pro on my left side with a Godox 90cm Strip Box. My back light was the Godox AD400Pro, similarly with a Godox 90cm Strip Box, set up just behind me on my right side. Both strip boxes have a grid attached to them. The grid allows you to control the light better and minimises the light spread so it only hits the subject and doesn't spread it to the background or the floor. Both lights were triggered with the Godox Xpro trigger. The main light was set to Group A and the back light was set to Group B, which allowed me to control both lights individually.
First question - the goal was to capture studio-style portraits with a black background, so how did I achieve this when there is such a busy background? And why did I not shoot this indoors or in a studio environment? I wanted to show you that if you have no access to a studio, or even a large indoor space, you can still capture shots like this even your own backyard.
In order to achieve a pure black background, I chose to do this at night. To start, I set my camera to ISO 100, an f/11 aperture, and a 1/250 shutter speed. This allowed me to completely block all ambient light and achieve a pitch-black background. The reason for shooting f/11 is that I want everything in focus and sharp. While portraits often have a blurry background, in this case there IS no background, which means a shallow depth of field would only result in half of my face being in focus and half being blurred out. Instead of relying on shallow depth of field for background separation, we'll instead rely on light separation. The first image was a simple test show with the stated settings and no lights:

Test shots are important for dialling in your baseline settings
Once you have that set, before we do any work on posing we will have to adjust the lights properly. To start I added only my backlight, the Godox AD400Pro. That way I could tweak that light and change it's effect independently of my main light. You could use a light meter for this to get more of an accurate reading, but I decided to do it by feel - an advantage that comes with experience! I wanted the backlight to be brighter than the main light, so I set the light to full power (1/1). I then took a test shot and below is the straight-out-of-camera result. Already we have a very cool moody look, which we've achieved with just a bit of outdoor space and the dark of night! This is the most cost-effective way to capture studio-style portraits with black background. You just need to remember to cut out the ambient light so that the flash will be the only source of light on your subject, which will provide a very dramatic look. Of course you may have to go back couple of times to adjust the light if it is too bright or to dark.
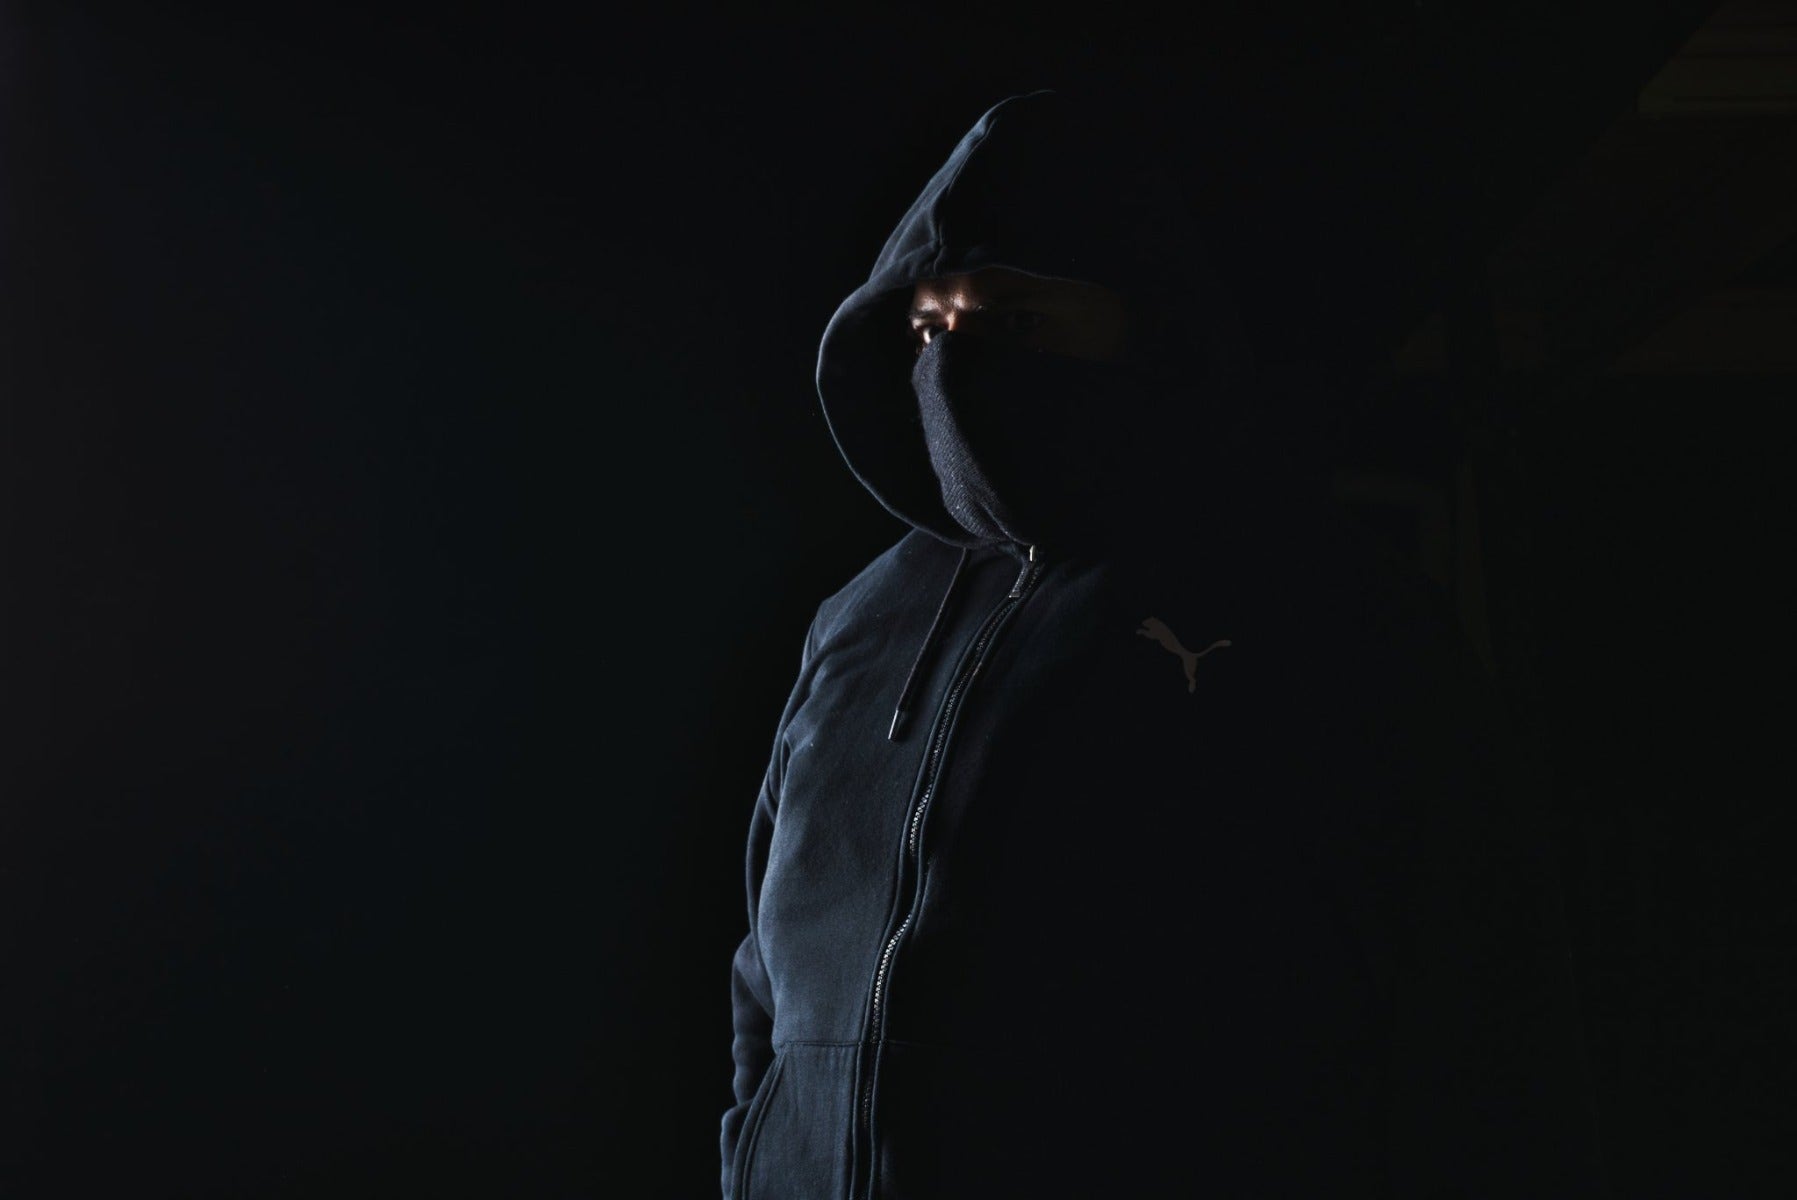
Simple lighting decisions can go a long way to capturing your vision
Now that I am happy with these results, I decided to add my main light, the Godox AD600Pro. Adding a second light allows me to stand out more from the background. I then adjusted my main source of light to about 1/8th, quite a lot dimmer than the back light, as I didn't want the main light to over power the backlight. I wanted it to have just enough power to light the left side of my face, but retain that moody, dark look. Here is the result (straight-out-of-camera) from adding the second light.
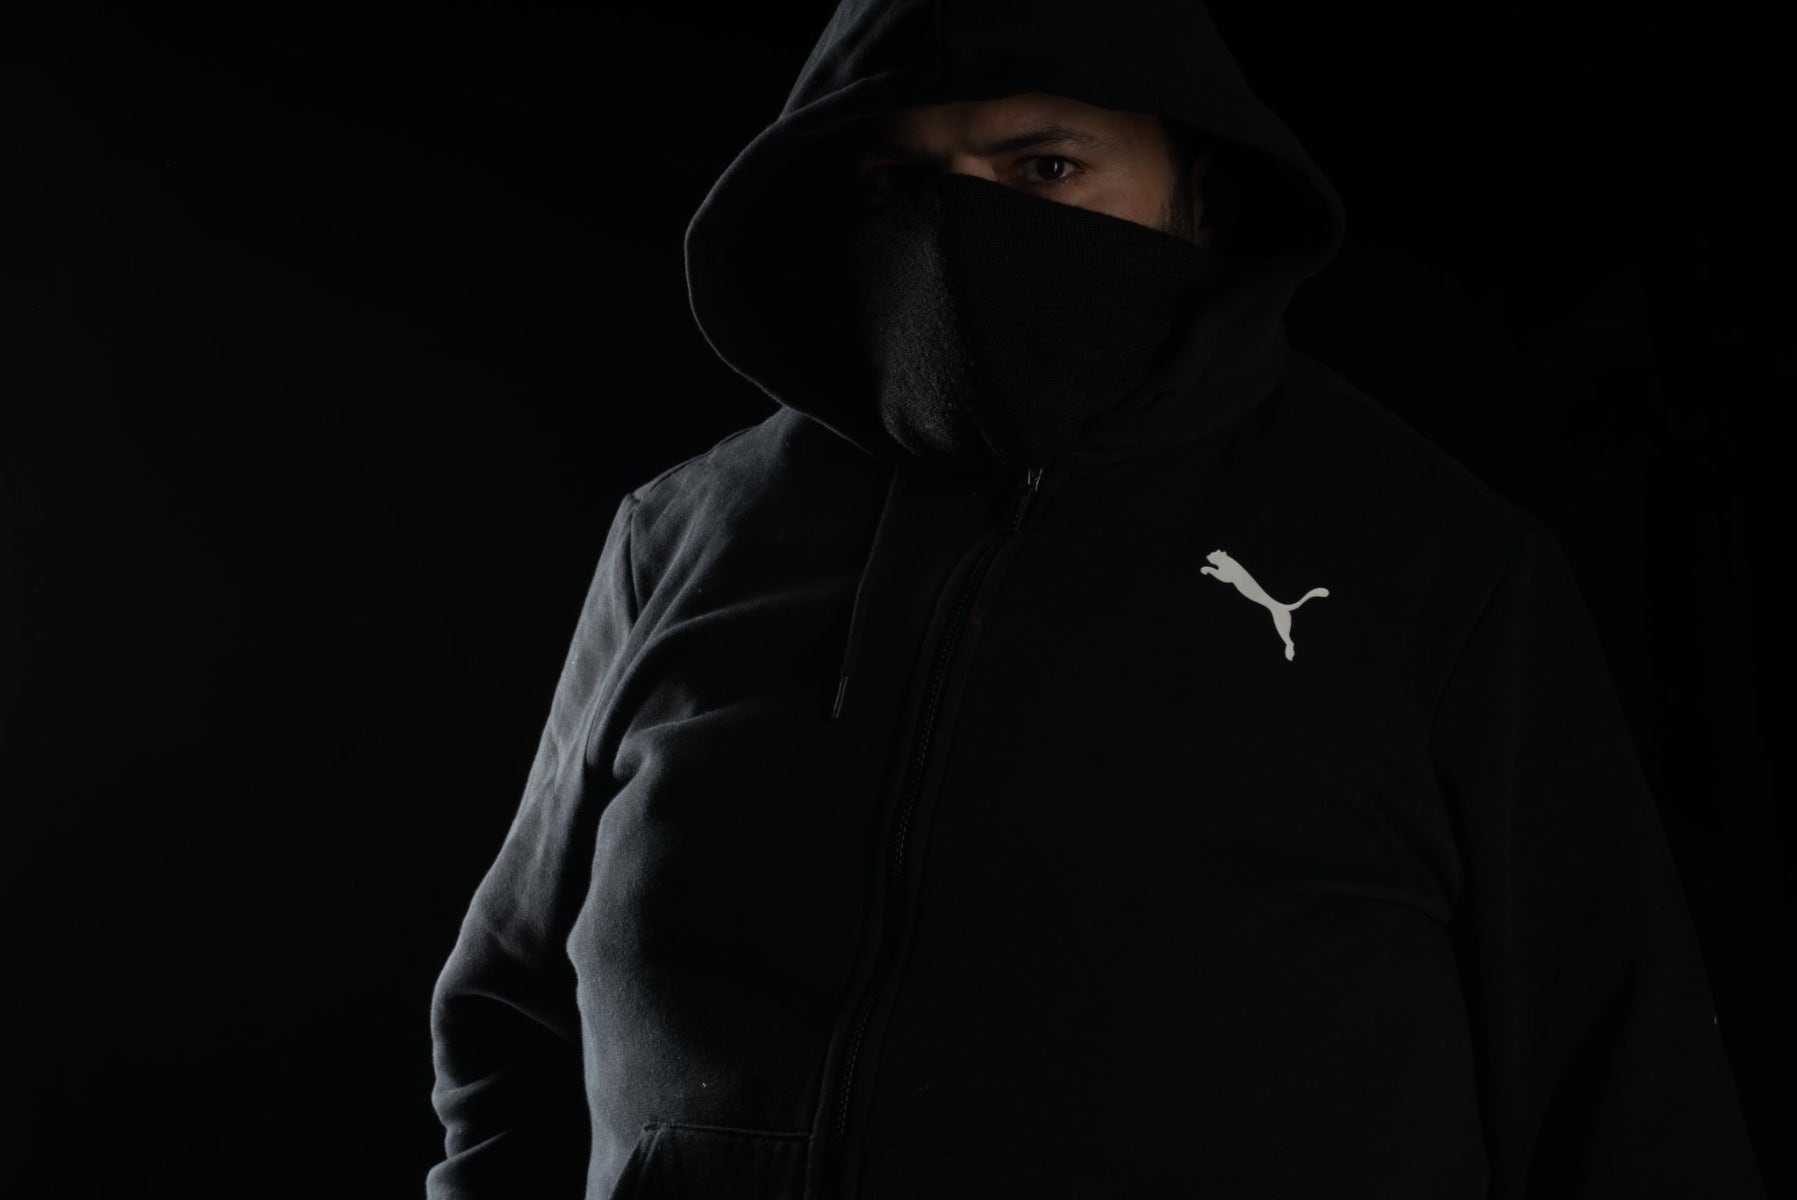
Adding in the main light. Framing is not perfect, but that's why its called a test shot!
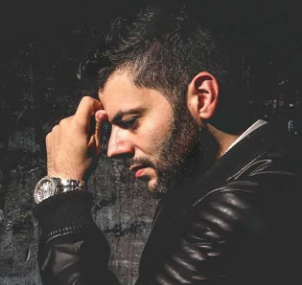
Now that all our settings are dialled in we can start to work on the pose and getting the framing right. In the below image I positioned my body more towards the back light and faced towards the main light. I angled towards the back light as I didn't want my body to be completely lost in the background - I wanted it to pop. This was particularly important as I was wearing black clothing. I also added some props in my hands to add a bit of interest to the image. You can see in the image below that this allowed me to make the pose more interesting while still retaining separation from the background and still capturing that moody feel.
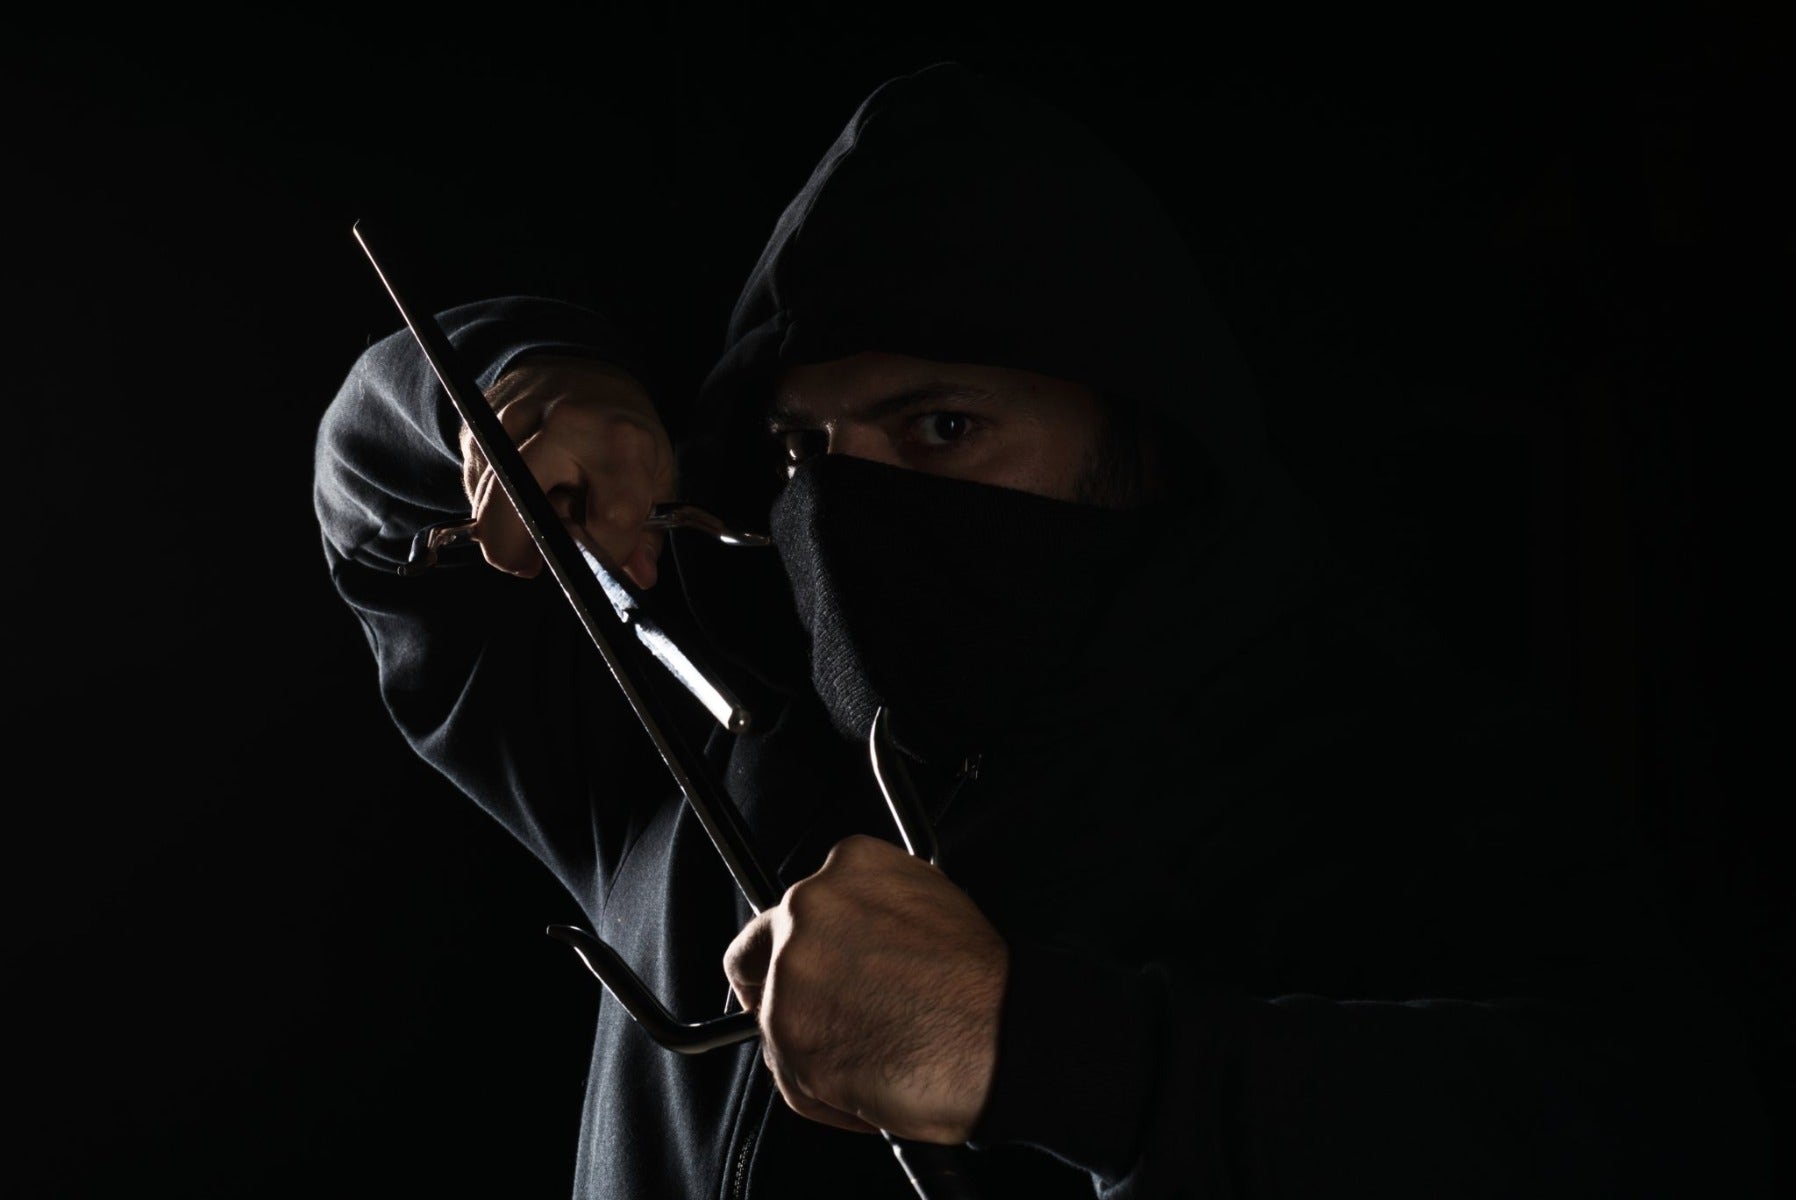
Having some simple props and testing out different poses can add more interest to your photo
Frankly speaking, with self-portraits the sky is the limit - there is no right or wrong answer about how many lights you can use, and you can take all the time you need to experiment because you're the only one there! Your particular decisions will depend on the vibe and feel that you are going for. Experiment with lighting and posing to achieve differing results. For example, in the below image I decided to use only my dim main light, and I moved the position of it slightly.
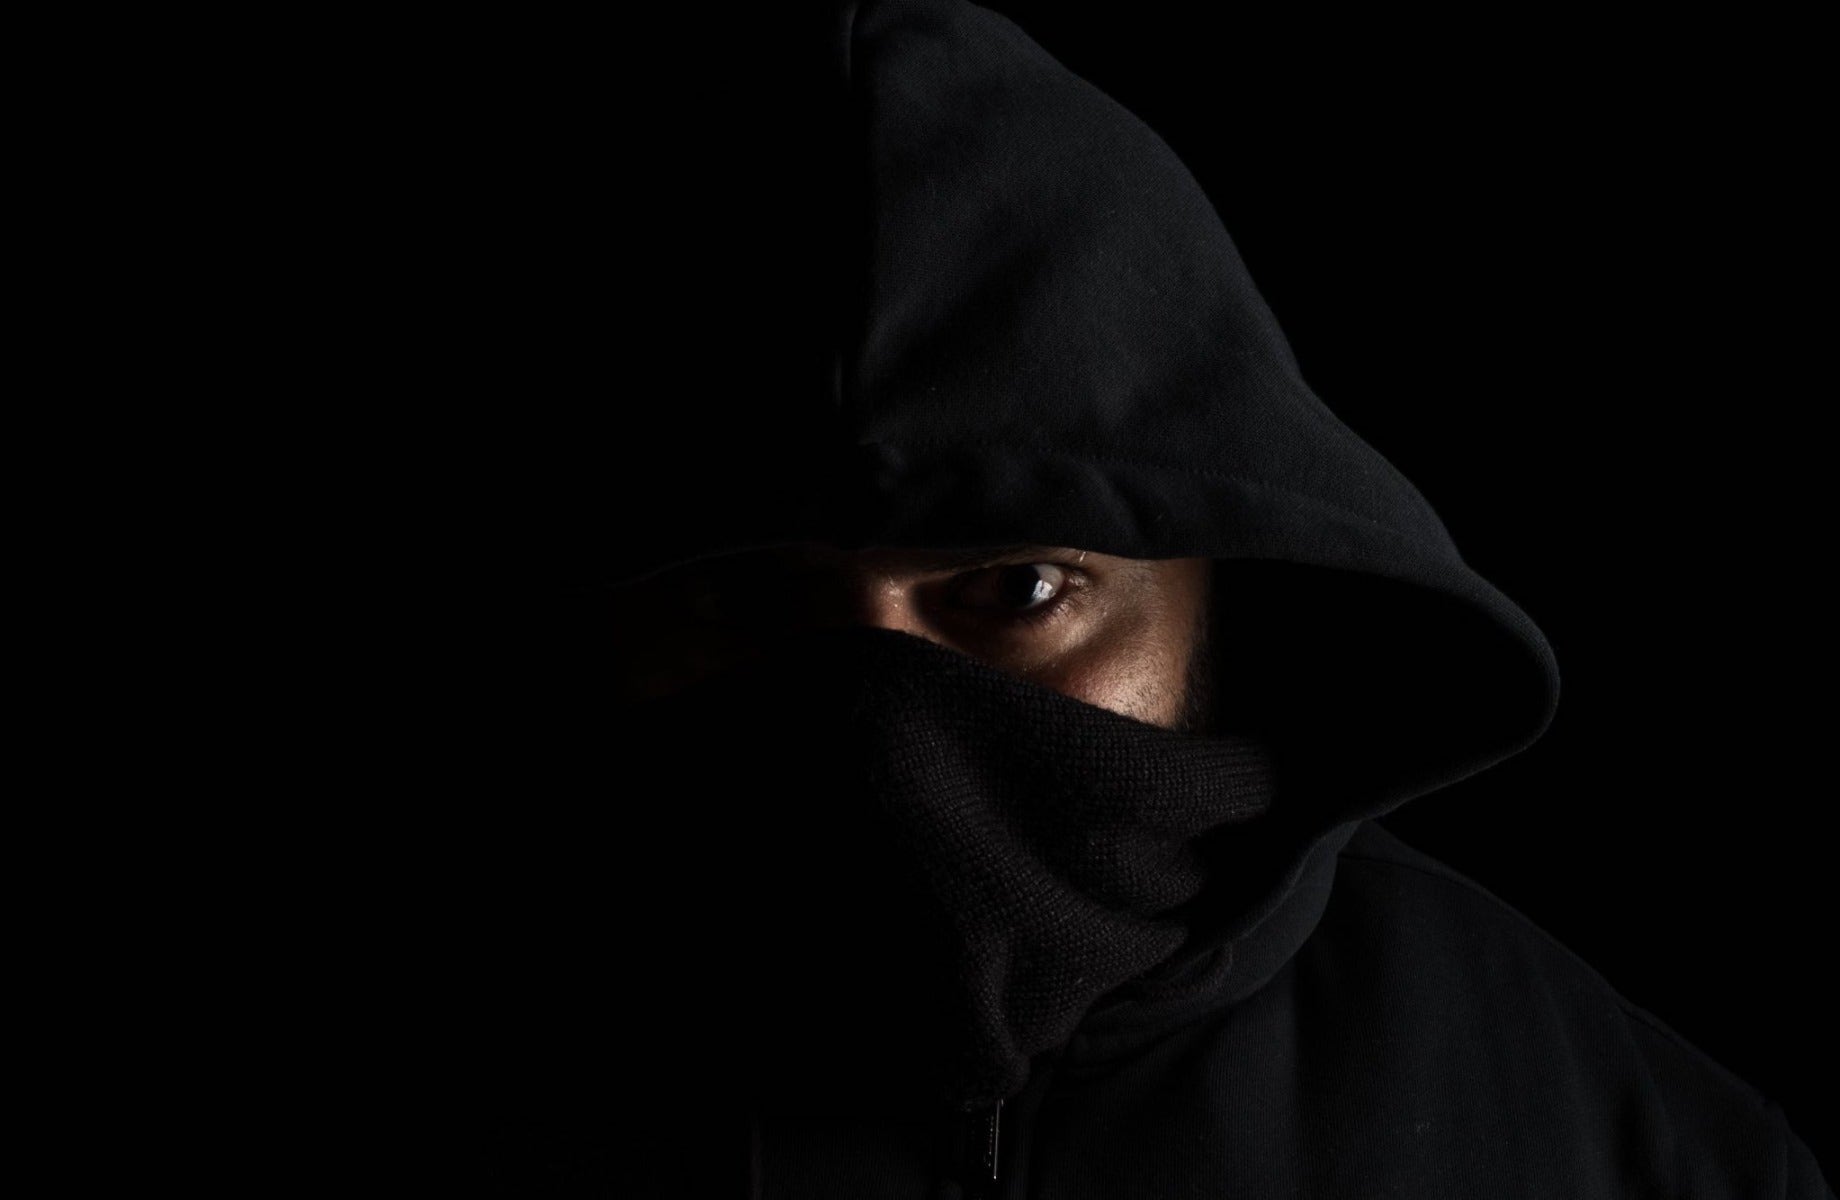
Tweak your lighting to try out different looks
Still using that same one-light set up, I positioned the light at a slight angle on my left-hand side. I then added the props back in my hand to add more of an effect to the image.
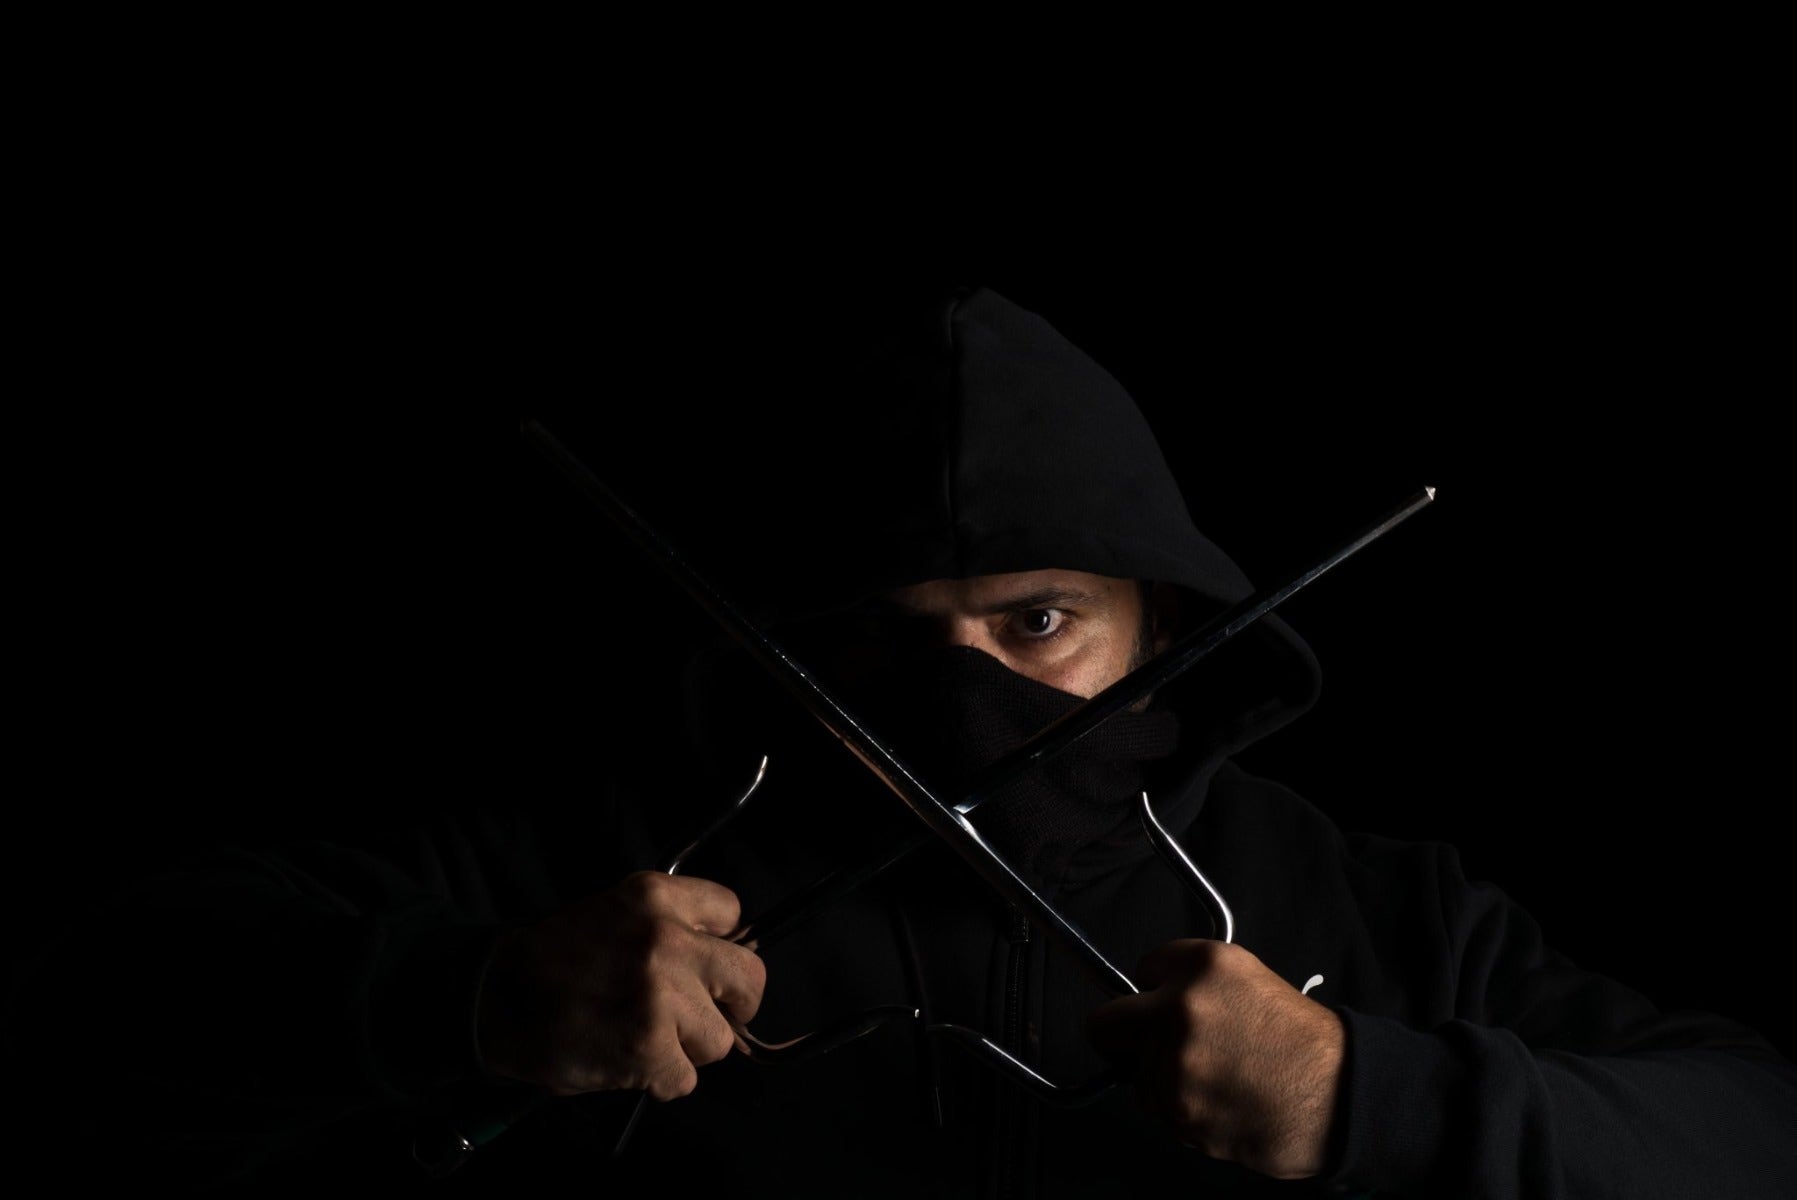
Adding the props back in for dramatic effect
You'll notice that the framing is not perfect here. That's something that you may find happening more commonly in self-portraits, because you don't have a photographer behind the camera to ensure the framing is perfect as you change your posing. No worries though, as some simple cropping in post-production can solve that issue!
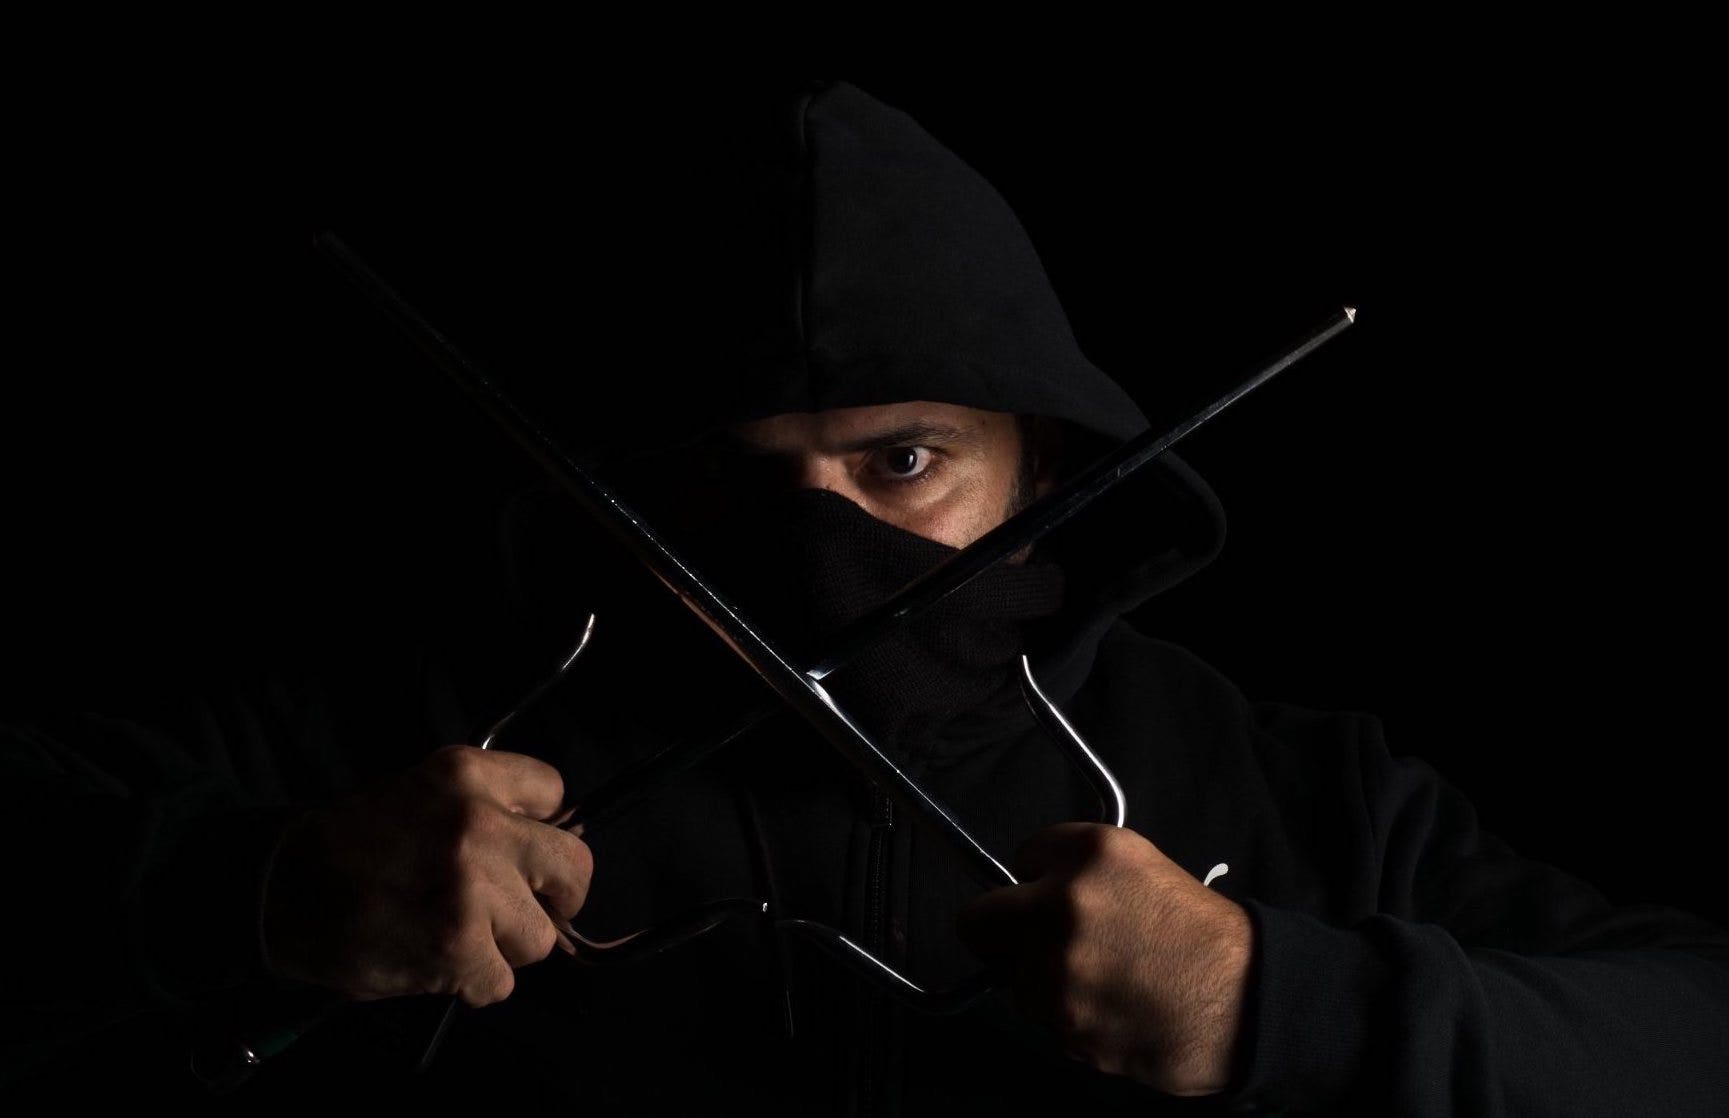
Don't be worried if your framing isn't perfect, that's an easy fix in post
Certainly I've found that the Eye AF feature on recent Sony cameras makes this procedure a fair amount easier, as you don't need to worry so much about your exact position in the frame in order for your eyes to be perfectly in focus. However many other brands are starting to add similar features, and you can get away without it with just a little bit of extra work. Note that you also don't necessarily need to use strobes, a speedlight will also work for self-portraits.
Self-portraits can be a lot of fun, but more importantly they can be an excellent learning experience, especially if you are new at portrait photography. They allow you to try different lighting conditions, camera settings and poses all without any time pressure at all. You can spend your whole day at it! You'll learn a lot about setting up your portrait shots, not only as a photographer but also as a model. While it might feel awkward, having first-hand experience with posing and having your photo taken will allow you to communicate more clearly and creatively with your model once you're on a more traditional shoot. I'd highly recommend that you experiment with self-portraits in a variety of settings.
Have fun!
Interested in contributing to the digiLife blog? Email community@digidirect.com.au with the subject line "digiLife Contributor", and include links to your photography portfolio and a writing sample.


Comments
No Comments yet. Be the first to comment.